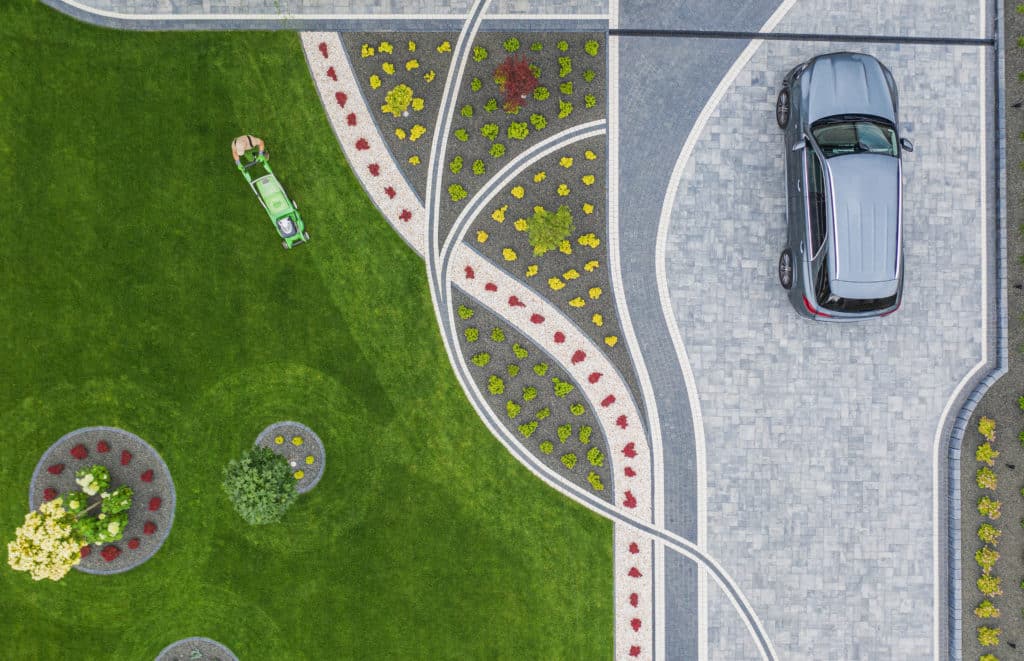
Maintaining the condition of a driveway is essential for homeowners, not only for the curb appeal but also to prevent larger issues down the road. Driveway repair can vary significantly based on the material—concrete, asphalt, or gravel—each with its own set of maintenance needs and repair methods. For concrete driveways, small cracks can often be patched or filled, while asphalt driveways may require resealing and the repair of potholes to restore their surface integrity.

Proactive maintenance is vital to extend the lifespan of any driveway and minimize the need for extensive repairs. Regularly scheduled assessments can detect early signs of wear and damage, leading to more straightforward repair solutions. For instance, addressing minor cracks promptly can prevent them from expanding into major crevices that compromise the driveway’s structure. Gravel driveways demand consistent attention to maintain level and surface condition, often requiring the addition of fresh gravel and grading.
Selecting the correct repair method is contingent upon understanding the unique characteristics and vulnerabilities of the driveway material. While professional services are the go-to for many homeowners seeking long-lasting repairs, a variety of effective DIY methods can also be employed. Whichever path one chooses, the objective remains the same: to ensure the functionality and appearance of the driveway are upheld, keeping in mind both the aesthetic and the structural implications of the chosen repair methods.
Assessing Driveway Damage

Before repairing your driveway, it is crucial to assess the damage thoroughly. This includes distinguishing between small and large cracks and understanding the underlying causes of the damage to determine the appropriate repair method.
Identifying Small Cracks and Large Cracks
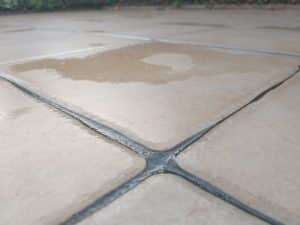
Small cracks in driveways, usually less than a quarter-inch wide, are often caused by normal settling and shrinkage of the material over time. These are typically superficial and can sometimes be self-repaired with correct sealant applications. They require close monitoring to ensure they do not expand.
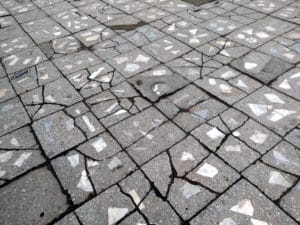
On the other hand, large cracks, wider than a quarter-inch, may hint at more serious issues such as structural damage. Large cracks often result from freezing and thawing cycles that expand and contract the driveway material, or from heavy load stresses. It is imperative to address large cracks promptly to prevent them from widening or causing further damage to the driveway structure.
Understanding the Causes of Damage
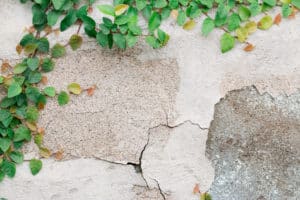
Several factors contribute to driveway damage, including spalling, cracking, and fluctuations in weather. Spalling, which is the peeling or flaking of the surface, often results from a combination of freezing and thawing cycles and the use of de-icing salts. These cycles can also cause cracks to form and propagate, leading to significant damage over time.
The root causes behind cracking must be understood to properly address them. If water penetrates the surface and then freezes, it can expand and create enough force to cause both small and large cracks. Additionally, improper installation such as inadequate compaction or incorrect material mixes can also lead to driveway damage. Considering these elements is imperative for a thorough assessment and to guide successful repairs.
Preparation for Repair
Proper preparation is essential for a successful driveway repair. This involves thorough cleaning to ensure the best possible adhesion of repair materials and removal of any weeds and debris that could interfere with the repair process.
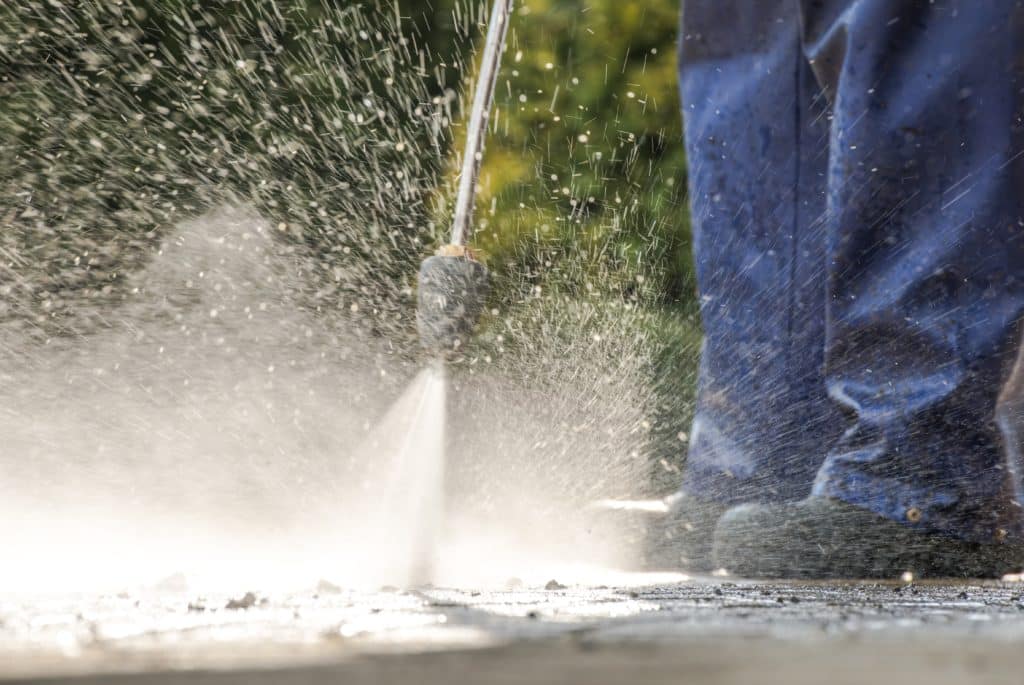
Cleaning the Driveway
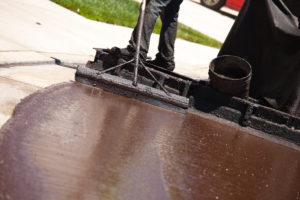
The initial step in preparing a driveway for repair is to clean the surface. Homeowners can utilize a pressure washer equipped with a high-pressure nozzle to remove dirt, grime, and loose particles. For stains such as oil or transmission fluid, applying a degreaser might be necessary to break down and remove these contaminants. After applying any cleaning agents, the surface should be rinsed thoroughly with the pressure washer.
Weed and Debris Removal
Effective preparation must address weeds and debris lodged in cracks and crevices. A combination of manual tools, like a screwdriver or trowel, can be used to dislodge and remove these intrusions. Once larger debris is cleared, a leaf blower can be employed to remove finer particles from the driveway surface. If weeds are persistent, the application of an herbicide may be warranted to prevent future growth in repaired areas. After completion, subsequent repairs can adhere properly and last longer.
Choosing Repair Materials and Tools
When facing driveway repairs, property owners must choose the right materials and tools suited for either concrete or asphalt surfaces to ensure longevity and effectiveness of the repair.
Concrete Vs. Asphalt Repair
Concrete driveways often require a different approach compared to asphalt driveways. For concrete repairs, one may need a concrete mix or a pre-mixed dry concrete mix, which should be applied using a trowel to spread the mixture evenly. It is essential to clean the crack or hole with a broom or brush to remove debris before application. In contrast, asphalt repair typically involves asphalt filler products that come in tubular forms, allowing for more flexibility during application.
- Concrete Repair Tools and Materials:
- Concrete mix or dry concrete mix
- Trowel
- Broom
- Asphalt Repair Tools and Materials:
- Asphalt filler (tubular form)
- Caulking gun (for some filler types)
Selecting the Right Filler
Choosing the appropriate filler for driveway repairs depends on the type of material and severity of the damage. For minor concrete cracks, a caulk-like filler can be applied with a caulking gun. This allows for a smoother finish and an easier application process. On the other hand, if the concrete damage is more extensive, a concrete mix may be the better option. Asphalt filler comes in different formulas as well, designed for small to larger cracks, and the flexibility of the material often requires it to be heated before pouring into the damaged area.
- Concrete Fillers:
- Caulk-like filler (for small cracks)
- Concrete mix (for larger repairs)
- Asphalt Fillers:
- Asphalt crack filler (for smaller cracks)
- Asphalt repair mix (for larger areas)
By carefully considering the types of materials and tools needed for either concrete or asphalt driveways, one can effectively remedy damage and prolong the surface’s durability.
Repair Techniques
When approaching driveway repair, the key is to identify whether a simple patch repair will suffice or if resurfacing is necessary to address more extensive damage. Here are specific methods to tackle both scenarios effectively.
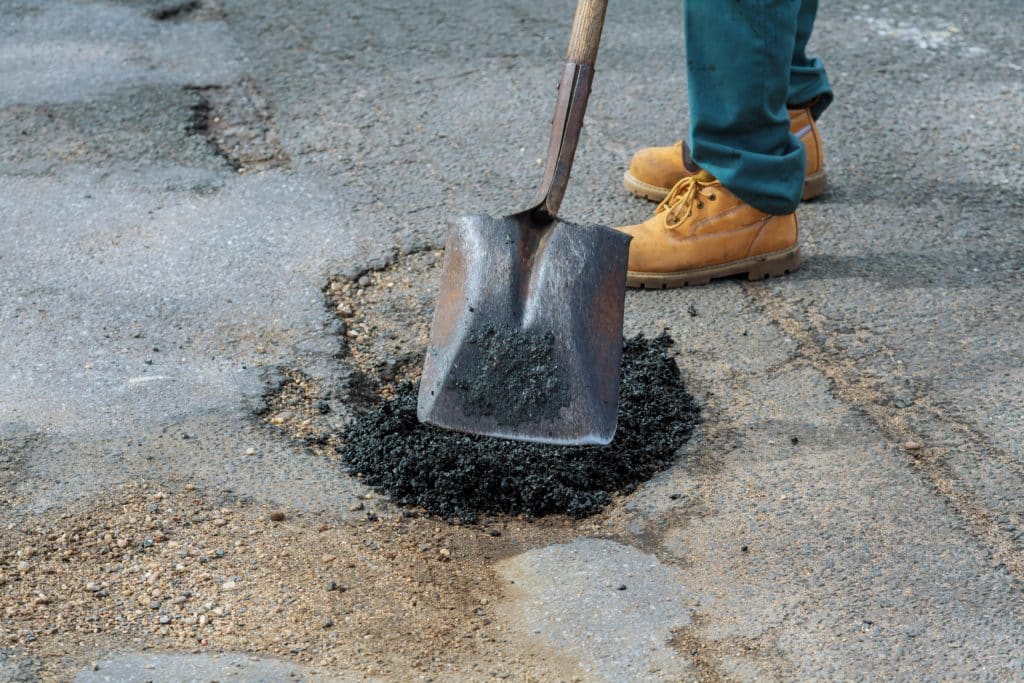
Patch Repair for Small Areas
For minor, localized issues such as small cracks and holes in a driveway, patch repair is a cost-effective solution. Homeowners can often carry out DIY patch repairs on concrete driveways by using a concrete resurfacer. If dealing with an asphalt driveway, a similar approach involves crack sealing with asphalt filler. Here is a step-by-step guide:
- Clean the damaged area thoroughly.
- Apply a patching compound.
- Compact the material using tools to ensure a level surface with the surroundings.
For concrete, use a concrete resurfacer to fill the damaged spots. It is vital to press the material firmly into the crack or hole and ensure the application is smooth and consistent with the existing surface. Repairs should be left to cure according to the product instructions before using the driveway.
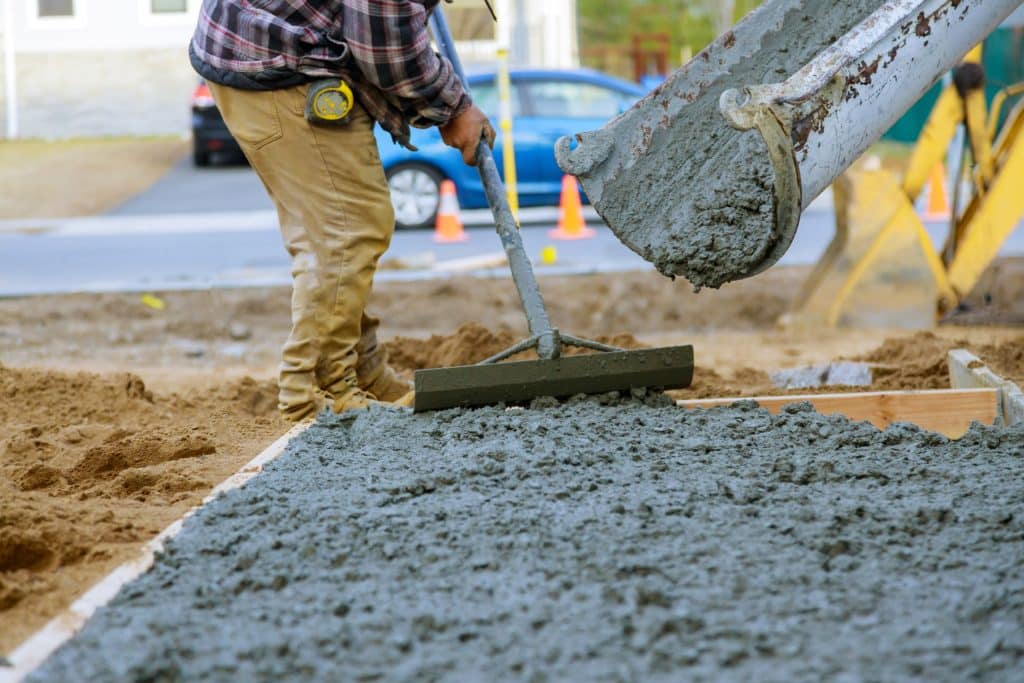
Resurfacing for Larger Sections
When a driveway exhibits widespread wear or numerous large cracks, resurfacing may be required. Resurfacing is more labor-intensive and may be best handled by a professional. The process generally involves the following for both asphalt and concrete surfaces:
- Cleaning the entire driveway and removing any loose material.
- Applying a concrete or asphalt resurfacer over the existing driveway.
- Smoothing out the new surface layer to create a uniform appearance.
- Sealing the new surface to protect against future damage.
For concrete driveways, a process known as mudjacking can also raise and level sections of the driveway that have sunk or shifted. It involves injecting a slurry underneath the concrete to lift it to the desired level. Remember that while resurfacing can extend the life of the driveway, if the underlying foundation has issues, more extensive repairs may be necessary.
Post-Repair Care and Maintenance
After repairing a driveway, homeowners should focus on post-repair care and maintenance to ensure longevity and prevent future surface damage. The key is to allow adequate drying time for the repaired areas, especially when using dry concrete mix or asphalt sealant. Typically, concrete needs around 24-48 hours to cure before it can withstand vehicle traffic, while asphalt can take up to 72 hours.
Sealing is an important step that should be performed after the repair material has fully dried. Sealing helps protect the surface from moisture, UV rays, and chemicals, thereby extending the life of the repair. It is advisable to apply a high-quality sealant and adhere strictly to the manufacturer’s instructions.
Regular maintenance tasks should include the following:
- Routinely checking for and filling any small cracks before they expand.
- Cleaning spills promptly to prevent staining and surface breakdown.
- Avoiding the use of harsh deicing chemicals that can erode the driveway material.
Homeowners should also be cautious with heavy equipment and vehicles that could indent the surface. Post-repair care should ideally be a seasonal routine to maintain driveway integrity.
| Action | Benefit |
|---|---|
| Apply a sealant | Protects against elements |
| Fill small cracks | Prevents further damage |
| Clean spills immediately | Reduces staining and erosion |
| Limit use of deicing chemicals | Minimizes chemical surface damage |
By adhering to these care and maintenance tips, one can significantly reduce the occurrence of future issues and safeguard their driveway investment.