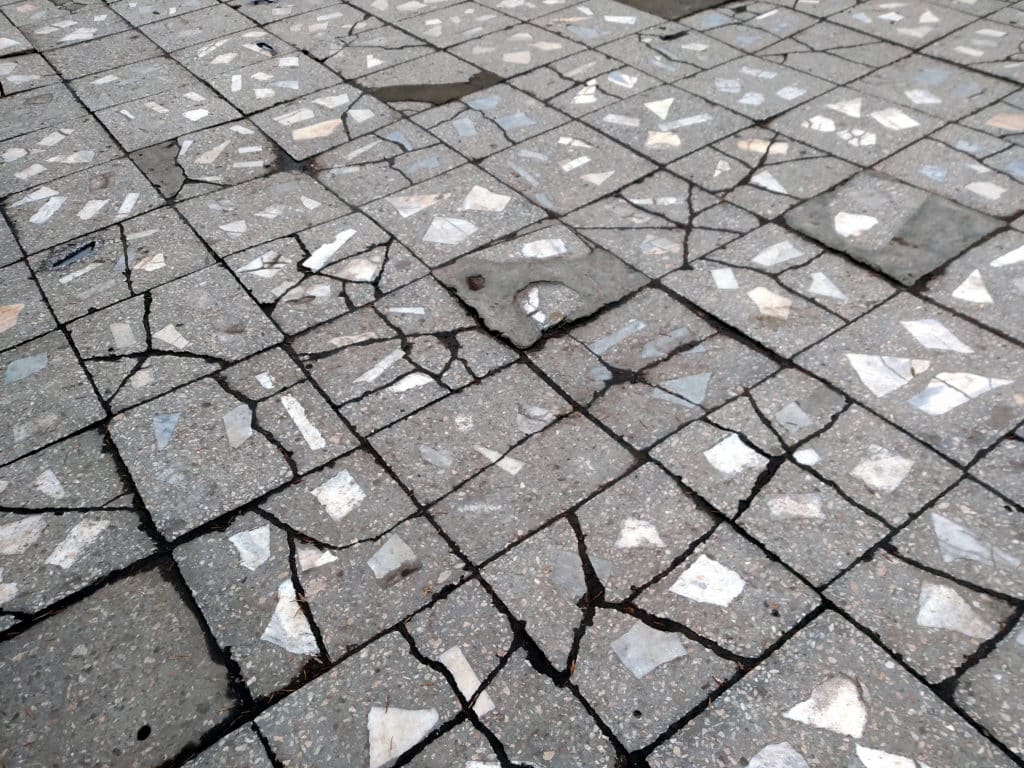
Concrete driveways are a sturdy and reliable surface for your vehicle, but over time, they may develop cracks due to various factors like weather conditions or wear and tear. These unsightly fissures can be more than just a cosmetic issue; if left unattended, they can worsen, leading to more significant damage and even reducing the lifespan of the driveway. To maintain the integrity and appearance of a concrete driveway, it is essential to address these problems promptly.
Repairing cracks in a concrete driveway is a task that homeowners can often handle on their own with the right tools and materials. The process involves thoroughly cleaning the crack, selecting an appropriate filler, and applying it to create a smooth, restored surface. For those who are ready to tackle this home maintenance project, understanding the causes and knowing the most effective repair methods is crucial. With a step-by-step approach, many can effectively repair their driveway cracks, restoring the concrete’s functionality and aesthetic appeal.
Tools and techniques for this task vary, ranging from simple sealants for small cracks to more advanced methods for larger fissures. Ensuring the concrete is clean and dry before beginning the repair is paramount. For small cracks, a concrete caulk or liquid filler may suffice, while larger cracks might require a more robust repair material such as a concrete patching compound to achieve a durable fix. Properly executed repairs not only enhance the curb appeal of a property but also safeguard the driveway against future damage.
Assessing Driveway Damage

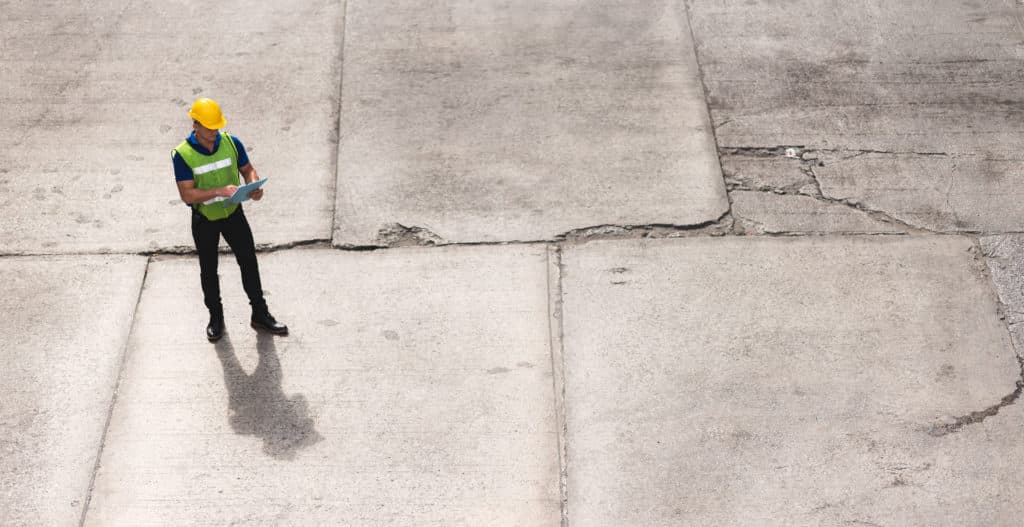
Before attempting any repairs, it is essential to conduct a thorough assessment of the concrete driveway damage. This initial evaluation will determine whether a DIY approach is feasible or if professional services are required.
Identifying Crack Types
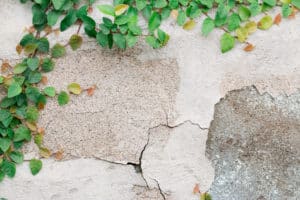
Concrete driveway cracks fall into several categories, each with unique characteristics and implications for repair. Hairline cracks are thin, superficial, and typically result from the concrete’s natural curing process. Shrinkage cracks appear as the concrete settles over time. Crazing is a network of fine surface cracks resembling spider webs, while heaving cracks result from ground movement beneath the driveway. Recognition of these types can guide the appropriate repair strategy.
Evaluating Repair Needs
After identifying the crack types, one should evaluate the extent of the damage. For cracks up to ¼ inch in width, a sealant may be sufficient. Larger, more substantial cracks may require a concrete mix for filling or might indicate underlying issues that necessitate professional assessment. Deciding between DIY and professional repair hinges on the severity of the cracking and the homeowner’s skill level.
Preparing the Driveway for Repair
Repairing concrete driveway cracks begins with thorough preparation to ensure a lasting fix. Properly cleaning and removing any debris from the cracks is crucial for the repair material to adhere correctly.
Cleaning the Cracks
First, utilize a pressure washer to dislodge and eliminate any dirt, oil, and stains from the driveway surface. It is essential that the concrete is completely clean; otherwise, the repair materials may not bond well. The high pressure of the water stream effectively cleans even tough grime.
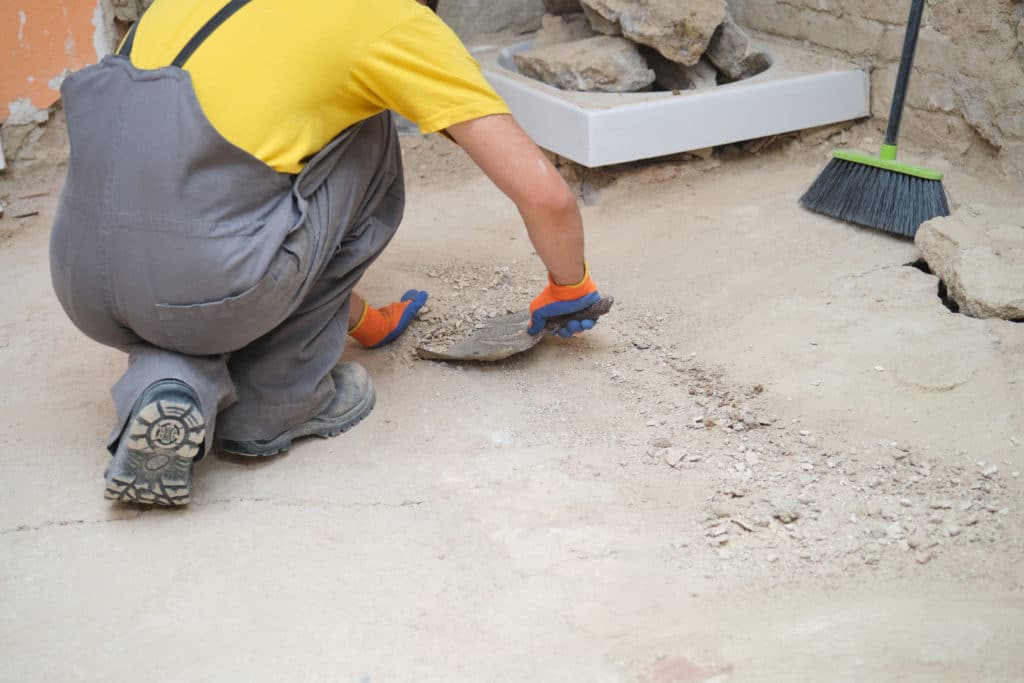
Removing Debris
After cleaning, a wire brush is highly effective in scrubbing away smaller particles lodged within the cracks. Any remaining debris must be removed to ensure that the crack is ready for the filling process. A shop vacuum can help extract whatever the wire brush can’t reach, leaving the area pristine for the subsequent steps of the repair process.
Repairing Small to Medium Cracks
Repairing small to medium cracks in concrete driveways starts with identifying the right filler material for the job and then filling and sealing those cracks properly to prevent further degradation.
Selecting the Right Filler
For small cracks, one might consider a flexible concrete crack filler designed to expand and contract with the concrete. Selecting a high-quality concrete crack filler is crucial as it will adhere better and last longer. If one is dealing with cracks up to 1/2 inch wide, sand can also be used to fill in the bottom of the crack before applying the filler. This provides a solid base for the repair material.
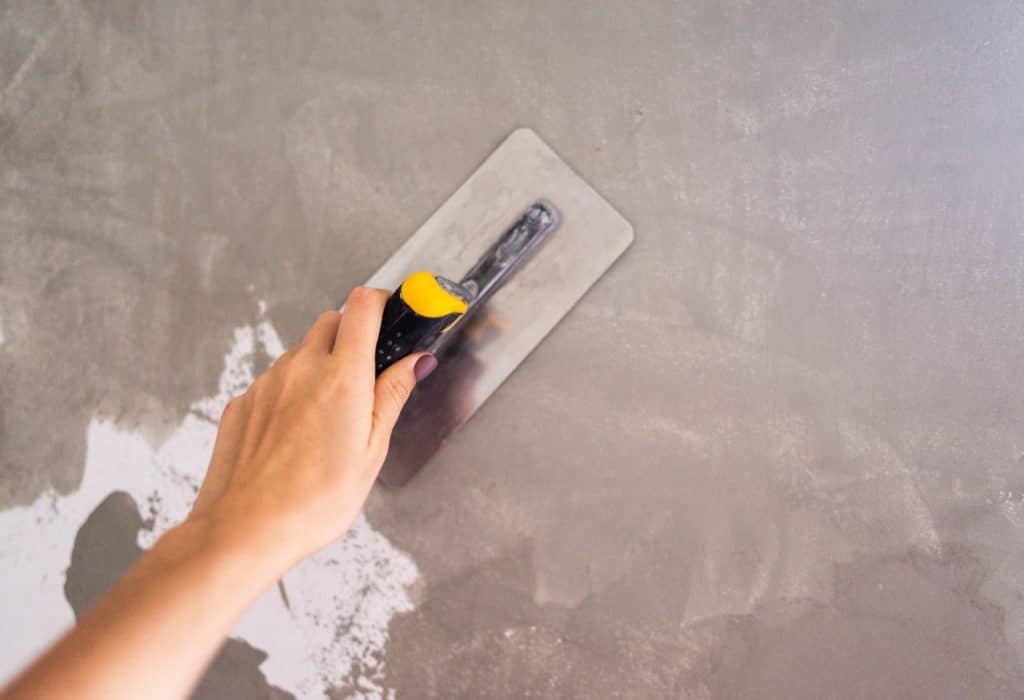
Filling and Sealing Cracks
Before beginning the repair process, use a trowel or other tool to remove loose concrete and debris. If the crack is more substantial, inserting a backer rod can prevent the filler from sinking deep into the crack. After prepping the crack, one should use a caulk gun to inject the filler, ensuring it completely fills the crack. For a minor crack, applying a sealant with a single application tool like a caulk gun could suffice. After curing, the filled area can be smoothed with a trowel to level with the surrounding surface. Remember that thorough preparation and filling are vital steps to effectively repair small to medium cracks and maintain the longevity of a concrete driveway.
Fixing Large Driveway Cracks and Potholes
When repairing large cracks and potholes in a concrete driveway, the use of a reliable patching compound and correct sealing methods is essential to restore surface integrity and prevent future damage.
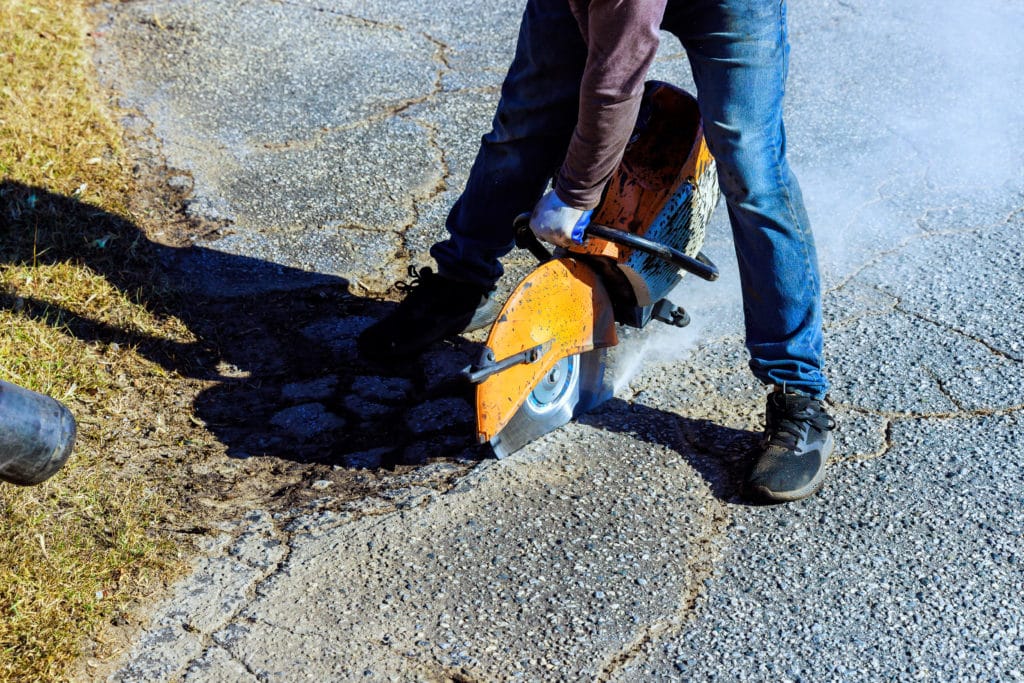
Using Concrete Patching Compound
To address large cracks or potholes, one must prepare the area by removing any loose material and cleaning the crack to ensure a good bond. Quickrete is a common concrete patching compound that can be used for these repairs. It is typically composed of portland cement and other materials that enhance its bonding capabilities. The compound is poured into the crack or pothole, then tamped down. Addition of gravel can provide extra stability for deeper potholes. It’s important to apply the patching compound in layers if the area is deep or extensive, allowing each layer to set before applying the next.
Curing and Sealing
Once the concrete repair material is applied, curing is critical. Curing allows the patch to set properly and gain strength. This process can take several days, depending on weather conditions and the thickness of the applied compound. After curing, sealing the repaired area with a concrete resurfacer or polyurethane sealant can protect the driveway from water penetration and freezing temperatures, which are common causes of concrete damage. The sealer should be applied evenly across the entire driveway to provide a uniform appearance and protection.
Reinforcing and Preventing Future Damage
Repairing cracks in a concrete driveway not only restores its appearance but also helps prevent further damage. A well-maintained driveway can withstand the test of time by applying protective measures and regular maintenance.
Applying Sealant to the Driveway
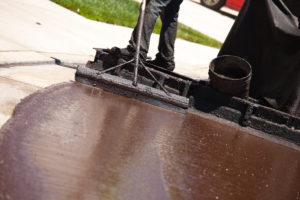
Applying a concrete sealer is essential in protecting the driveway surface from water infiltration, which can cause further cracking and deterioration. This sealant acts as a barrier against the elements. It is recommended to choose a sealer appropriate for the climate and specific driveway conditions. For instance, a penetrating sealer may be ideal for driveways in regions with freeze-thaw cycles. The application process typically involves cleaning the driveway thoroughly before applying the sealer, ensuring it reaches into the pores of the concrete for maximum protection.
Maintaining Driveway Integrity
Maintaining the integrity of a concrete driveway involves several key practices:
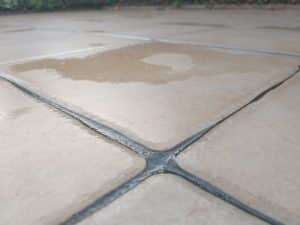
- Control Joints: These should be placed at regular intervals to manage concrete expansion and contraction, which can help prevent cracking.
- Compacted Gravel Base: A properly compacted gravel base underneath the driveway ensures it has a stable foundation, reducing the likelihood of cracking due to soil movement.
- Texturing: Texturing the surface of the driveway can provide additional grip and reduce the risk of surface cracks forming.
- Resurfacing Concrete: When minor surface damage occurs, resurfacing concrete can help restore the driveway’s strength and appearance. This involves applying a new layer of concrete over the existing surface after any necessary repairs to cracks have been made.
Regular inspections and prompt repair of small cracks can also go a long way in maintaining the structural integrity and longevity of a concrete driveway.