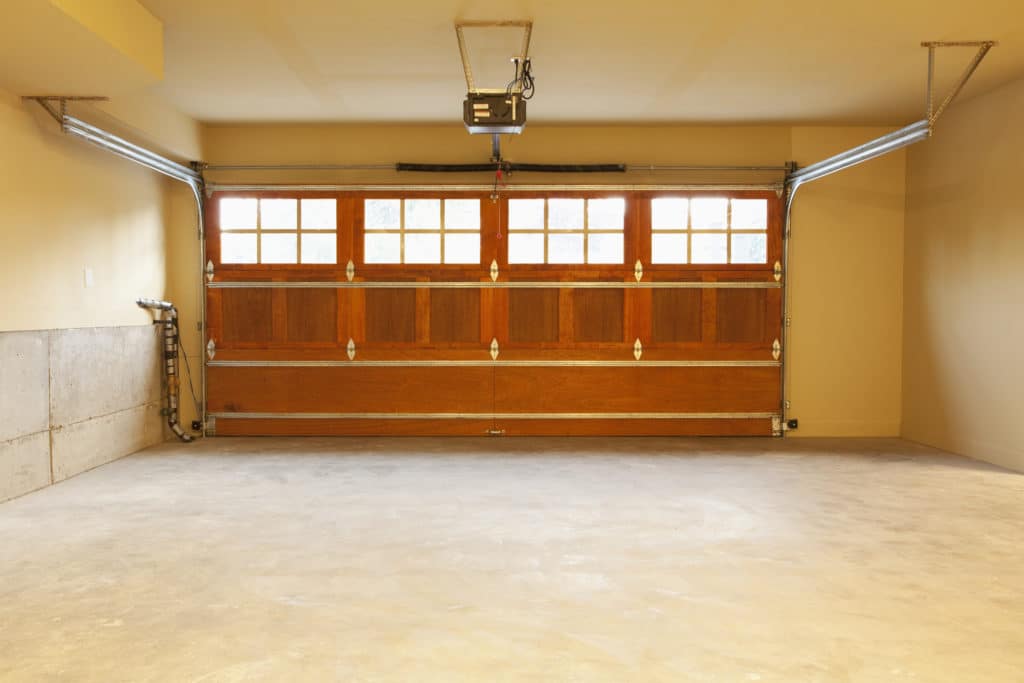
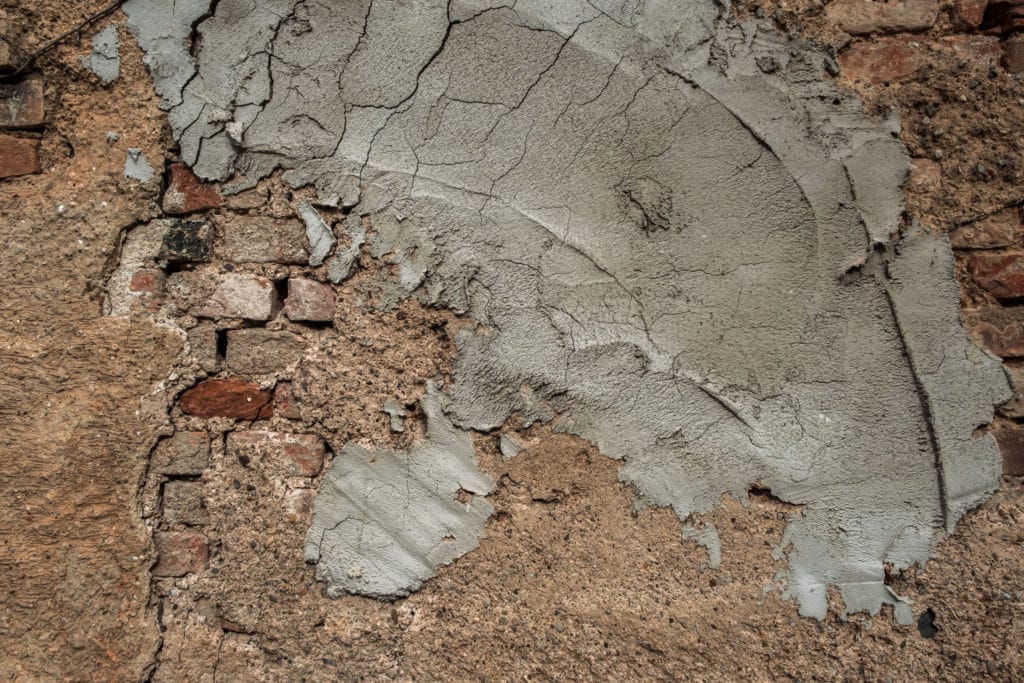
Cracks in a garage floor can be a common issue for homeowners, signaling underlying problems such as ground movement or heavy wear and tear. Addressing these cracks promptly is crucial to maintaining the structural integrity and appearance of the floor. An untouched crack not only detracts from the visual aesthetics but may also lead to more severe damage over time, including water intrusion and further deterioration of the concrete.

Fortunately, repairing cracks in a garage floor is manageable for both DIY enthusiasts and professionals. The process often involves cleaning the crack, prepping the area with the correct materials, and applying a repair compound that is stronger and more resilient than the concrete itself—typically an epoxy or polyurea-based product, which, when cured, can effectively seal and prevent the return of similar issues.
Selecting the right repair technique and material is essential, whether it’s a do-it-yourself fix or a task better suited for a professional. Comprehensive guides are available that cover the entire repair process from assessment to complete restoration, which help in determining when a simple DIY solution is adequate or when it’s time to call in professional assistance. Understanding these repair methods not just extends the life of the garage floor but also enhances overall safety and preserves the value of the property.
Understanding Garage Floor Damage

Evaluating the condition of a garage floor is critical, as not all floor damage is equal. Identifying the type of damage and its causes is the first step towards effective repair.
Types of Cracks
Garage floors may exhibit various types of cracks, ranging from hairline fractures, an indication of settling or shrinking concrete, to wider gaps that could signal serious structural issues. Concrete cracks are sometimes through the width of the floor, while others may follow along expansion joints or contraction joints. It is essential to precisely identify the crack type to determine the appropriate repair strategy.
Common Causes of Damage
Moisture is a primary culprit in damaging garage floors, often leading to the deterioration of concrete over time. Poor drainage can exacerbate this problem, as standing water infiltrates concrete and can lead to cracks. Shrinking, a natural part of the curing process, can also contribute to cracking, especially if the mix or conditions during pouring were less than ideal. Settling of the underlying soil can cause significant movement in the slab, resulting in more substantial cracks or even a broken slab.
Preparation for Repair

Before undertaking the task of repairing a cracked garage floor, one must ensure the area is properly prepped. This process involves meticulous cleaning and a thorough assessment to establish the gravity of the damage.
Cleaning the Area
The initial step in preparing for a repair is to clean the area meticulously. Start by removing any loose debris from the crack using a vacuum or a brush. For a more rigorous cleaning, a wire brush should be used to scrub the edges of the crack, which helps in creating a better bond with the repair material. Any presence of oil or similar contaminants should be removed as they can significantly impede the adhesion of new cement.
Assessing the Damage Level
After cleaning, one should assess the crack’s severity. Minor, thin cracks may be addressed with a DIY approach, while wider or more complex fractures could necessitate professional attention. It’s crucial to wear the appropriate protective gear during this process to prevent injury. The assessment should consider the crack’s thickness, as this will determine the type of repair material needed and the scope of the prep work. For example, a shallow, hairline crack will require a different treatment compared to a deep, wide fissure.
Repairing Minor Cracks and Pitting

Minor cracks and pitting in a concrete garage floor can be effectively repaired with the right materials and techniques. The key is to select the appropriate concrete repair products and prepare the surface meticulously for a durable finish.
Using Concrete Crack Filler
To begin the repair process, carefully chisel out the crack using a cold chisel and a hammer to remove any loose debris. The crack should be chiseled to a wider base which helps in better adhesion of the filler material. After cleaning the area meticulously with a wire brush or a vacuum, the chosen concrete crack filler can be applied. For minor repairs, a sandable and self-leveling sealant works well as it flows into the cracks and pits, creating a smooth surface. When using the filler:
- Prepare the concrete crack filler as per manufacturer’s instructions.
- Apply the filler into the crack using a putty knife or similar tool.
- Smooth the filler across the crack to ensure it is level with the floor’s surface.
- Allow the filler to cure as specified by the product instructions.
Finishing the Surface
Once the concrete crack filler has cured, the surface should be finished to match the surrounding area. Use fine sandpaper to smooth out any excess filler material, giving attention to blending the edges to create a seamless appearance. If needed, additional concrete resurfacer can be applied over the entire area to ensure a uniform look. Make sure the surface is clean and primed if the resurfacer is used. Here are the steps:
- Sand the filled area until it is flush with the floor.
- If applying a resurfacer, follow the product’s instructions for application and curing times.
The repair of minor cracks and pitting not only enhances the appearance of the garage floor but also protects it from further damage. By choosing the right concrete repair products and employing careful technique, a long-lasting repair can be achieved.
Repairing Structural Damage

Structural damage in a garage floor, such as deep cracks, can compromise the integrity of the concrete slab. To ensure durability and safety, structural repairs should be approached with care and knowledge.
Addressing Deep Cracks
Deep cracks in a garage floor can indicate significant structural issues that require more than just surface repairs. Fixing cracks of this nature often involves filling them with a mortar epoxy or a similar compound designed for deep penetration and strong bonding. After the initial filling, the crack must be monitored for any signs of further movement.
Reinforcing the Foundation
To prevent future structural damage, proper reinforcement of the concrete slab is crucial. Rebar, or reinforcing bars, offer robust support, greatly reducing the likelihood of newly developed cracks. Alternatively, wire mesh can also be utilized to add strength, but rebar is generally favored for its superior tension resistance. The choice between these materials will depend on the specific conditions of the garage floor and the load it will bear.
Finishing and Sealing the Floor
Once you have repaired the cracks in the garage floor, the next critical steps are to apply a resurfacer and a sealant. This will not only improve the appearance of the floor but also protect it against future wear and tear.
Applying Resurfacer
Applying a concrete resurfacer such as Quikrete Concrete Resurfacer is a straightforward way to give an old garage floor a fresh surface. To do this effectively, one should ensure that the floor is clean and free of loose debris. The resurfacer should be mixed according to the manufacturer’s instructions and then spread over the floor using a squeegee or trowel. It’s important to work in sections and to feather the edges to avoid any lines or ridges. Allow the resurfacer to cure as recommended before moving on to sealing.
Applying Sealant
Once the resurfacer has cured, sealing the garage floor can add a protective layer that resists oil stains and water damage. Epoxy or polyurea coatings can be applied. Epoxy is durable and tough, making it suitable for floors with heavy foot traffic. Polyurea, on the other hand, is a more flexible option, which can handle temperature shifts better. Polyurethane sealers are another option that provides a high-performance finish resistant to scuffs and stains. Whichever sealant is chosen, it should be applied evenly across the surface with a roller, ensuring that the edges are properly sealed. After the application, one must wait for the appropriate curing time before using the garage floor.

 CALL US NOW


