Repairing large cracks in concrete is a practical skill that can save time and money for homeowners and DIY enthusiasts. Large cracks in concrete surfaces such as driveways, patios, and foundations can be unsightly and may lead to further structural damage if left unaddressed. The process involves cleaning the crack, preparing the concrete surface, and applying a suitable concrete crack filler to prevent water infiltration and future deterioration.

The choice of concrete crack filler is determined by the size and nature of the crack. For smaller cracks, a simple concrete repair mix or latex may suffice, allowing for an easy DIY fix. Larger cracks may require more robust solutions such as epoxy compounds or mortar. The key to a successful repair lies in meticulously following the manufacturer’s instructions for the filling material and properly preparing the crack by removing loose debris and ensuring a clean, dry surface.
Professionals may be sought for particularly large or complex cracks, but most household cracks are manageable with the appropriate materials and a bit of patience. Sealing the filled crack with concrete sealant adds an extra layer of protection, maintaining the integrity of the repair and extending the concrete’s lifespan. Carefully executed, this maintenance keeps concrete surfaces functional and aesthetically pleasing for years to come.
Assessing the Damage

Before attempting repairs, it’s critical to understand the extent of damage to the concrete. An effective assessment differentiates between surface blemishes and structural concerns, guiding the selection of repair materials and methods.
Identifying Crack Types
Hairline Cracks: These are thin, surface-level cracks that often do not signify structural damage. They may be caused by shrinkage as the concrete cures or minor settlement.
- Depth: Generally less than 1/4 inch wide.
- Implications: Usually a cosmetic issue but can allow moisture to penetrate if left unaddressed.
Deep Cracks: Substantial cracks that may point to underlying problems with the foundation or significant shifting of the structure.
- Width: Typically wider than 1/4 inch.
- Associated Concerns: May indicate serious issues such as foundation settlement or drainage irregularities.
Evaluating Crack Depth
Measuring the depth of a crack is fundamental in determining the seriousness of the damage. Shallow cracks tend to be less concerning but can widen over time if moisture enters and freezes, leading to expansion. Deep cracks extending through the slab can indicate structural failure and may require a professional assessment.
- Method: Insert a thin probe, such as a screwdriver, to gauge the crack’s depth and condition at multiple points.
- Moisture Indication: Check for dampness, which might suggest ongoing moisture introduction. This is especially pertinent for cracks in foundations, where water ingress can lead to more severe issues.
Preparing the Crack for Repair

Before initiating the concrete crack repair process, it is crucial to prepare the area properly to ensure a lasting fix. This involves a thorough cleaning, the removal of any loose materials, and the application of a bonding agent to facilitate adhesion.
Cleaning the Area
One must start by eliminating all dust and debris from the crack. Utilizing a wire brush can help to thoroughly scour the area, and following up with a vacuum will remove any remaining particles. It’s important that the crack is free of contaminants so that the repair materials can adhere properly.
Removing Loose Material
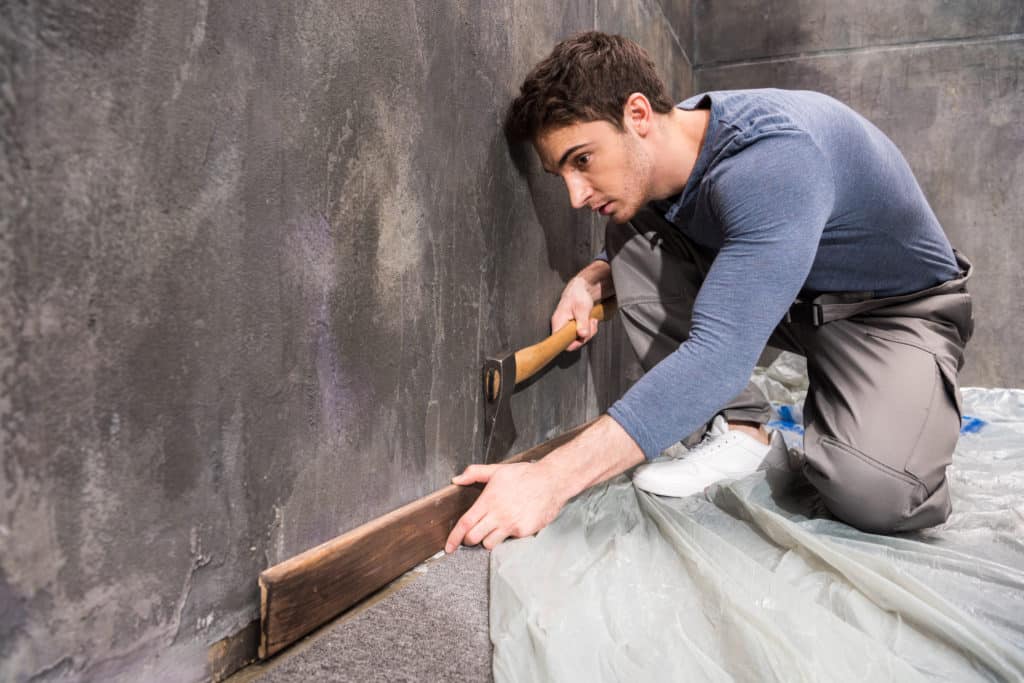
After cleaning, one should inspect the crack for loose chunks of concrete. A chisel and hammer can help to carefully remove these fragments without causing additional damage to the surrounding area. A putty knife or trowel can also assist in clearing out the debris, creating a clean space for the application of the repair material.
Applying a Concrete Bonding Agent
Before filling the crack, applying a concrete bonding agent will help repair materials to firmly bind with the existing concrete. This agent should be applied with a brush or trowel, following the manufacturer’s instructions closely. This step is vital to achieving a repair that is both durable and stable.
By following these specific steps, one lays the foundation for a successful repair of wide cracks in concrete.
Choosing the Right Filler Material

Selecting an appropriate concrete crack filler is crucial for both the longevity and stability of concrete repair work. The success of patching large cracks depends on the correct choice of products that will provide the necessary bond strength and flexibility.
Understanding Different Filler Types
Concrete filler materials vary in composition, application, and drying time. Epoxy and polyurethane foam are common filler materials due to their strong adhesion and durability. Epoxy is a two-part compound that hardens to create a rigid seal, making it ideal for high-traffic areas. On the other hand, polyurethane foam expands upon application, effectively filling voids.
Hydraulic cement is also used in concrete repair. It sets rapidly and is best for stopping active water leaks. Additionally, grout can be employed for repairing cracks, though it is typically used in instances where the structural integrity needs reinforcement.
For minor patching, quick-setting concrete offers a straightforward solution, setting in a relatively short period and providing a cost-effective way to address small issues.
Selecting for Large Cracks
When dealing with large cracks, one must be meticulous in product selection. Epoxy is often favored for its strength, but its rigidity can be a detriment if the concrete is prone to movement. In such cases, a more flexible material like polyurethane foam may be more suitable as it can accommodate slight shifts within the structure without cracking.
For urgency in stopping leaks or quickly stabilizing an area, hydraulic cement, with its rapid-setting properties, becomes an invaluable option. It is imperative to consider the exact conditions and requirements of the repair to ensure the selected filler not only fills the crack but also prevents future damage.
Applying the Concrete Filler

When repairing large cracks in concrete, the correct application of concrete filler is crucial. It ensures a durable fix and prevents further damage. By using appropriate materials and tools, one can achieve a seamless repair.
Mixing and Using Patching Compounds
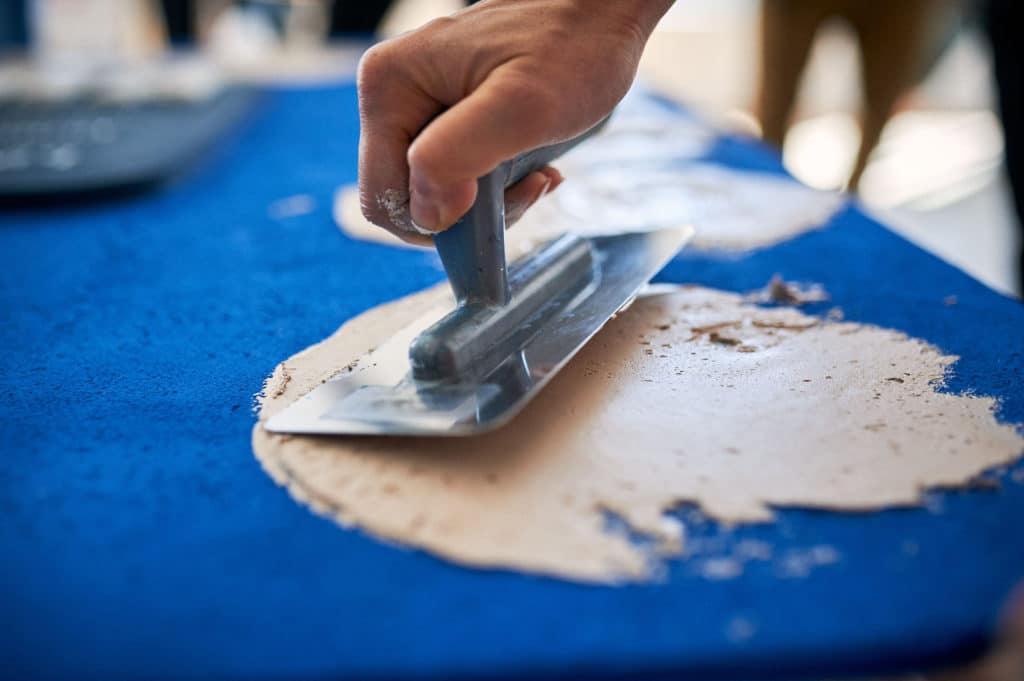
Concrete patching compound is a common material for fixing larger cracks. Before application, it must be mixed thoroughly to the manufacturer’s specifications. The consistency of the mix is key—and it should be firm enough to apply with a trowel but still able to penetrate into the crack. Apply the mixed compound into the crack and use a trowel to smooth the surface. Then, allow the curing process to take place as it will enable the filler to set properly and become integral with the existing concrete.
- Mix the concrete patching compound with water until you achieve a uniform, lump-free paste.
- Press the mix firmly into the crack using a trowel, ensuring it’s fully filled.
- Smooth the surface to match the surrounding concrete.
- Allow it to cure as per the given instructions without disturbance.
Using Sealants for Waterproofing
Post-repair waterproofing is essential to protect the integrity of the concrete. For narrow cracks, a liquid filler can be an effective sealant. The liquid filler is often applied with a caulk gun or a simple paintbrush for smaller, hard-to-reach areas. One must inject or paint the liquid filler into the crack, then use a putty knife or a paintbrush to smooth out the surface before it dries. In addition to filling the crack, this seals it against water penetration, which is vital for long-term repair success.
- Load the liquid filler into a caulking gun or use a can with a built-in applicator.
- Carefully fill the crack, starting from one end to the other, ensuring no voids are left.
- Smooth the sealant with a tool or paintbrush.
- Watch for the sealant curing time and protect from moisture during this phase.
Before beginning any repair work, one should prepare the crack by using a nail or a similar tool to remove any loose material and ensure the filler adheres well. It’s important to remember that the success of the repair doesn’t just depend on the application of the filler, but also on proper surface preparation and following specific product instructions for mixing, applying, and curing the materials.
Finishing and Protecting the Repaired Area
Once the concrete crack has been filled, finishing touches are crucial to ensure the longevity and aesthetic of the repair.
Smoothing and Texturing the Surface
After applying the concrete mix or concrete resurfacer, one should smooth the surface with a trowel, integrating the repair with the surrounding area. It is important to mimic the texture of the existing concrete to make the repair less noticeable. This blending can be achieved by dragging a broom over the wet surface to introduce a similar grit and texture.
Curing and Sealing the Concrete
Proper curing is critical for the strength and durability of the repair. The repaired area should be kept moist for a period specified by the concrete mix instructions, often up to a week. This can be done by covering the area with plastic sheeting or damp cloths. Once cured, sealing with a quality waterproofing product will protect against moisture penetration and weather damage, thus extending the repair’s lifespan. If necessary, one might consult professionals for advice on the best sealing products and application methods. Using a pressure washer before sealing will ensure the surface is clean and aids in better adhesion of the sealing agent.

 CALL US NOW


