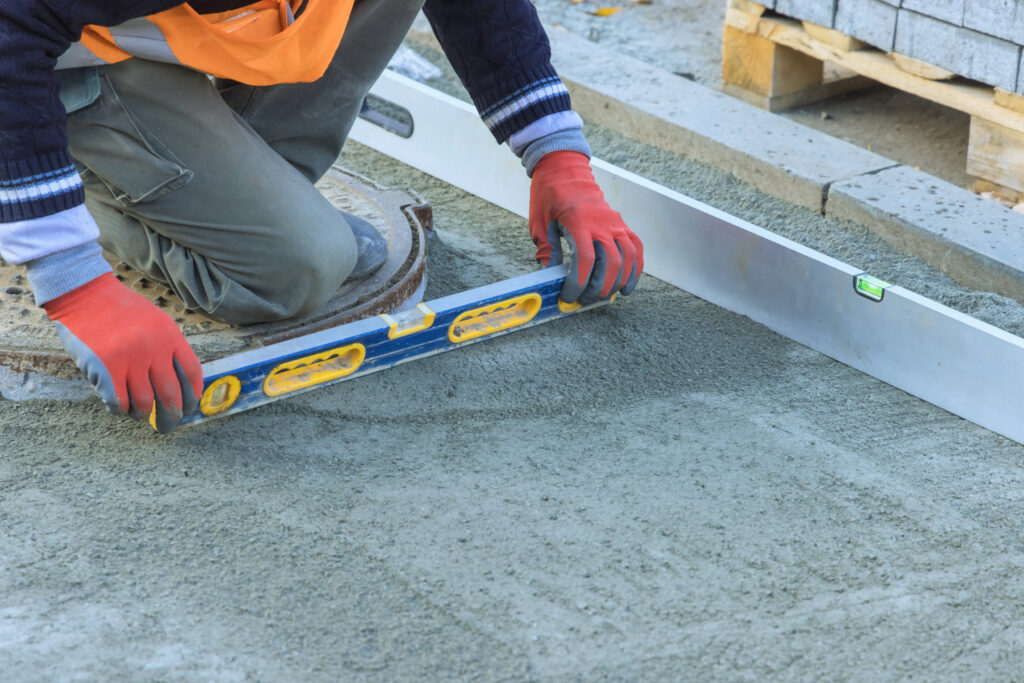
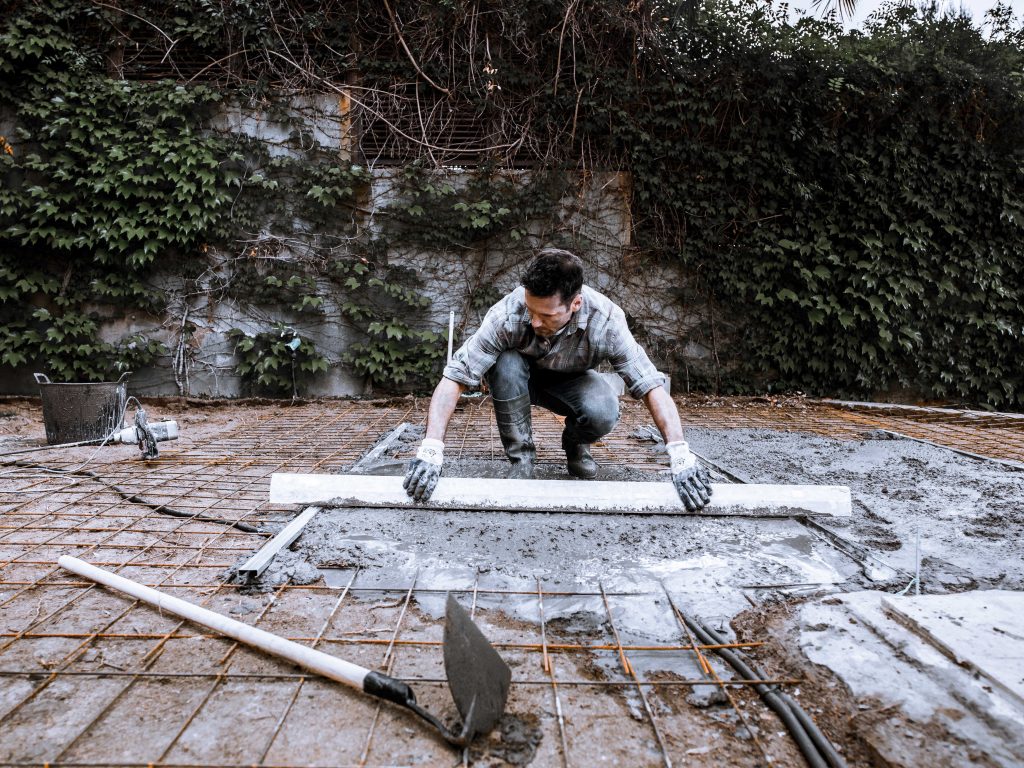
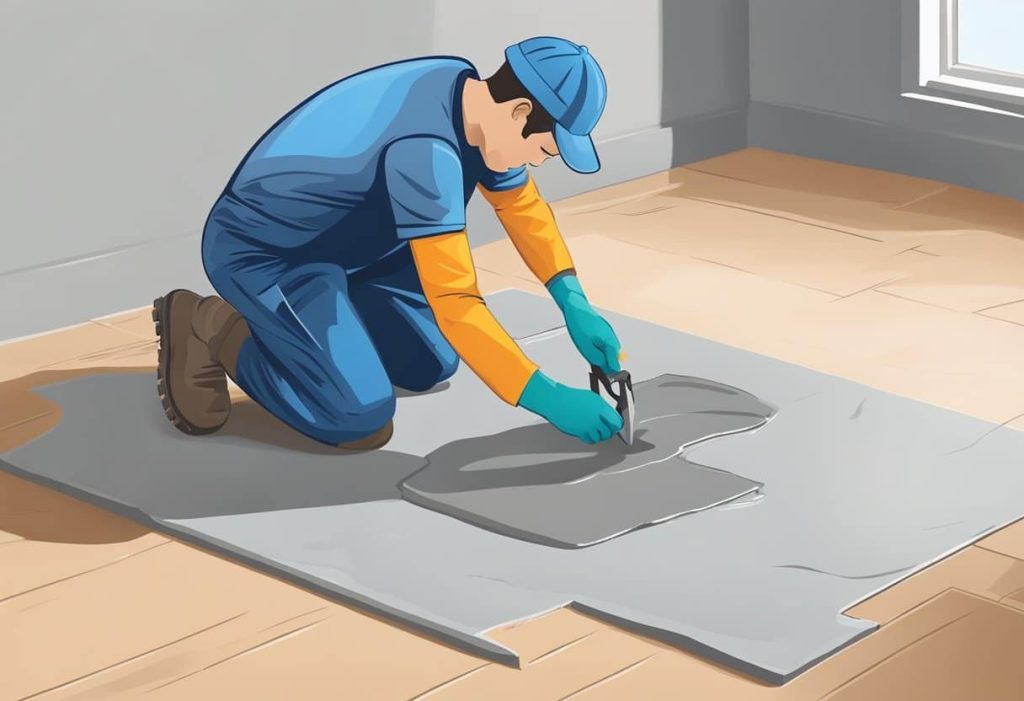
Repairing a crumbling concrete wall is a task that requires careful attention to detail and the right techniques to ensure a lasting solution. Concrete, a durable and reliable material for construction, can still succumb to damage over time due to various factors such as environmental exposure, improper mixture, or inadequate curing. When it crumbles, identifying the underlying issue is crucial to addressing the problem effectively. While minor cracks and surface damage may often be handled by homeowners, more significant degradation often necessitates a more comprehensive approach that may include the use of specialized products like epoxy-injection systems for cracks or resurfacing techniques to strengthen the integrity of the wall.
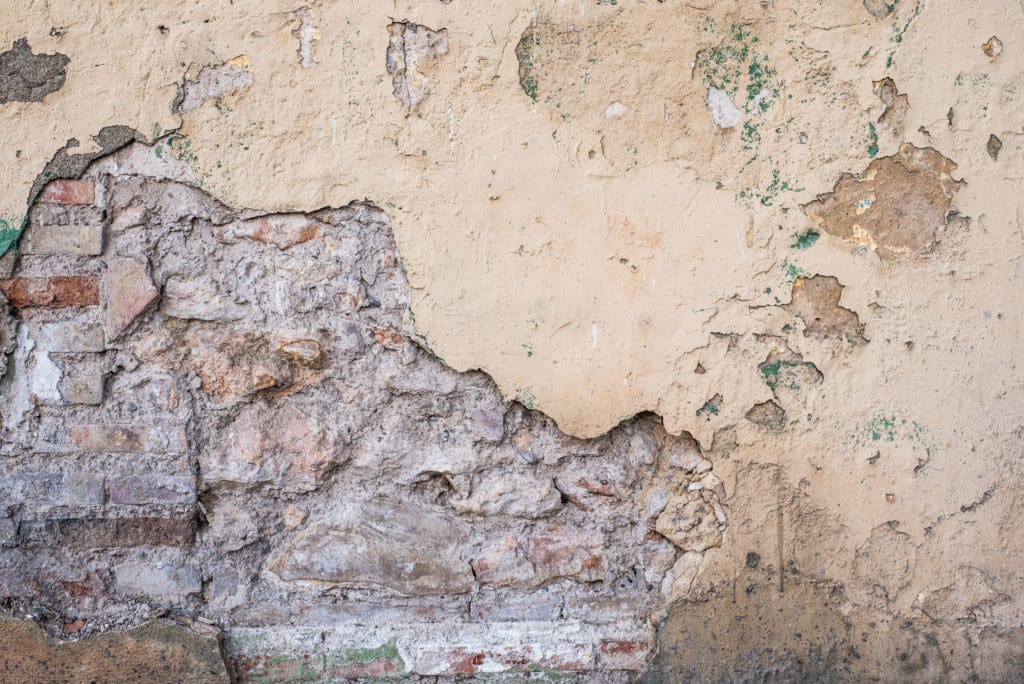
The process of repairing a concrete wall typically involves removing any loose material and cleaning the affected area thoroughly before applying the repair solution. For a stronger bond, it’s essential to mix the repair material, such as a cement-based patching compound, correctly. The ratio of sand to cement can be critical for ensuring the patch has sufficient strength and adheres well to the existing concrete. A technique often recommended by experts is applying a coat of cement paint to the old concrete surface before the patching material, enhancing the bond and ensuring better durability of the repair work.
Regular maintenance and timely repairs can extend the life of concrete structures significantly. Whether it’s sealing cracks promptly or resurfacing an entire section, the goal is to restore the wall’s structural integrity and prevent further damage. Homeowners and contractors alike must recognize the signs of concrete deterioration early on and use appropriate methods to fix worn concrete and prevent future issues. Knowledge of appropriate mixtures and repair techniques is essential for any concrete repair project to be successful.
Assessment of Concrete Wall Damage
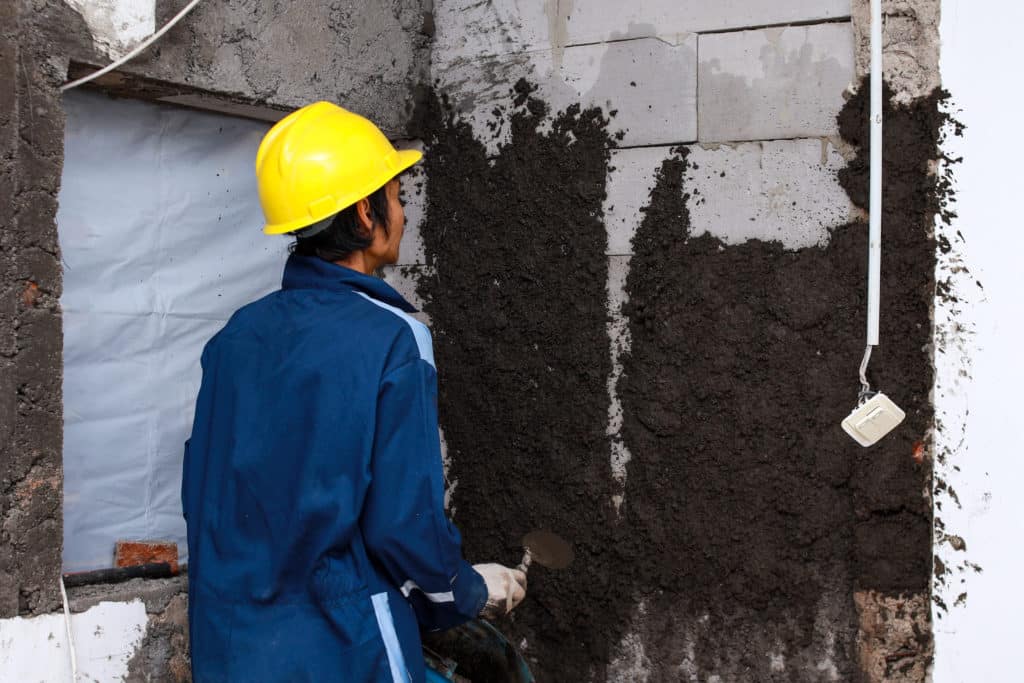
Before initiating repairs on a crumbling concrete wall, it’s vital to accurately assess the damage. This involves identifying affected areas and determining the damage extent to understand the underlying issues and prepare for the necessary repair.
Identifying Crumbling Areas
Visual Inspection: Begin by conducting a thorough visual inspection of the foundation wall. Look for areas of efflorescence, which indicates water seepage, as these areas often have underlying structural issues. Crystals forming on the surface are telltale signs of prolonged moisture exposure.
Touch Test: Gently probe suspected areas with a tool. Loose concrete pieces may indicate deeper damage beneath the surface. In cases where the concrete is flaking or chipping away, this suggests that the concrete mixture may have been compromised or that it has been exposed to corrosive chemicals.
Determining the Extent of Damage
Depth Measurement: Evaluate the depth of cracks or crumbling sections. Minor surface damage may only require patching, whereas deeper cracks could signal serious problems. Hairline fractures might be superficial, but larger fissures warrant a closer look.
Structural Assessment: For bulging walls or significant deterioration, consult a structural engineer to assess whether the integrity of the foundation is at risk. If the soil around the foundation has changed or if water drainage is poor, these conditions can lead to increased pressure and potential collapse of the wall.
Professional Evaluation: Recommended for serious cases, a professional evaluation will determine if foundational repairs are necessary. They will consider the age of the structure, local climate, soil conditions, and other environmental factors that could affect the foundation’s stability.
Materials and Tools for Concrete Repair
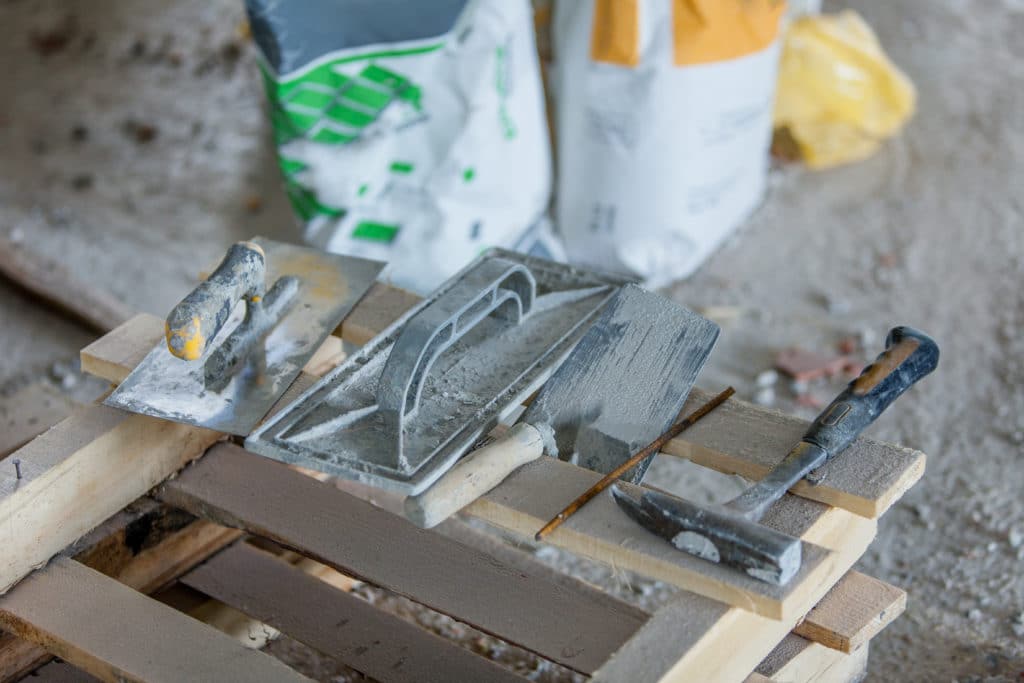
When undertaking the repair of a crumbling concrete wall, one should be equipped with the right materials and tools. This ensures the repair is durable and effectively restores the structural integrity of the wall.
Selection of Concrete Mix
Selecting the appropriate concrete mix is critical. For general repairs, a Portland cement-based mixture is preferred due to its high durability and compatibility with existing masonry. It should ideally be mixed with sand to create mortar with the right consistency. For deeper repairs or to fill in large voids, incorporating small stones into the mix can enhance the strength of the repair.
| Component | Purpose |
|---|---|
| Portland Cement | Binds materials to form the concrete |
| Sand | Provides fineness to the mix, filling gaps and voids |
| Small Stones | Adds bulk and strength for larger repair areas |
| Patching Material | Specialized compounds for surface-level repairs |
Essential Tools for Repairs
To perform concrete repairs effectively, the right set of tools is mandatory.
- A wire brush to clean out loose debris and deteriorating concrete
- A bucket for mixing concrete or mortar
- Metal trowel or Float for smoothing and leveling the repair material
- A caulk gun if using a sealant for cracks or patching material
- Garden hose with a spray nozzle, or a spray bottle for keeping the area damp during cure
- Trowel for applying and shaping the mortar
The use of these specific tools depends on the extent of damage and the type of repair one is conducting. A wire brush helps in removing loose particles, ensuring a clean surface for the repair material to bond to. The trowel is then used to neatly fill in the defects with the concrete mix. For jobs requiring sealants or specialized patching materials, a caulk gun can provide precision and control in application. It is also essential to keep the repaired area moist, which helps the new concrete cure slowly and prevents premature cracking, using a garden hose or spray bottle.
Concrete Wall Repair Steps
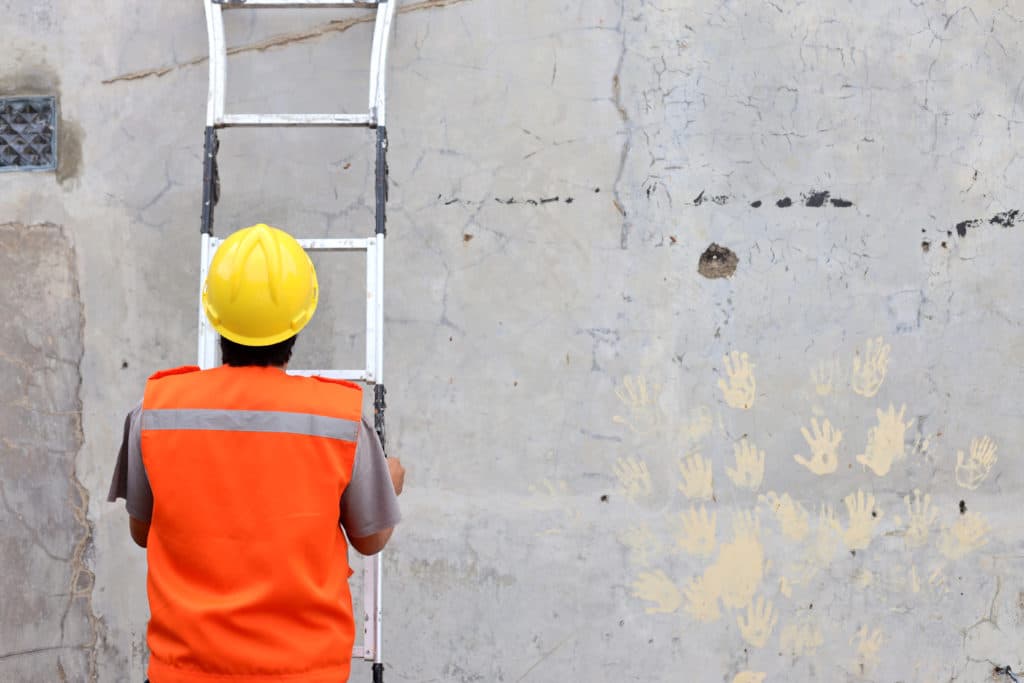
When approaching the repair of a crumbling concrete wall, it is crucial to follow a series of detailed steps, ensuring the restoration is effective and durable. Utilizing proper techniques and products such as Quikrete for patching, a builder or mason can reconstruct the integrity of the wall. Below are the specific steps involved in the repair process.
Cleaning and Prepping the Area
First, assess the crumbling areas carefully. They need to remove any loose or damaged concrete by scrubbing the surface with a wire brush, ensuring that all dust and debris are cleared away. A shop vacuum is often used to ensure the area is thoroughly cleaned. Prepping the area also involves ensuring that the surrounding environment is shielded from the repair materials, which might involve using tape or plastic sheeting to protect adjacent surfaces.
Applying Patching Material
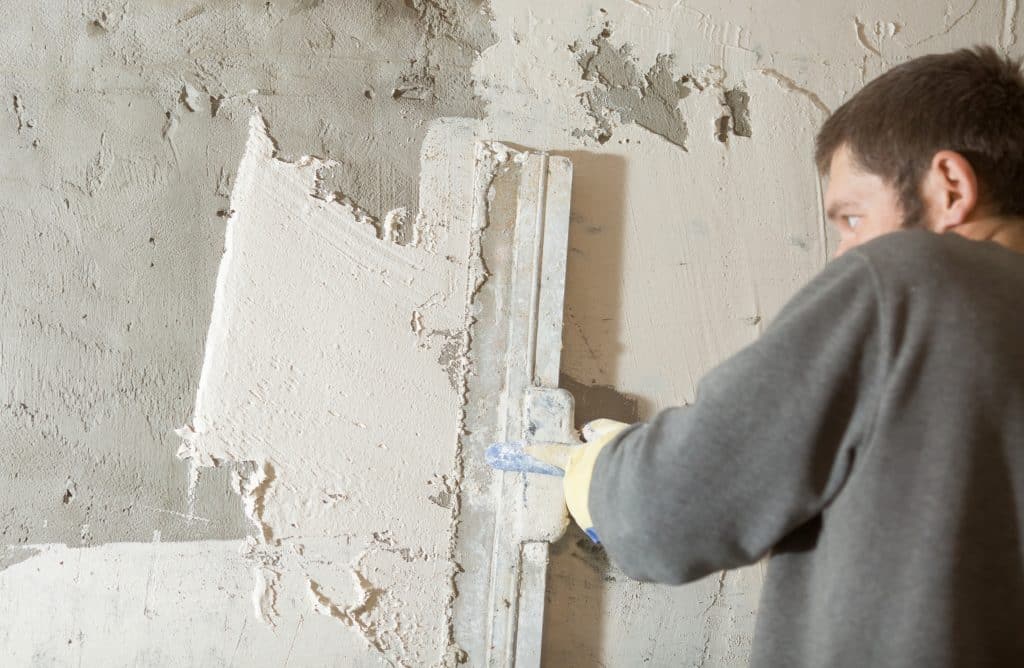
Once the area is clean, they apply a concrete patching compound appropriate for the scale of the repair. The process involves mixing the compound to the correct consistency, following manufacturer’s instructions. For substantial repairs, they may use a trowel to press the patching material into the crumbling areas, ensuring that it fills all voids and closely adheres to the existing concrete structure. It is vital that they feather the edges to bond smoothly with the old surface, maintaining proper texture and avoiding future cracks or detachment.
Finishing Touches
After the patchwork is applied, they allow it to cure as per the specified time before smoothing or texturing the surface to match the existing wall. During curing, proper moisture conditions must be maintained for the repair to set effectively. Once the material is adequately hardened, they can perform any final texturing to ensure the patch is indistinguishable from the rest of the wall, providing not just strength but also an aesthetically pleasing repair.
Preventing Future Wall Crumbling
To ensure the longevity of concrete walls, it becomes essential to address potential issues that can lead to deterioration. The focus should be on preventing water penetration and ensuring proper drainage, as these are pivotal in avoiding the processes that cause walls to crumble over time.
Sealing and Waterproofing
Applying a waterproof coating to concrete walls is crucial in preventing water seepage that could lead to structural damage. One should look for a quality sealant designed to block moisture, considering those containing hydraulic water-stop cement for areas with existing water issues. Seal any visible cracks with a sealant that can expand and contract during freezing and thawing cycles to minimize further damage.
- Materials: Use high-grade sealants and waterproof coatings.
- Maintenance: Regularly check for and repair any new cracks that might appear.
Maintaining Proper Drainage
Effective drainage is essential in preventing water from accumulating around the walls. Here’s what can be done:
- Slope the ground away from the foundation to encourage water to flow away from the structure, mitigating the risk of groundwater buildup.
- Install a robust drainage system: Ensure proper gutters and downspouts are in place to divert rainwater.
- Minimize the use of salt in areas near the walls, as it can accelerate erosion and water damage when used for de-icing.
Enhancing Wall Aesthetics Post-Repair
Once the structural integrity of a crumbling wall is restored, the focus shifts to improving its appearance. An aesthetically pleasing wall not only contributes to the property’s overall appeal but also showcases a solid maintenance regimen.
Resurfacing and Painting
Resurfacing a wall with a new layer of high-quality concrete mix serves as the fundamental step to revitalize its look. The wall surface can be enhanced by applying a cement paint that complements the existing outdoor decor. It’s essential to select a durable paint designed for exterior surfaces to ensure long-lasting results. When repainting, use a paintbrush or roller specifically made for textured surfaces to achieve a uniform coat and tackle any discoloration. Careful application can prevent rust formation on metal fixtures and maintain the fresh appearance of the wall.
For detailed guidance on proper resurfacing techniques, one can refer to the information provided on Vertical Concrete Mix for Resurfacing Walls.
Improving Curb Appeal
Increasing curb appeal goes beyond the wall itself, encompassing the surrounding walkway, driveway, and patio areas. One can boost these aspects by ensuring that paved surfaces are clean and in good repair, complementing the renewed walls. Consider staging with outdoor furniture or planters that align with the property’s style and enhance the inviting atmosphere. Strategic use of outdoor lighting can also accentuate the wall’s texture and color, particularly after dusk.
Accessories and fixtures should be maintained free of rust and discoloration, with a repaint job as needed to align them with the wall’s newfound aesthetic.

 CALL US NOW