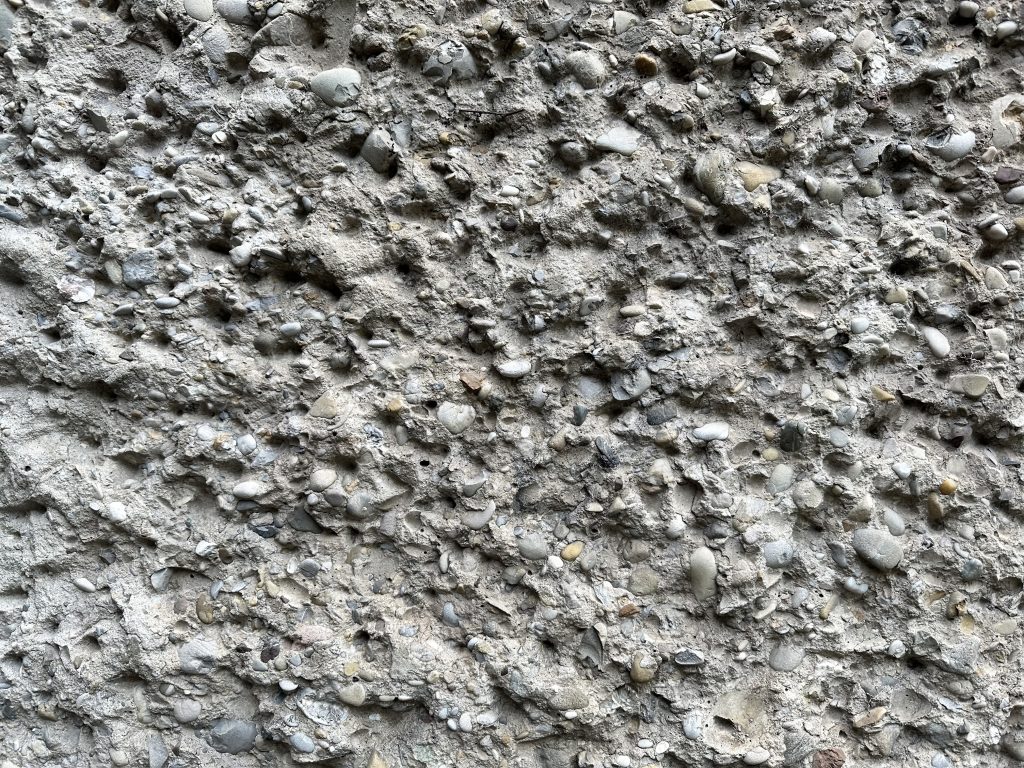
Maintaining the integrity of a concrete floor often involves dealing with the inevitable issue of cracks. These cracks not only affect the aesthetic appeal of a space but can also signify underlying structural problems. Addressing repairs promptly ensures that minor cracks do not evolve into larger, more costly issues. The process for repairing these cracks varies depending on their width and the condition of the concrete.

Concrete is a durable material, but over time it can succumb to wear and tear caused by weather, load-bearing pressures, and settling. Narrow cracks can often be repaired using a concrete caulk or liquid filler, while wider cracks may require a more robust repair with a concrete patching compound. The necessary steps for a successful repair include properly preparing the crack, which may involve cleaning and removing any loose material, and applying the appropriate repair product to ensure a bond that restores the concrete’s surface.
When repairing concrete floors, one must select the right materials and tools to ensure a long-lasting repair. For smaller, hairline cracks, a simple concrete caulk might suffice, but for larger, more substantial cracks, using a vinyl concrete patching compound is often recommended. It’s crucial to follow the manufacturer’s instructions to properly mix and apply these materials. Safety precautions, such as wearing gloves and a dust mask, are also essential to protect oneself during the repair process.
Understanding Concrete Cracks

Concrete is inherently strong, yet susceptible to cracking. Various factors contribute to these fractures, and their type and severity can indicate underlying structural concerns. To address concrete cracks effectively, one must first comprehend their origins and classifications.
Causes of Concrete Cracks
Temperature fluctuations are a primary cause of concrete cracking. Concrete expands and contracts with changes in temperature, which can lead to the formation of hairline cracks over time. Wide cracks and large cracks may develop due to other factors such as:
- Subsurface movement: Shifting of the ground beneath the concrete slab.
- Load-bearing weight: Excessive weight applied to the concrete can cause it to crack.
- Aging and curing process: Inherent shrinkage as concrete dries and hardens.
Understanding these causes is essential for determining the appropriate repair methods and the urgency of addressing the issue.
Types of Cracks
Identification of concrete cracks is pivotal to assessing their impact on structural integrity. Cracks are primarily categorized into non-structural and structural:
- Hairline cracks:
- Typically less than 0.3 mm in width.
- Often superficial and non-structural.
- Wide cracks:
- Wider than 0.3 mm but less than 5 mm.
- Can signify more serious issues, warranting further inspection.
- Large cracks:
- Exceed 5 mm in width.
- Often indicate potential structural issues.
- Immediate attention is usually required to prevent further damage.
Regular inspection and maintenance can prevent minor cracks from evolving into major safety concerns, keeping the structural integrity of a concrete surface intact.
Concrete Crack Inspection

Before attempting any repairs, a thorough inspection of the concrete cracks is necessary to determine the extent of the damage and the appropriate course of action.
Assessing Damage Level
One must assess the damage level to understand the severity of the cracks present in concrete structures such as driveways, patios, foundations, sidewalks, basement floors, and garage floors. Cracks may appear insignificant but could signal deeper issues. For shallow cracks, resurfacing techniques may suffice. However, deep cracks that penetrate the thickness of the concrete may require more intensive repairs that address structural integrity.
Identifying Crack Patterns
Concrete crack patterns can indicate specific problems. Horizontal cracks in foundation walls might suggest pressure buildup from the surrounding soil. Vertical cracks are often less worrying and may be a result of settling or shrinkage. For a basement floor or garage floor, a web of fine cracks—known as “crazing”—might appear and are typically non-structural but could be an aesthetic concern. ‘V’ shaped cracks in a sidewalk or patio often point to surface-level shrinkage. In contrast, wide, ‘U’ shaped cracks can be evidence of freeze-thaw cycles or heavy loads passing over the slab.
Preparation for Crack Repair

Before embarking on the concrete crack repair process, it is crucial to properly prepare the crack to ensure a lasting fix. This preparation involves thorough cleaning and gathering the necessary tools and materials.
Cleaning the Crack
One must ensure that the crack is free from dust and debris to allow the repair materials to adhere effectively. This is typically achieved using a combination of a wire brush to loosen any fine particles and a broom or a vacuum to remove them from the area. For more substantial deposits, a chisel and hammer may be required to chip away any loose concrete. If the crack is exterior and accessible, a pressure washer could be employed for a deeper clean, being sure to allow the area to dry completely after washing.
Tools and Materials Needed
The selection of tools and materials for repairing concrete cracks includes:
- Safety glasses for eye protection
- Wire brush to remove fine dust
- Broom and/or Vacuum to clear out loose debris
- Chisel and Hammer for larger pieces
- Putty knife or similar tool for applying repair compound
In the tools section, a screwdriver might occasionally be handy for stubborn particles lodged within the crack. The repair approach depends on the concrete crack’s size and might necessitate additional or specialized tools. For any repair method chosen, making sure all tools are in good condition and materials ready at hand will facilitate a smoother repair process.
Repair Methods for Concrete Cracks
Effective repair of concrete cracks involves choosing the right materials and methods, tailored to the size and nature of the damage. The following subsections detail how to address different types of cracks in concrete floors.
Sealing Narrow Cracks
For cracks that are less than a quarter-inch in width, the use of a liquid filler or concrete caulking material is appropriate. These sealants can be applied using a standard caulk gun. It is often recommended to first insert a backer rod into the crack to provide support and minimize the amount of caulk needed. This method seals the crack and prevents further deterioration from water infiltration.
Patching Wide Cracks
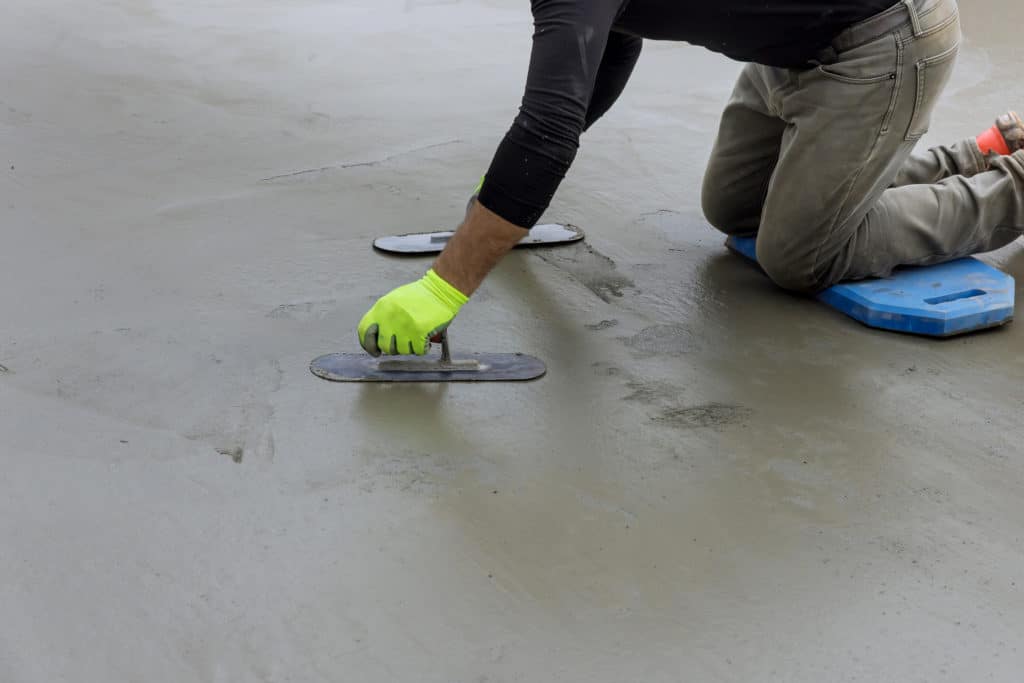
When dealing with wider cracks, typically greater than a quarter-inch, concrete patching compound is the material of choice. One should prepare the crack by removing any loose material with a trowel and then clean the space thoroughly. Next, if using a cement-based patching compound, ensure to mix the material according to the manufacturer’s instructions before application. Quick-setting concrete mix can be used for areas that need to be repaired and used without delay. The patching compound should be tamped into the crack firmly and smoothed with a trowel to blend with the surrounding surface.
Addressing Structural Cracks
Cracks that suggest structural damage should be inspected by a professional. If repairable, one may employ methods such as epoxy injections, which bond the cracked sections and restore the concrete’s structural integrity. The crack must be cleaned meticulously before injecting the epoxy resin. This method is more complex and should be done by someone with experience to ensure that the structure’s safety and stability are not compromised.
Finishing and Preventative Measures
When repairing cracks in concrete floors, achieving a smooth finish and taking steps to prevent future cracking are crucial. Proper drying and curing, along with applying an appropriate sealant, play vital roles in this process.
Drying and Curing
After filling cracks, it is essential for the concrete to dry and cure adequately, a process that can significantly impact the longevity and strength of the repair. The drying time allows the filled material to settle and bond without interruption, while the curing time ensures the repair gains maximum hardness and durability. It is recommended to follow the manufacturer’s instructions regarding both drying and curing times to ensure optimal results.
Applying Sealant
Once the repaired area has cured, applying a concrete sealer can protect the floor from future damage. A sealer acts as a barrier against moisture and can aid in maintaining the integrity of the concrete. It’s important to select a sealer appropriate for the floor’s usage and environmental conditions. Proper drainage systems, including gutters and downspouts, should be maintained to direct water away from the concrete surface to reduce the risk of cracking due to excess moisture.

 CALL US NOW