CALL US NOW
Concrete walls are a sturdy and long-lasting element in modern construction, but over time, they can develop cracks or other forms of damage. Various factors contribute to such issues, including environmental stresses, settlement, water infiltration, and even the natural aging process of the material. Repairing concrete walls is vital to maintaining structural integrity, preventing water damage, and avoiding more extensive problems down the line.
The approach to concrete wall repair varies based on the extent and type of damage. Small hairline cracks might only require a simple patch, while larger, more structural issues could call for reinforcement with an epoxy-injection system. It’s imperative to address these issues promptly to prevent water, insects, and gases from infiltrating the building through the cracks.
Professionals often use specific tools, materials, and bonding agents to ensure that repairs are durable and effective. Methods such as using a liquid or paste elastomeric compound can be employed for smaller repairs, while more significant damages may necessitate comprehensive steps involving the installation of injection ports and the application of a structural bonding agent. Properly repaired, a concrete wall can continue to serve its structural purpose for many years to come.
Understanding Concrete Wall Damage
Prior to any repair, identifying the nature and cause of the damage in concrete walls is essential. Accurate assessment ensures that appropriate repair methods are applied, addressing both aesthetic and structural concerns.
Types of Concrete Cracks
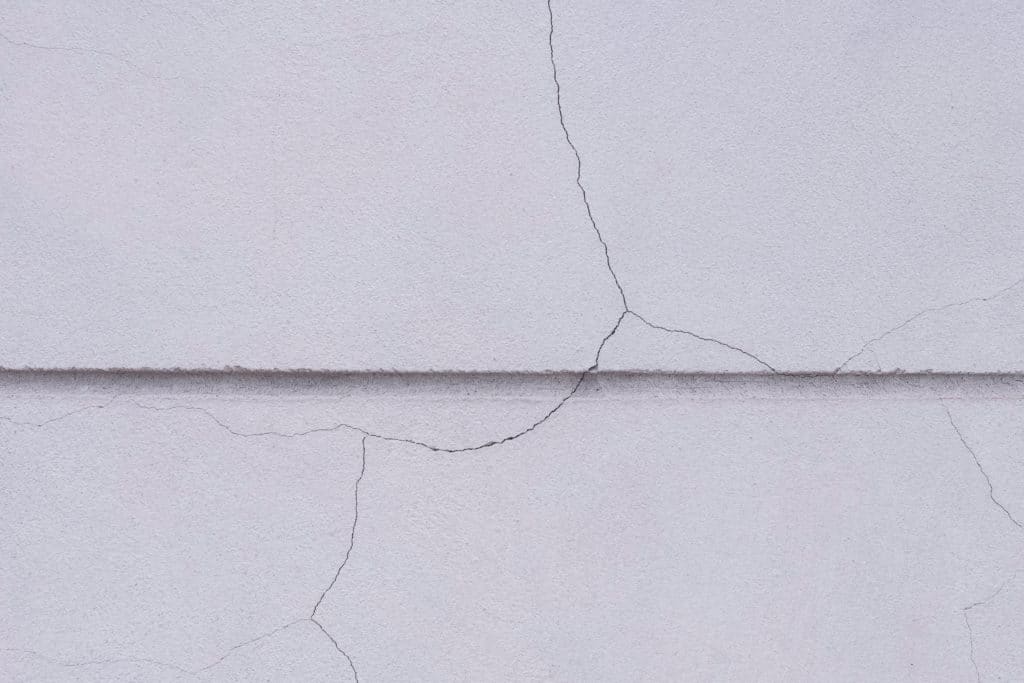
- Hairline Cracks: These are fine, surface level cracks that often result from shrinkage as the concrete cures. They may not indicate structural problems but can allow moisture to penetrate, leading to deterioration over time.
- Wide Cracks: Cracks wider than ¼ inch can be a sign of underlying structural issues or significant settlement. These require a thorough inspection to determine the cause and extent of the damage.
Identifying Structural Issues
- Observation: Visible bowing or distortion in a wall suggests a structural problem that may be due to external pressures or foundation settlement.
- Wall Cracks Patterns: A stair-step crack pattern, especially near the corners of windows and doors, can signal significant structural stress within the wall, potentially requiring the expertise of a structural engineer.
One should seek a professional assessment when structural issues are suspected, as they may compromise the integrity of the building. Repairing concrete walls with structural damage may involve reinforcement, such as epoxy injection or other stabilization techniques. For less serious issues like crazing or non-structural small cracks, methods like sealant or resurfacing can be effective for maintaining the wall’s appearance and longevity.
Materials and Tools for Repair
Selecting the appropriate materials and tools is critical for effective concrete wall repair. This ensures durability and a seamless finish to the repair work.
Choosing the Right Repair Materials
Materials play a vital role in concrete repairs. For minor cracks, a concrete crack filler or an epoxy sealer can be used, while for larger damages, a mortar mix or a concrete patching compound might be necessary. It’s important to recognize the type of damage to select the right product. Bonding agents such as latex bonding agent ensure that the new material adheres to the old surface, while grout or sealant can be utilized to fill and seal voids. For achieving the right consistency and strength, adding sand can be beneficial, especially when blending mortar or concrete mix.
Essential Tools for Concrete Repair
A well-equipped toolkit is essential for efficient concrete wall repair. Here’s a quick rundown:
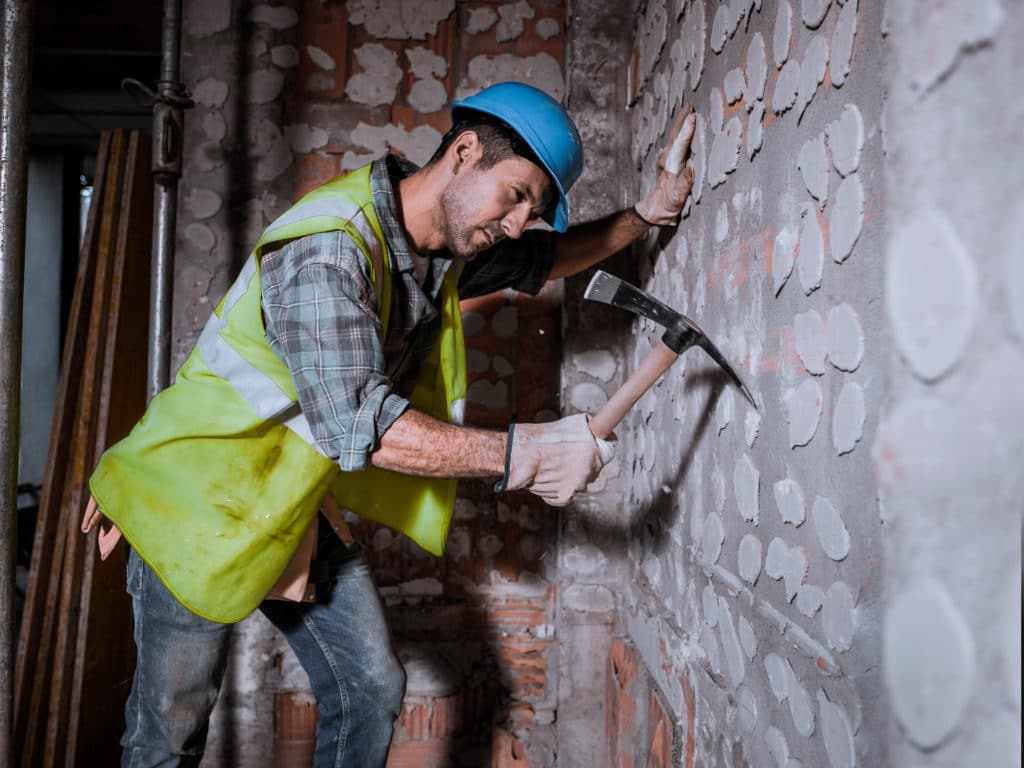
- Chisel and Hammer: For chipping away loose and damaged concrete.
- Wire Brush: To clean out debris from cracks and ensure a clean bonding surface.
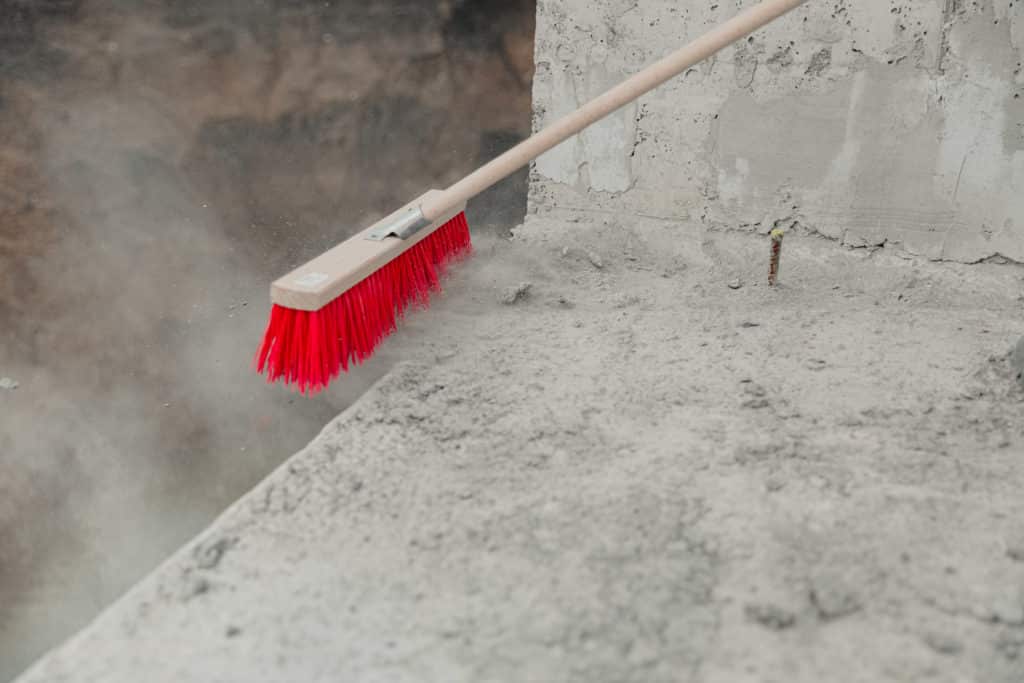
- Broom or Industrial Brush: For sweeping away all dust after chiseling and brushing.
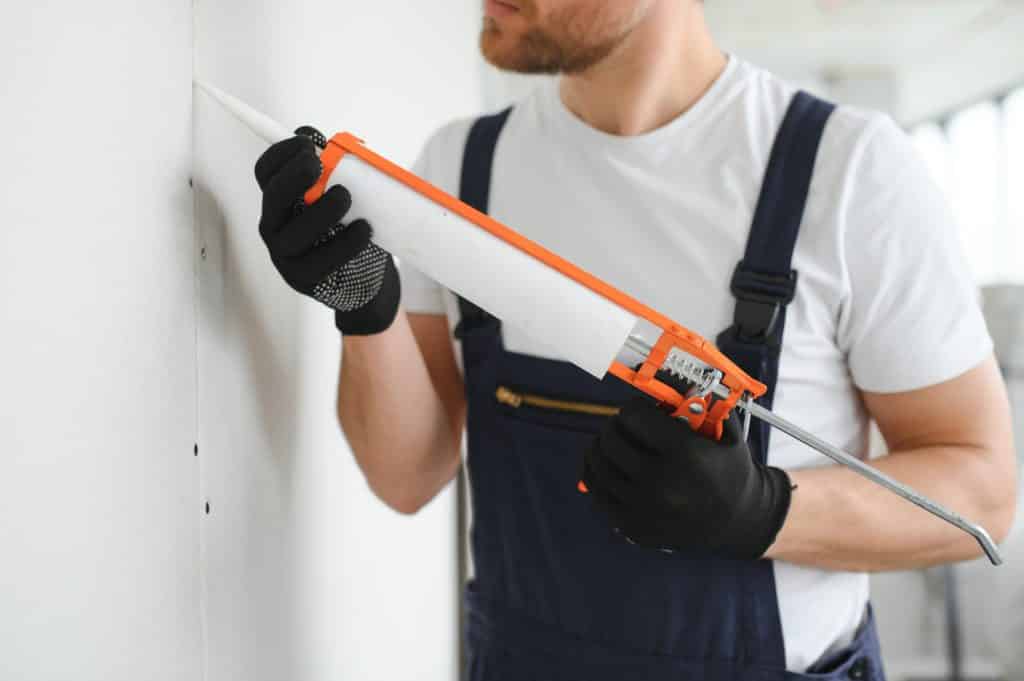
- Caulk Gun: Used to apply concrete crack filler or caulk in cracks and joints.
- Trowel and Putty Knife: For applying and smoothing patching compounds.
- Screwdriver: Sometimes helpful for widening cracks before filling.
Professional repair might include tools such as an angle grinder or concrete float, but these are not typically needed for basic repairs. It’s crucial to have all necessary tools on hand before beginning the repair to ensure the process is as smooth and effective as possible. Remember, proper preparation of the surface with these tools can significantly impact the longevity of your concrete repairs.
Preparing for Repair

Before initiating repairs on a concrete wall, thorough preparation is crucial. This involves cleaning the wall surface and removing any loose material to ensure a strong bond for the repair.
Cleaning and Removing Loose Concrete
First, one must remove all loose and damaged concrete to create a solid base for the repair material. Beginning with a scrub or brush will dislodge loose particles and debris. A paint scraper or wire brush is commonly used to remove loose paint and clean off dirt. Following the initial scrubbing, a pressure washer can be employed to wash away any remaining debris and dirt, ensuring a clean surface free of contaminants that could impede the adhesion of the new material.
- Equipment needed:
- Wire brush or paint scraper
- Pressure washer
The presence of moisture can significantly affect the repair, so the concrete wall needs to be dry before proceeding. One should hence allow enough drying time after employing water during the cleaning process.
Surface Preparation Techniques
Once the wall is clean, the surface must be readied for the repair compounds. It involves using certain techniques that can improve the bonding of repair materials to the existing concrete surface. Mechanical preparation includes methods like acid etching, sandblasting, and manual abrading with tools. A concrete bonding agent should then be applied with a paintbrush to ensure proper adhesion between the old and new concrete.
- Steps for surface preparation:
- Apply a bonding agent to the clean, dry surface.
- Allow the agent to dry as per manufacturer’s instructions.
The preparation stage must not be rushed, and all steps should be carefully and methodically executed for an effective repair.
Repair Process Step by Step
When tackling concrete wall repair, it’s crucial to employ the correct techniques for both minor issues, like filling cracks and sealing joints, and more significant damage that may involve structural repairs. Maintaining a methodical approach ensures the integrity and longevity of the repair work.
Filling Cracks and Sealing Joints
Crack Filling:
- Clean the Crack: Begin by using a wire brush to scrub the crack clean of any loose concrete or debris. A shop vacuum can be used to ensure all dust is removed.
- Prepare the Area: To stabilize injection ports, tap finishing nails partway into the crack every 12 inches.
- Apply Caulk: Fill the crack with a concrete repair caulk or hydraulic cement, ensuring that air pockets do not form within the crack. Smooth the caulk with a putty knife.
- Allow Curing: Give the repair ample time to cure according to the product instruction, which varies by the type of caulk or sealant used.
Crack sealing becomes a necessary step when dealing with minor imperfections or the preventative maintenance of joints. Properly executed, it prevents water infiltration and future damage.
Repairing Larger Damage
Patching Holes and Structural Damage:
- Remove Loose Material: Chip away damaged and loose pieces of concrete around the area requiring repair, being careful not to create further damage to the surrounding area.
- Prepare Reinforcement: Where necessary, expose and clean the underlying rebar or mesh, applying a rust-inhibiting coating if necessary.
- Mix Concrete: Prepare a concrete mix, or use a pre-packaged concrete repair mixture, adding any recommended additives to strengthen the bond.
- Fill the Damage: Tightly pack the mixture into the hole or damaged area, pressing firmly to eliminate air pockets. For vertical surfaces, use a form if necessary to hold the mixture in place.
- Level and Texturize: Finish by smoothing the patch with a trowel, and then texturize to match the existing concrete surface. Cover with plastic to ensure slow, even curing.
- Curing: Allow the patch to cure fully, following the specific directions of the repair product.
For DIYers, it’s crucial to understand that larger and structural repairs, such as fixing concrete steps or mending weight-bearing slabs, often require precision and sometimes professional intervention. For instance, basement wall crack repair can be one of the more complex tasks, potentially indicating more serious structural issues.
Finishing and Curing Concrete Repairs
After repairing concrete walls, the final steps are critical to ensure the longevity and effectiveness of the repairs. These steps include proper finishing techniques and a curing process that enhances the strength and durability of the concrete.
Applying Sealer and Curing
To safeguard the repaired area and improve its resistance to weathering, applying a quality sealer is essential. Sealers work by penetrating the concrete and forming a protective layer that impedes the ingress of moisture and contaminants. The choice of sealer depends on the specific requirements of the concrete surface and exposure conditions. For maximum performance, it’s crucial to apply the sealer following the manufacturer’s instructions with respect to coverage rate, application method, and curing time.
Curing is a not-to-be-neglected phase that allows the repair materials to achieve desired strength and durability. The curing process involves maintaining adequate moisture within the concrete for a certain period; this is typically a minimum of 7 days for most concrete mixes. Methods of curing include covering the concrete with wet burlap or plastic sheeting, or by applying a curing compound that forms a moisture-retaining film over the surface. Proper curing conditions can significantly increase the strength and longevity of the repair, ensuring a successful remediation of the concrete structure.