CALL US NOW
Concrete slabs can sink over time due to soil erosion, water damage, or poor initial installation. Mudjacking is one common method used to raise and stabilize these sunken slabs. But the big question is—should you tackle it yourself or call in the professionals?
Before you break out the drill and rent equipment, let’s take a closer look at when DIY mudjacking makes sense and when it’s smarter—and safer—to get expert help.
Is DIY Mudjacking Feasible?
Yes, DIY mudjacking can be done—but only for specific types of concrete issues. If the job is small and doesn’t involve structural or safety concerns, you may be able to handle it yourself. However, it’s important to understand your limits.
You Might Try DIY If:
- The sunken area is less than 50 square feet in size.
- The slab has sunk less than an inch.
- It’s not located near a home foundation or buried utility lines.
- You’re comfortable using construction tools and working with materials like cement.
You Should Hire a Pro If:
- The slab has deep cracks or has settled more than 1–2 inches.
- It’s close to plumbing lines, electrical systems, or your home’s foundation.
- You’re unsure about drilling, mixing slurry, or operating heavy tools.
When in doubt, it’s better to play it safe. A local expert like NC Concrete Contractor offers reliable concrete leveling solutions that reduce risk and ensure long-lasting results.
Essential Tools for DIY Mudjacking
This job isn’t just about filling holes—it requires planning, precision, and the right equipment. Here are the tools and supplies you’ll need if you decide to go the DIY route:
- Mudjacking Pump: Often available for rent, this tool helps inject the slurry under the slab.
- Masonry Drill and Bits: Used to drill the access holes through the concrete.
- Slurry Mix: Typically made of Portland cement, soil or sand, and water—mixed to a thick, batter-like texture.
- Safety Gear: Protective gloves, goggles, a dust mask, and tough clothing are essential to protect yourself.
- Marking Tools & Trowel: To keep track of holes and smooth patch repairs.
Before you start, check for underground utilities by contacting your local utility notification center. The Occupational Safety and Health Administration (OSHA) recommends confirming the location of all underground lines before drilling to prevent serious injuries or service damage.
Step-by-Step Guide to DIY Mudjacking
If your project qualifies as DIY-friendly, follow these steps carefully to get the job done right.
1. Inspect the Area
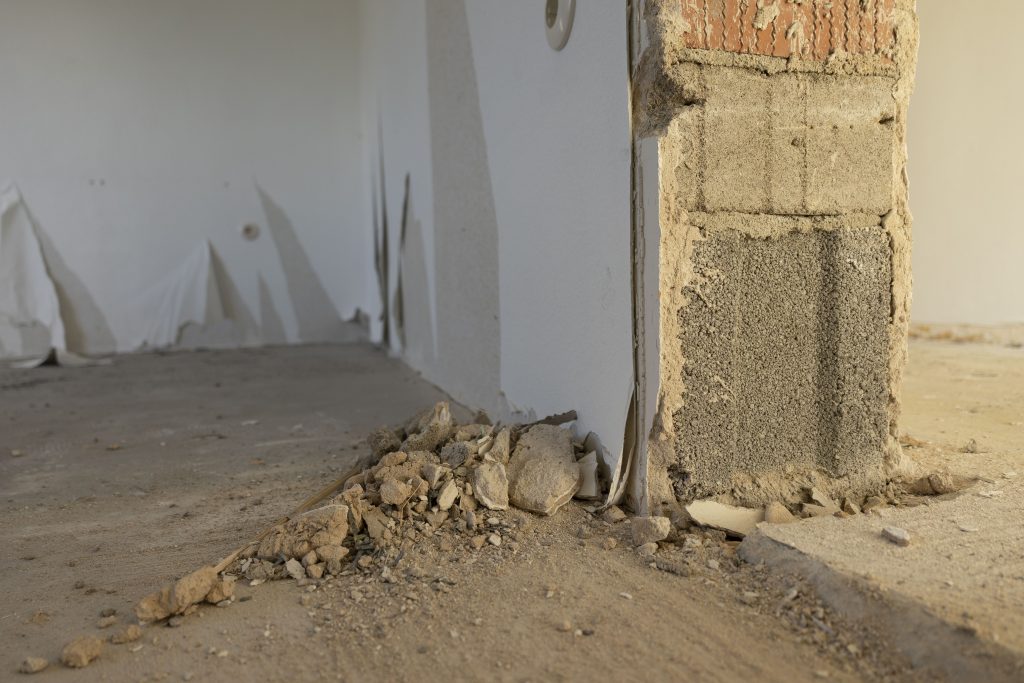
Check the sunken slab for cracks, hollow spots, and signs of soil erosion underneath. Tap the slab lightly with a metal rod—hollow-sounding areas indicate voids that need filling.
2. Drill Injection Holes
Using a masonry drill, make holes roughly 1.5 to 2 inches in diameter. Space them about 2 to 3 feet apart across the sunken section. Angle the holes slightly inward to direct the slurry toward empty voids.
3. Mix and Inject the Slurry
Prepare your slurry mix using Portland cement, soil, and water. You’re aiming for a thick consistency—not too watery. Pump it under the slab through the holes until the concrete rises to its proper level.
4. Patch the Holes and Let It Cure
Once the slab is level, clean the surface and patch each hole using cement filler. Allow the repaired area to cure for at least 24–48 hours before placing any weight or foot traffic on it.
Exploring Alternative DIY Mudjacking Approaches
If traditional mudjacking sounds like too much effort—or if you don’t have access to the right tools—there are other ways to raise sunken concrete.
Foam Injection Kits
These kits use expanding polyurethane foam instead of slurry. They’re easier to use and create less mess, but they tend to be more expensive and require precise handling to avoid overfilling.
Sand or Gravel Fill
This method works for very shallow voids where major leveling isn’t needed. It’s a quick fix, but it doesn’t provide long-term support like slurry or foam.
Remember, while these alternatives may be more accessible, they’re not always as effective—especially for larger or more critical areas.
Potential Risks Associated with DIY Mudjacking
Mudjacking might seem like a simple fix, but there are risks if you’re not experienced.
- Overlifting the Slab: Injecting too much material can lift the slab too high or cause new cracks.
- Uneven Support: If you miss a void or don’t inject enough slurry, parts of the slab may remain unsupported and sink again.
- Damage to Utilities: Drilling in the wrong place can result in broken water, gas, or electrical lines—leading to dangerous and expensive repairs.
If you’re unsure of your skills or worried about what could go wrong, that might be a sign to hire a professional.
Considerations for Alternatives to DIY Mudjacking
If you’re weighing DIY against professional options, it helps to look at the big picture. Sometimes spending a bit more upfront leads to better results in the long run.
- Professional Mudjacking: Typically costs $500 to $1,500, but often comes with warranties and more consistent results.
- Concrete Replacement: This is the most expensive option and is usually reserved for slabs that are cracked beyond repair.
- Polyurethane Foam Jacking: A modern, highly durable method that uses lightweight foam to raise slabs. It costs more but can last longer and cure quickly.
Determining Whether DIY Mudjacking is the Right Choice
Before committing to a DIY mudjacking project, ask yourself:
- Do I have the time, tools, and confidence to do this right?
- Is this a low-risk area like a walkway or shed slab?
- Will it cost more to fix if I make a mistake?
Sometimes, saving money upfront can lead to more expenses later if the job goes wrong. That’s why many homeowners choose experts like NC Concrete Contractor, who offer professional leveling with long-lasting results and peace of mind.