
 CALL US NOW
Cracks in concrete are a common issue for homeowners and property managers. While concrete is a highly durable material used in construction for floors, driveways, and other surfaces, it is not immune to wear and tear. Over time, concrete can develop cracks due to a variety of factors such as temperature changes, settling, and the natural curing process. Repairing these cracks promptly is important to maintain the integrity of the structure and to prevent further damage. There are different methods to fix cracks in concrete, each suitable for different types of damage ranging from hairline cracks to larger structural fissures.
Some cracks may appear to be merely cosmetic while others can indicate deeper structural problems. Evaluating the severity of the crack is the first step in addressing the issue effectively. For superficial cracks, there are products designed for a quick fix, such as a concrete repair mix. These can be readily applied and are ideal for small, non-structural repairs. For more significant cracks, especially those that affect structural integrity, a more comprehensive repair strategy involving reinforcing materials and techniques may be necessary.
It’s important for those undertaking concrete repair to have a clear understanding of the process and the products involved. Preparing the cracked area properly is essential to ensure a strong bond and a lasting repair. This includes cleaning the crack, removing any loose material, and sometimes, applying a bonding agent before the repair material is added. Using the appropriate tools and materials, the majority of concrete repairs can be accomplished successfully by most do-it-yourselfers or by professional contractors for more challenging jobs.
To learn about concrete repair materials, one can refer to Bob Vila’s guide on choosing the right product for specific situations. For understanding the repair process, The Home Depot provides resources on fixing concrete, and Lowe’s offers instructions for repairing cracked concrete with step-by-step guidance.
Identifying Types of Cracks

Identifying cracks in concrete is vital in assessing the condition and determining the necessary repair strategy. The nature and size of the cracks can reveal much about underlying issues and potential risks to structural integrity.
Hairline and Small Cracks
Hairline cracks are thin surface fractures that can be less than 0.003 inches in width, often resembling fine lines on the concrete’s surface. They are typically non-structural and result from the natural settling of materials or minor shrinkage during the curing process. Small cracks, which are slightly larger but still under a quarter-inch in width, could also fall into this category. These types of cracks do not generally indicate a structural problem, but it’s important to monitor them to ensure they don’t widen or propagate.
Large and Structural Cracks
On the other hand, large cracks in concrete, especially those wider than a quarter-inch, may signal deeper issues. When a crack runs deep enough to impact the concrete’s stability, it’s often considered a structural crack. Common indicators of problematic cracks include significant width, a pattern of horizontal cracking, or cracks that run diagonally across walls or slabs. These fissures may suggest foundation settlement or a serious structural problem and should be evaluated by a professional to determine the extent of the damage and the need for potential structural repairs.
Materials and Tools Required

Before embarking on concrete crack repair, gather all necessary materials and tools to ensure a smooth and efficient process. The type of damage—from minor cracks to major fissures—determines the tools and materials required.
Basic Tools for Minor Repairs
For minor repairs, one needs a straightforward toolkit. Here’s a list of essential tools:
- Hammer and chisel: To clear out loose concrete.
- Wire brush: For cleaning debris from cracks.
- Putty knife: To apply filler material.
- Shop vac: To ensure the area is dust-free.
- Trowel: For smoothing the applied filler or cement.
- Pressure washer (optional): Ideal for deep cleaning the crack and surrounding area.
- Backer rod: Useful for supporting filler material in deeper cracks.
Advanced Tools for Major Repairs
Dealing with major repairs may require more robust tools:
- Sledgehammer and heavy-duty chisel: For breaking up larger pieces of damaged concrete.
- Concrete repair kit: These kits come with specialized tools tailored for various repair scenarios.
- Power tools: In some cases, a drill may be needed to create holes for injecting epoxy.
- Caulk gun: For applying crack filler or sealer.
Filling and Sealing Materials
Select the appropriate filling and sealing materials as per the crack’s condition and size:
- Sand and cement: Basic components for creating a concrete patch mixture.
- Epoxy or polyurethane filler: Strong and durable options for filling cracks.
- Concrete crack filler: Comes in tubes or bottles; great for small to medium cracks.
- Sealer: To finish the job and protect the area from further damage and water intrusion.
Choose quality materials that will not only fill the cracks but also bond with the existing concrete to prevent future issues.
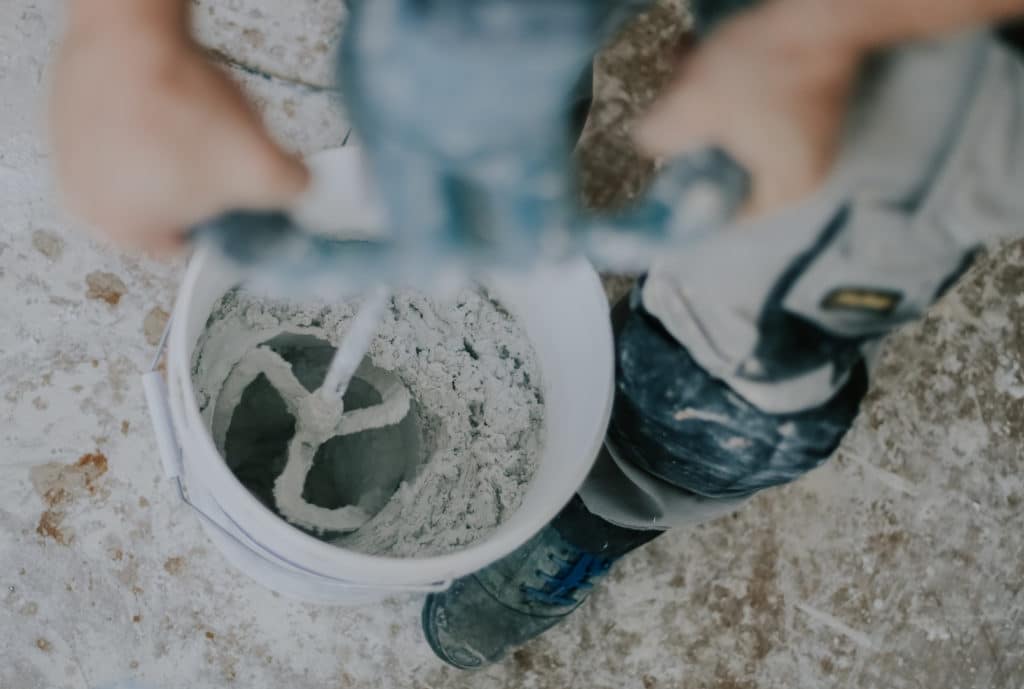
Preparation and Cleaning of Cracks

Before initiating any repair work, it’s essential for one to thoroughly prepare and clean the concrete cracks. This ensures that the repair materials bond properly and the fix is durable and long-lasting.
Surface Preparation Techniques
One must begin by removing any loose concrete or debris from the crack. For a driveway or patio, this might involve the use of a broom to sweep away fragments. In basement repairs where the crack might be more nuanced, a wire brush could be deployed to scour the finer particles lodged within the crack. If the crack has wider gaps, it is advantageous to consider scrubbing the crack with a stiff brush and rinsing the area with a power wash to ensure a clean surface, which allows the repair material to adhere effectively.
Cleaning and Priming the Cracked Area
Once the surface preparation is complete, the next step involves cleaning. The debris can be extracted from the crack using a shop vac, which is especially effective in removing dust and small particles. Afterwards, cleaning the area with mineral spirits can be beneficial in removing any oil or grease. Following the cleaning, a primer should be applied, which acts as a bonding agent for the concrete repair material. The primer must be allowed to dry as per the manufacturer’s recommendations before proceeding with the concrete filling process.
Repair Process and Techniques

When considering concrete repair, two key factors are the size of the cracks and the materials used for repair. It is crucial to select the appropriate filling method and to adhere to the recommended drying or curing time to ensure a long-lasting repair.
Filling Hairline and Small Cracks
For hairline and small cracks, one typically uses a concrete crack filler or a concrete repair mix. The process involves cleaning the crack, preparing the filler material as instructed — usually it’s mixed until it achieves a uniform consistency — then applying it to the crack. A common tool for this job is a caulk gun, which allows for precise application. The filler should then be left to cure, usually taking about 24 hours for the material to set properly and achieve adequate strength.
- Materials: Concrete crack filler, caulk gun
- Curing Time: ~24 hours
Addressing Large Cracks and Damage
Large cracks or damage often require a more robust approach. Initially, one may need to widen the crack slightly and remove any loose material with a chisel and hammer. A mix of concrete patch material or a liquid concrete repair kit, which might include injection ports for deeper penetration of the repair mixture, are commonly used products. Once applied, these mixes may require adding aggregates like gravel to reinforce the repair. Ensuring a smooth, level finish with a trowel is essential. The curing time for these larger repairs tends to be longer to allow for a thorough drying process, with some products requiring up to a week before the area can handle traffic.
- DIY Level: Intermediate to advanced
- Curing Time: Up to 7 days for full traffic load
Finishing and Curing for Longevity
After repairing cracks in concrete, proper finishing and curing are imperative to ensure the longevity and durability of the surface. These final steps prevent future damage and maintain the structural integrity of the concrete.
Final Touches and Texturing
Once the repair material is properly applied and smoothed with a trowel, finishing nails can be used to recreate the texture of the surrounding concrete, if necessary. It’s crucial that these touches are consistent with the existing surface to ensure a uniform appearance.
Applying a sealer after the repair has cured helps to protect the surface from moisture and wear. The use of sealers also reduces the chances of future cracking. Choosing the right sealer is important, as it should bond well with the existing concrete and the repair material.
Curing time is another vital aspect, which can vary based on the product and ambient conditions. During this period, maintaining the right moisture level is critical. This can be done by covering the area with a moist cloth or periodically misting the surface. In some cases, especially for larger repairs or when under specific environmental conditions, curing compounds may be applied to facilitate the process.
Sand can be lightly scattered over the sealer before it dries to provide additional texture and slip resistance. After applying the sealer, the surface should not be disturbed until it has fully cured, following the manufacturer’s recommended time frame.


