Repairing concrete steps is a practical skill for maintaining the longevity and safety of your home’s exterior. Over time, damage to concrete steps can occur due to constant foot traffic, weather conditions, and natural wear and tear. Chips, cracks, and other forms of damage not only mar the appearance of the steps but may also pose a tripping hazard or structural issues if left unaddressed.

The process of fixing concrete steps may seem daunting, but with the right materials, tools, and techniques, it can be a manageable DIY project for homeowners. Addressing the smaller repairs promptly can prevent larger problems down the line, saving both time and money. One must assess the extent of damage carefully to determine whether a simple patch-up will suffice or if a more extensive repair is necessary.
Understanding the correct way to clean, mix, apply, and finish concrete is essential. Homeowners should familiarize themselves with safety precautions and local building codes. With attention to detail and patience, repairing concrete steps can restore them to their former glory and ensure they remain functional and visually appealing for years to come.
Assessing the Damage
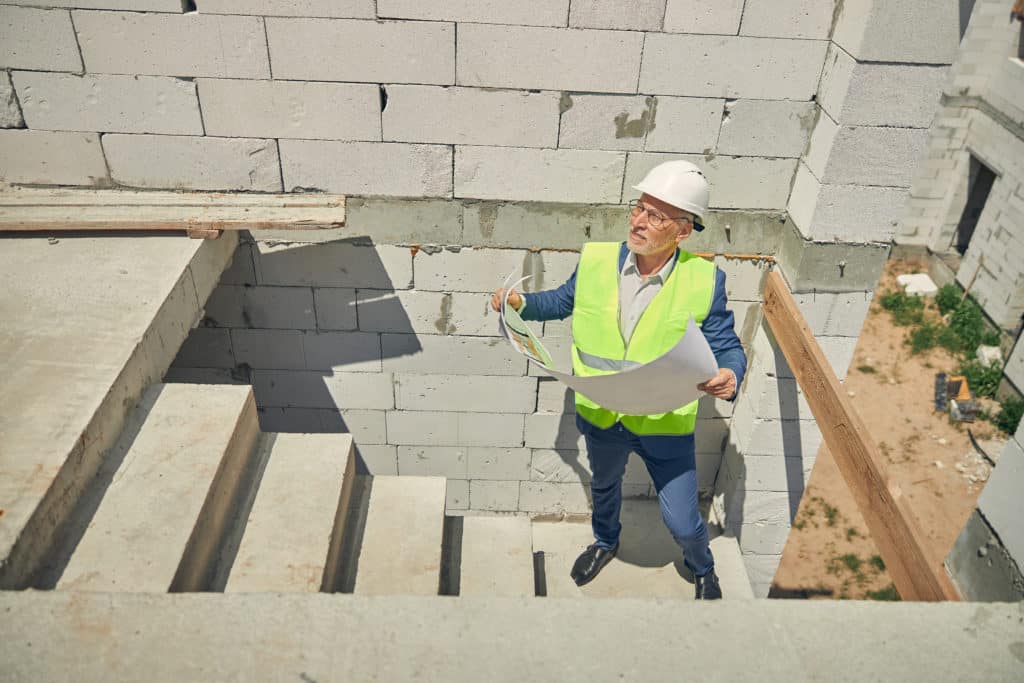
Before addressing how to mend cracked or crumbling concrete, one must thoroughly assess the damage to determine the appropriate repair approach. This crucial step ensures that the stability of the concrete steps is not compromised by regular foot traffic and the harsh outdoor elements they endure.
Identifying Common Issues
The initial phase of evaluation involves looking for visible signs of wear and tear. Common issues include:
- Cracks: Spidering, hairline, or larger fissures that may have formed due to temperature changes or stress.
- Crumbling: Flaking or chipped areas, often near the edges or corners, indicative of possible structural fatigue.
- Wear: Smooth spots worn down by frequent use that may pose slip hazards.
One should document these problems carefully, as their extent and location can significantly influence the repair process.
Preparing for Repairs
Once issues are pinpointed, preparing to restore the concrete steps is next. This involves:
- Cleaning: Removing loose debris, dust, and dirt from cracks and crumbled areas.
- Surface Preparation: Ensuring damaged portions are ready to bond with repair material. This might involve undercutting cracks to provide a better base for the patching compound.
- Materials Check: Selecting the correct repair materials that are compatible with the existing concrete and suitable for the type of damage.
Understanding the scope of damage is crucial to devising a precise repair strategy that will extend the lifespan of the concrete steps and ensure safety for all users.
Gathering Materials and Tools
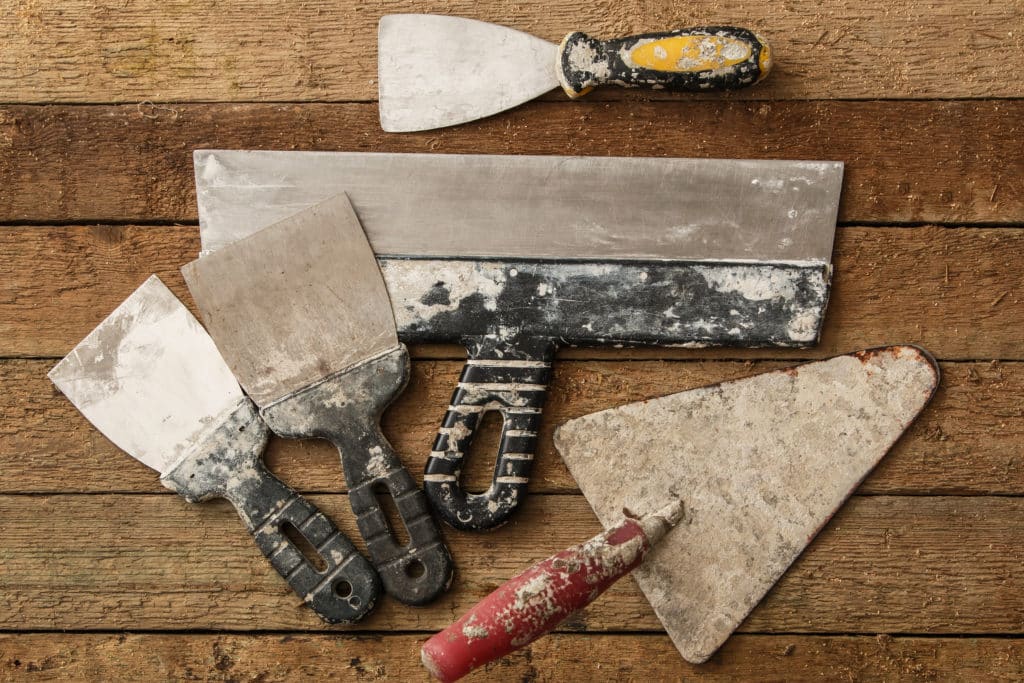
Before beginning the repair of concrete steps, it is imperative to collect all necessary materials and tools to ensure a smooth and efficient process.
Choosing the Right Concrete Mix
When selecting a concrete mix, one should opt for a crack-resistant variety to prevent future deterioration. A high-quality mix will provide the durability needed for the steps. For instance, Quikrete No. 1006 is often recommended because of its strength and reliability. Additionally, the mix should be accompanied by sand to ensure proper consistency and strength.
Protective Equipment
Safety must be a priority, hence the use of protective equipment like gloves and goggles is non-negotiable. Gloves will protect one’s hands during mixing and shaping, while goggles keep eyes safe from harmful dust and debris. Using a bucket and a hoe for mixing the concrete ensures precision and consistency. For the application and shaping of the concrete, a trowel is essential.
- Tools:
- Chisel: To remove loose or damaged concrete.
- Hammer: For carefully chipping away at the concrete with the chisel.
- Trowel: Used to level and smooth the concrete mix.
- Equipment:
- Gloves: Vital for hand protection.
- Goggles: To shield eyes from debris.
Patch and Repair Techniques
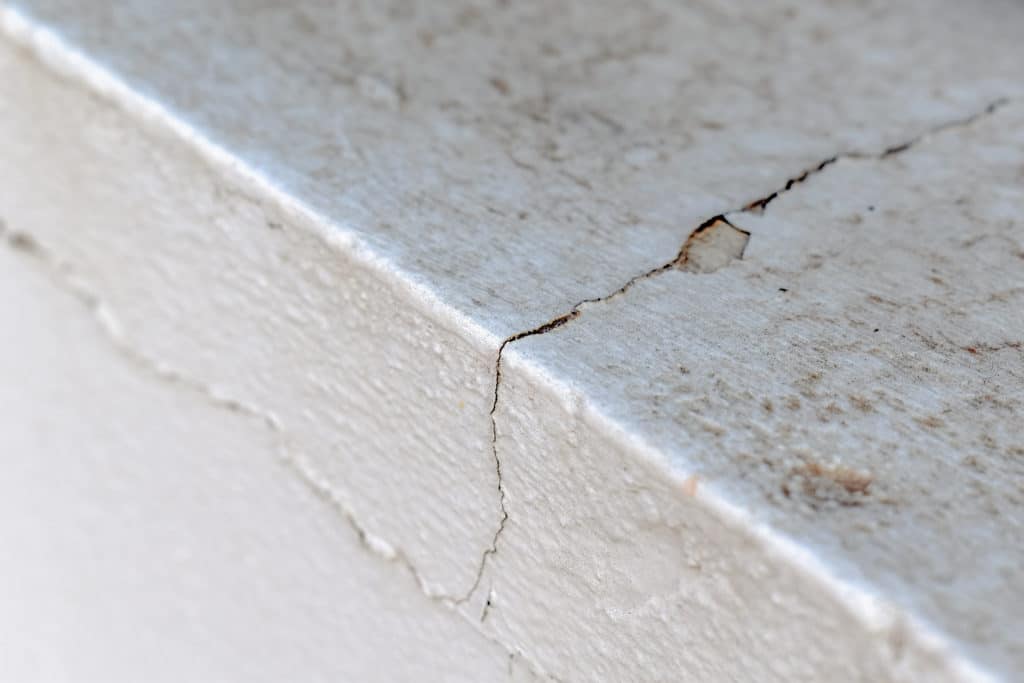
Efficient patch and repair techniques for concrete steps can extend their lifespan and enhance safety. These methods require precise application and proper materials to ensure a lasting fix.
Repairing Small Cracks
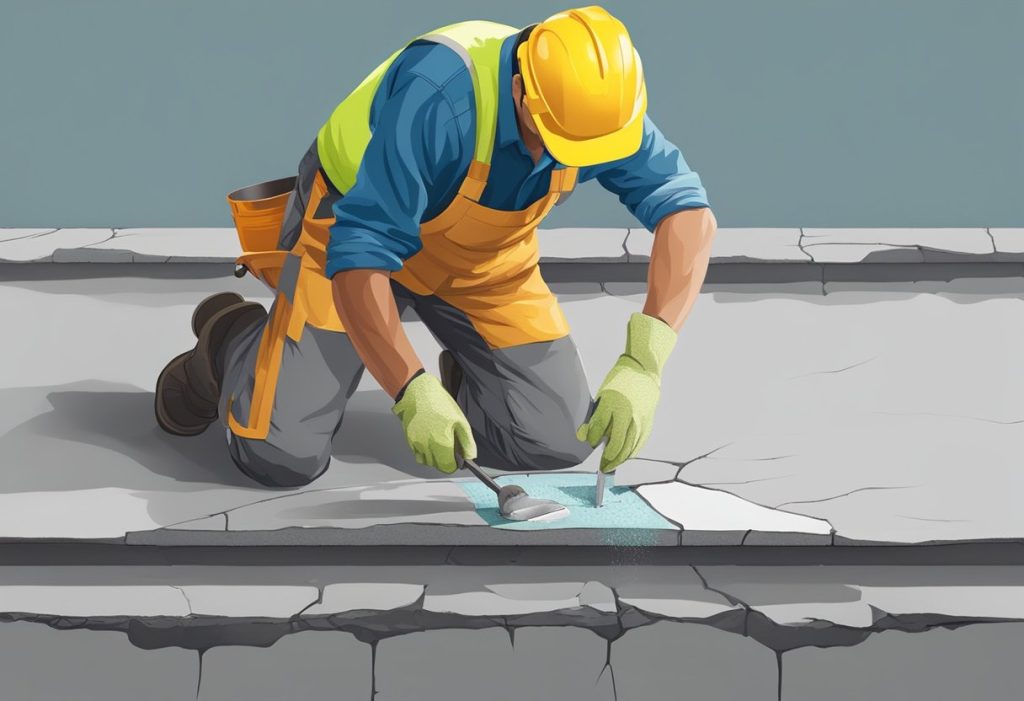
To address small cracks, one must first clean the crack thoroughly and prep the area. A concrete bonding adhesive applied with a putty knife ensures a better grip for the repair material. Then, they can fill the crack with quick-setting cement, using a pointed trowel for a smooth finish. The filled crack should be kept moist for proper curing.
- Materials Needed:
- Concrete bonding adhesive
- Quick-setting cement
- Putty knife
- Pointed trowel
Fixing Larger Defects
For larger defects in steps, a wooden form cut to size is necessary to contain the concrete patch mix. After cleaning out the damaged area, they secure the form with duct tape and apply a layer of concrete bonding adhesive. Next, they fill the form with repair material, using a pointed trowel to level it with the existing step surface. The edges may be shaped with a concrete edger before the new concrete sets.
- Method:
- Secure wooden form with duct tape
- Apply concrete bonding adhesive
- Fill with concrete patch mix
- Shape with pointed trowel and concrete edger
Resurfacing Worn Steps
Over time, steps might require a complete resurfacing when the surface becomes too worn. They can use a concrete resurfacer to renew the step’s appearance and functionality. Before applying, one must clean the steps and use a wood form if necessary, to contain the resurfacer. Afterward, they can spread the resurfacer over the steps evenly using a pointed trowel, then texturize as needed to match the surrounding concrete or for non-slip properties.
- Tools & Materials:
- Wood form (if applicable)
- Concrete resurfacer
- Pointed trowel
By using these methods, one can effectively fix concrete stairs and repair concrete steps, significantly prolonging their durability and maintaining a neat appearance.
Finishing Touches
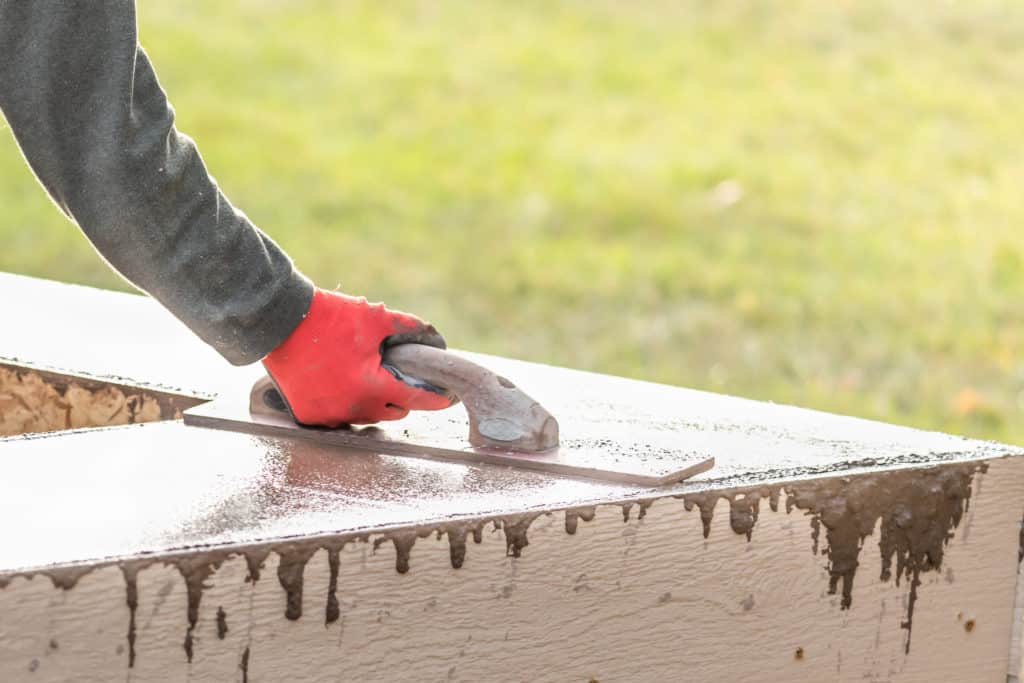
After repairing concrete steps, the work is not complete without giving attention to the finishing touches. These steps help to ensure the durability and aesthetic appeal of the steps.
Achieving the Right Texture
To achieve the right texture after patching concrete steps, one must carefully manipulate the surface. This involves using a steel trowel for a smooth finish or a float if a more textured surface is desirable. For areas that require a non-slip surface, pressing a masonry brush or sponge across the wet concrete can create a more grippable texture. When using quick setting cement, timing is critical; too soon and the material will not hold the texture, too late and it may be too set to impress a pattern.
Color Matching and Staining
Color matching and staining the repaired concrete is essential for a cohesive look. One should select a stain that complements the existing concrete color. In preparation for staining, one must ensure that the concrete is clean, using a stiff brush to remove any loose particles. Apply the stain with a masonry brush or sponge, using even strokes for uniformity. After the stain has dried, sealing the surface with a concrete sealer will protect both the color and texture, ensuring that the steps are resistant to weather and wear.
Maintenance and Prevention
Maintaining concrete steps properly can prevent the need for extensive repairs. Regularly resurfacing and cleaning the steps keeps them in optimal condition. Use a shop vac or an air compressor to remove debris from crevices and surfaces before cleaning. This step ensures a thorough clean and prepares the steps for any maintenance work.
Sealing the concrete with a sealer offers a layer of protection against moisture and wear. The application prevents water from seeping into the porous surface of the concrete, which can cause damage over time. It is also advisable to avoid using cooking oil or other home remedies as a release agent or sealer, as they may not be effective and could affect the concrete’s durability.
When minor cracks appear, carrying out prompt repairs strengthens the structure and maintains safety. Applying a bonding agent prior to adding a cement mixture ensures strong adhesion on vertical surfaces.
To repair small chips or cracks:
- Clean the area with a stiff brush and clear loose debris.
- Dampen with a spray bottle to ensure the area is moist, enhancing the bond.
- Apply the cement mixture smoothly, pressing firmly to secure it in place.
Regular maintenance checks on the stairs can identify issues early, preventing major repairs. After any maintenance work, ensure the area is shielded from direct rainfall or excessive moisture while it cures for optimal results.

 CALL US NOW