CALL US NOW
Concrete steps are a durable and functional part of many homes, but over time they can suffer wear and tear, particularly at the edges and corners. When the corners of concrete steps chip or break, it’s not only an aesthetic issue but also a safety concern. Repairing broken corners of concrete steps is a practical DIY project that can restore both the appearance and functionality of the stairs. With the right materials and guidance, homeowners can tackle this repair project to prevent further damage and extend the life of their concrete steps.

The process of repairing chipped concrete steps involves cleaning the damaged area, preparing the concrete mix, and applying it to the affected corners. The task requires attention to detail and a swift yet careful approach to sculpting the patch to match the existing steps. The cured repair should blend in with the original structure both in strength and form, making the steps safe to use again. This type of repair project not only helps maintain the structural integrity of the stairs but also improves the overall look of the property’s exterior.
Effective concrete step repair involves using suitable products that will adhere well to the existing material and withstand the wear of foot traffic and weather conditions. There are many concrete repair kits available that include all necessary components to make the job easier for homeowners. Additionally, instructional resources, such as video tutorials and step-by-step guides, can provide valuable insights and techniques to ensure a successful repair. Whether dealing with minor chips or more extensive damage, repairing concrete steps can be a manageable task for those willing to invest the time and effort.
Assessing the Damage

Before one begins the process of repairing broken corners on concrete steps, it is crucial to accurately assess the damage. This involves determining the extent of the damage and evaluating the most appropriate repair approaches, all while ensuring safety is prioritized.
Determining the Extent of Damage
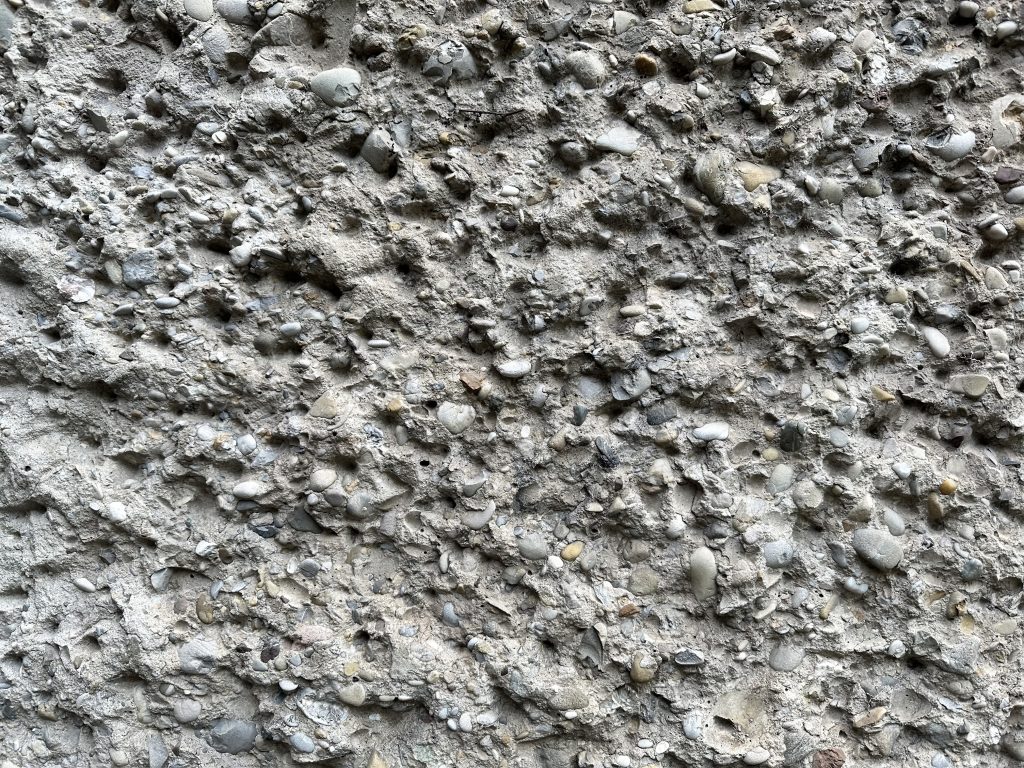
One must first inspect the damaged area to understand how much of the step needs repair. Safety considerations are key; the individual should ensure that the steps can support weight without crumbling further. Close inspection might reveal anything from minor chipping to deep cracks, which will dictate the complexity of the repair needed. For example:
- Minor damage: Small chips or cracks.
- Moderate damage: Larger cracks that may require some concrete removal.
- Severe damage: Extensive cracking, where rebuilding portions of the step might be necessary.
It’s important to establish whether the damage is purely cosmetic or if it affects the structural integrity of the steps.
Evaluating Repair Approaches
After assessing the extent of the damage, one must consider various repairing approaches that align with their skill level and the state of the steps. For instance, minor repairs might be suitable for DIY using a concrete filler or patching material. However, more complex repairs, especially those involving the support structure of the steps, might require professional intervention. Key factors to consider include:
- DIY Repair: Suitability for small to moderate repair tasks.
- Professional Repair: Recommended for complex or structural repairs.
For each type of damage, there will be different approaches, where some might involve simple patching whereas others could require mixing and shaping new concrete for building or reconstructing parts of the step.
When undertaking concrete step repairs, one should always refer to reliable resources—for minor repair techniques, guides like How to Repair Concrete Steps – The Spruce offer valuable advice, whereas for more significant issues, seeking guidance from construction professionals or educational videos such as How to Repair Broken Concrete Steps with QUIKRETE could provide the necessary instructions.
Preparation for Repair

Before beginning the repair of broken concrete step corners, it is essential to prepare the damaged area carefully. This preparation ensures a solid, lasting repair and involves cleaning the surface, gathering the right repair materials, and organizing the work space.
Cleaning the Area
Remove all loose debris, dirt, and dust from the damaged step to ensure the new material adheres properly. They can start by sweeping the area with a broom and following up with a stiff bristle brush to get rid of smaller particles. For a more thorough clean, use a wire brush to scour the surface, and for the best results, they may consider using a shop vac or pressure washer to remove any ingrained dirt.
Selecting Repair Materials
Choosing the appropriate repair materials is critical. Quick-setting cement is often recommended due to its strong bond and rapid curing time. They should ensure they have all necessary materials and tools on hand, including a mixing container, trowel, and safety glasses for eye protection. A concrete bonding adhesive may also be used to enhance the connection between the existing concrete and the new repair material.
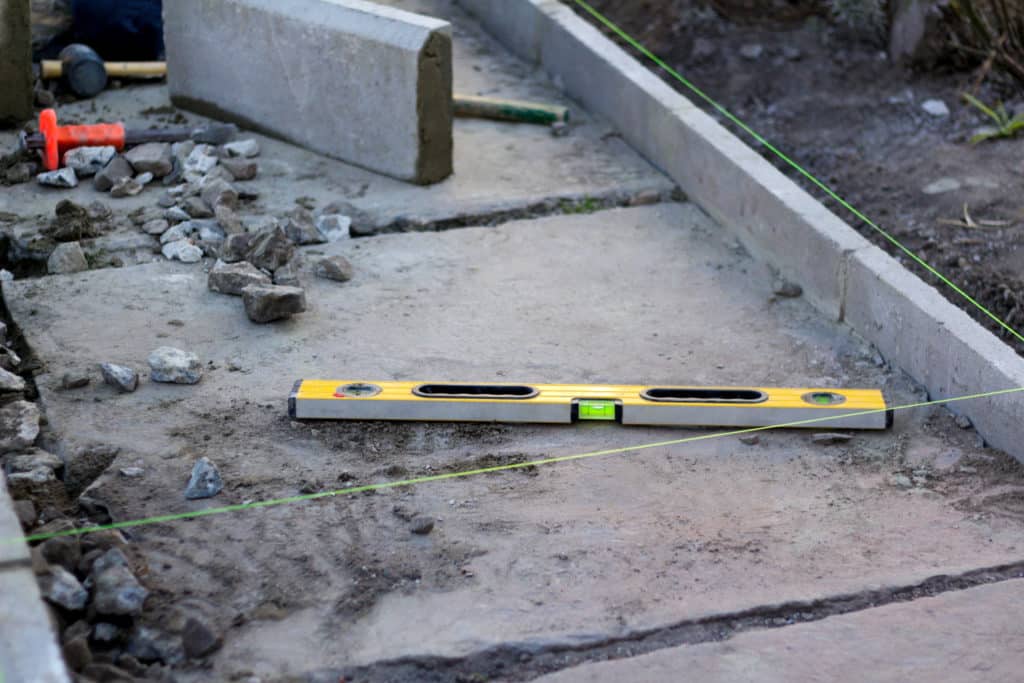
Setting Up the Work Area
Setting up a well-organized work area helps to streamline the repair process. They need to clear ample space around the step to move freely and position all tools and materials within easy reach. If using a mold or form to reshape the corner, they should prepare this beforehand to match the existing dimensions of the step. A well-set-up area not only makes the repair easier but also safer to perform.
Executing the Repair
Before beginning the repair on the broken corners of concrete steps, one needs a clear strategy that includes proper materials, tools, and techniques. This ensures the longevity and aesthetic integrity of the concrete repair.
Mixing the Concrete Patch
Firstly, the concrete patching compound must be prepared in a bucket, following the manufacturer’s instructions for the correct consistency. A mix that is too wet may lack strength, whereas one that’s too dry might not bond well. Use a margin trowel to mix the patching compound thoroughly until it reaches a uniform consistency.
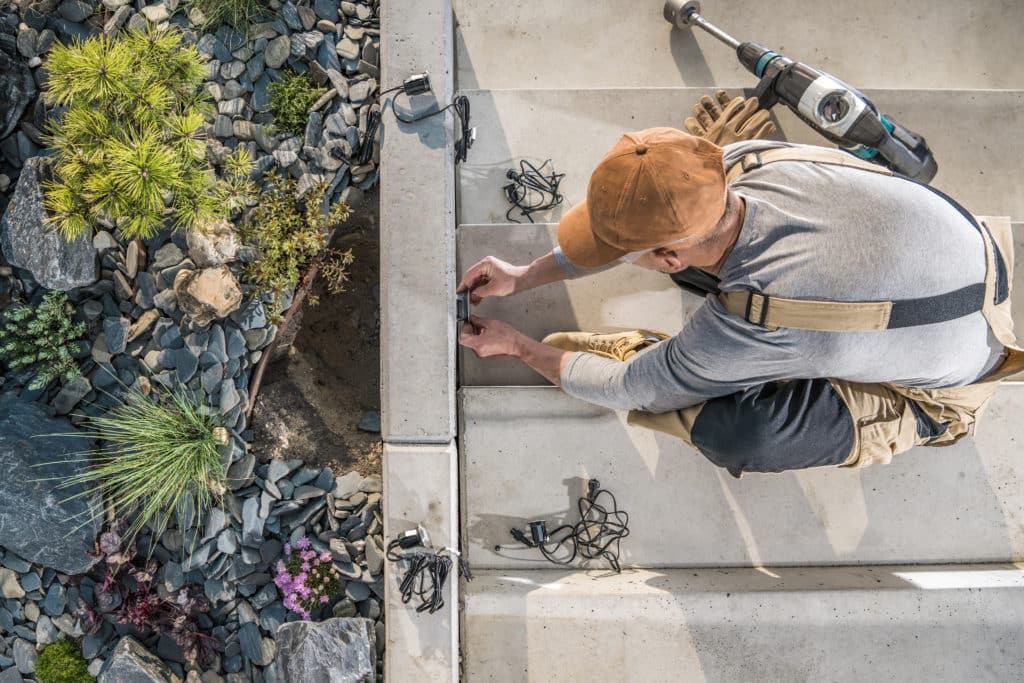
Applying the Patch
After the mix is ready, remove debris from the broken edge, and then apply concrete bonding adhesive to ensure the patching compound adheres properly. Using a steel trowel, press the patching compound into the damaged corner, ensuring that it fills the area completely. The patch should be slightly overfilled to account for shrinkage as the compound dries.
Shaping and Finishing
Shaping the patch to match the existing edges and contours is a delicate process. Utilize a wood form or a mold if necessary to support and sculpt the patch while it sets. Once the compound starts to harden, use a margin trowel to smooth it flush with the existing surface, and then employ a steel trowel for finishing. One should aim to replicate the original level and texture of the concrete steps, paying special attention to the edges and corners for a seamless repair.
Finishing Touches
After repairing broken concrete steps, the finishing touches are crucial to ensure both the longevity and aesthetic quality of the repair. One should be attentive to the curing process, application of sealant, and if desired, addition of color and paint.
Curing the Patch
To cure the concrete patch properly, one must keep the area moist by sprinkling water over the patch at regular intervals, especially during the first 24 hours. This is key because it prevents the repaired corner from drying out too quickly which could lead to cracks due to temperature variations and rapid drying. Maintain a damp—not saturated—surface to achieve the right consistency.
Applying Sealant
Once the patch has cured, applying a concrete sealer can protect the repaired area from oil, water, and other surface stains. For application, one should use a clean sponge or roller, ensuring the sealer is spread evenly across the surface. Be sure to follow the manufacturer’s instructions for best results. An acrylic fortifier can also be mixed into the sealing compound to enhance the bond strength and longevity.
Painting and Coloring
If the goal is to match the repair with the existing steps, paint may be necessary. First, ensure the concrete is completely dry. Then, apply a primer designed for exterior concrete. After the primer has dried, apply the paint with a masonry brush or roller. For a more natural look, use a concrete edger to create a smooth, uniform edge that will help blend the repair into the original step.
Maintaining Repaired Steps
Once steps are repaired, regular maintenance ensures that they remain in prime condition, extending their longevity and preserving curb appeal.
- Regular Cleaning: It is essential to keep the steps free of debris. Sweeping should be done weekly, and a more thorough cleaning with grease-cutting detergent could be done monthly to prevent buildup.
- Rinse thoroughly with water after applying any cleaning solution.
- Sealing: Applying a concrete sealer can protect the surface from weathering and staining. Reseal the steps every two to three years, or according to the product’s instructions.
- Simple Inspections: Frequently inspect the steps for signs of damage. Early detection can prevent small issues from becoming larger problems.
- Concrete Fortifier: Incorporate a concrete fortifier into the patching materials during initial repair to enhance durability.
- Professional Check-up: If an individual is unsure about how to maintain or inspect the steps, it can be beneficial to schedule an annual check-up with a professional or handyman. This can also be an opportunity to learn about DIY project techniques for upkeep.
- Avoiding Harsh Chemicals: Steer clear of deicing chemicals that can cause rapid temperature changes and damage concrete. Opt for sand or kitty litter for traction if needed.
By following these maintenance steps, one can ensure that the concrete steps remain safe, functional, and aesthetically pleasing.