CALL US NOW
Concrete floors are valued for their durability and strength, but they are not immune to damage. Over time, floors can suffer from cracks and holes due to heavy weights, dropped objects, and temperature fluctuations. Understanding the process of patching these imperfections is essential for maintaining a concrete floor’s integrity and appearance. Proper repair extends the life of the concrete and can save on costly replacements.
Before repairs can begin, the area in need of attention must be prepared to ensure the best possible bond between the existing concrete and the repair material. This involves thoroughly cleaning the area and removing any loose debris. Once the surface is clean, a suitable concrete patching material is applied. The right choice of repair compound and tools can make the difference between a seamless fix and a noticeable patch.
Selecting the correct patching material and following specific procedures can help individuals achieve professional-looking results, potentially increasing property value or preventing further issues such as water intrusion or insect infestation. Whether repairing small cracks or larger holes, the key is to perform the repair methodically and with attention to detail.
Assessing the Damage

Before attempting any repairs, one must accurately assess the damage to the concrete floor. This initial step determines the extent of the issues and dictates the appropriate repair methods.
Identify Concrete Cracks and Holes
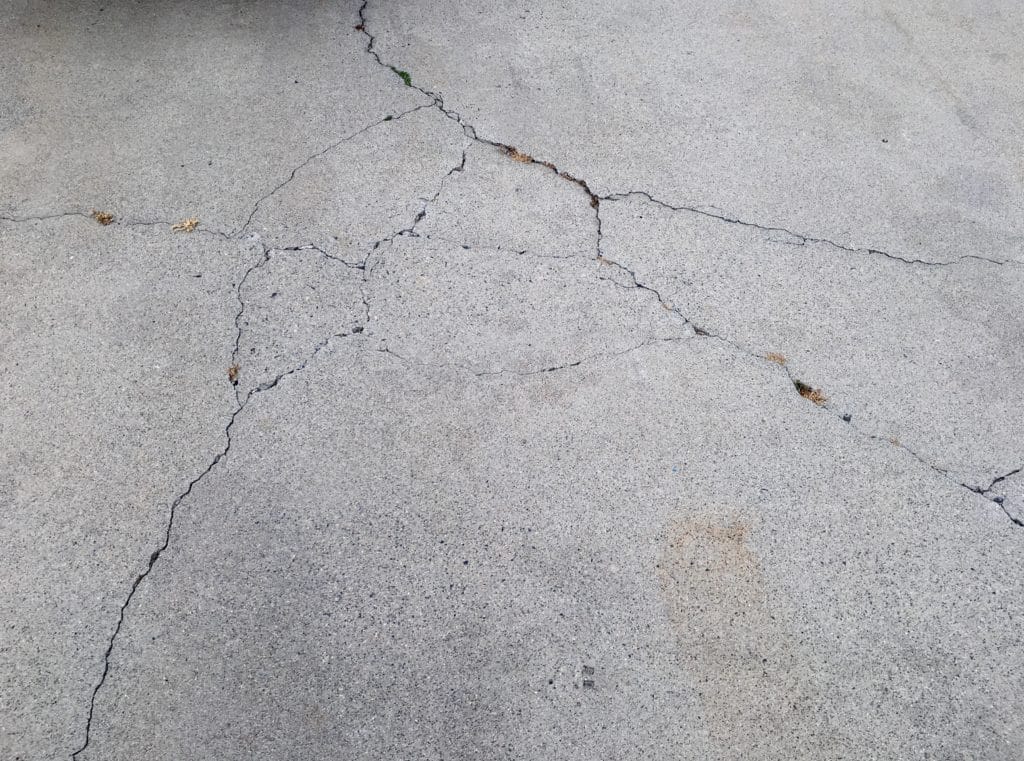
To maintain the integrity of a concrete floor, it is crucial to first identify all the existing cracks and holes. Cracks in concrete can range from hairline to several inches wide. Holes may vary in size and depth, necessitating different approaches for repair. For instance, the presence of large cracks or holes may indicate a need for more extensive repairs.
Evaluate Concrete Condition
When evaluating the condition of a concrete floor, one should consider not only the size and depth of the damage but also the overall quality of the concrete. Factors such as the concrete’s age, the presence of moisture, and signs of ongoing deterioration are important. For example, pitted concrete, with numerous small, shallow holes, can signify surface-level damage that may require a different repair strategy than that of deep, structural issues.
Preparing for Patching
Proper preparation is crucial in ensuring a durable patch on a concrete floor. This involves thoroughly cleaning the area, removing any debris and loose concrete, and applying effective surface preparation techniques.
Cleaning the Area
One begins by sweeping the area with a broom to remove dirt and dust. If available, a shop vac can be used afterward to ensure no fine particles are left behind, as these can inhibit the adhesion of the patching material.
Removing Debris and Loose Concrete
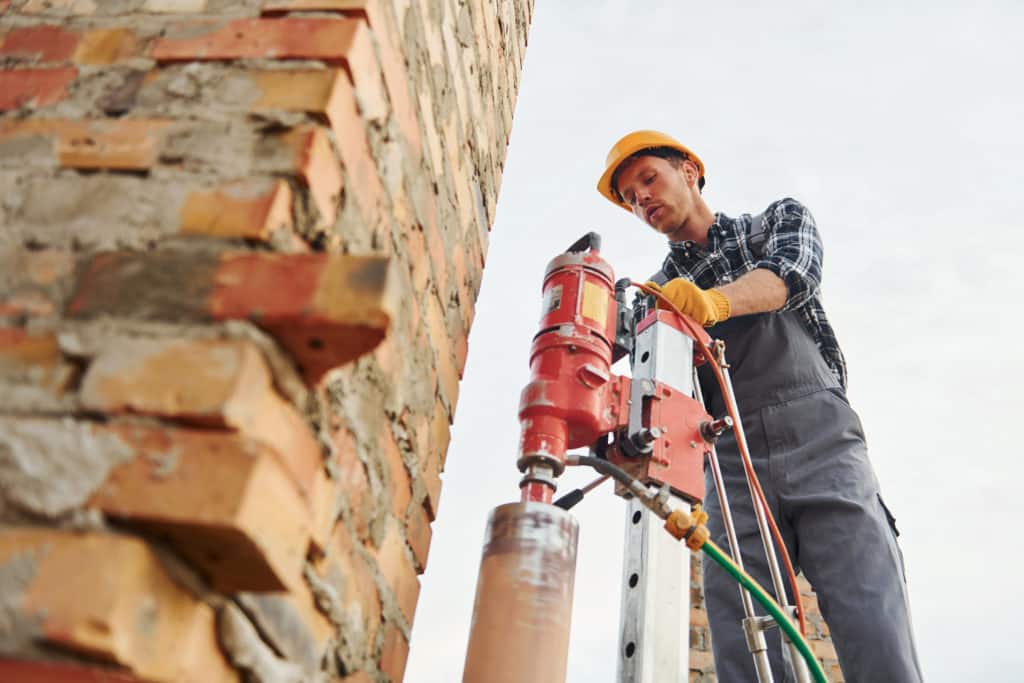
Using a chisel and a hammer, one must carefully remove any loose or unstable concrete around the crack. This step may create additional debris, which should be cleared away promptly. Subsequently, a wire brush is utilized to scrub the area, further dislodging any particles that may compromise the patching process.
Surface Preparation Techniques
Once the area is free of debris and dirt, surface preparation techniques come into play. Wetting the concrete can aid in providing a strong bond for the patching material. However, one should avoid excessive water that can dilute the patching compound. The ideal state is a surface that’s merely damp, not wet.
Choosing the Right Patching Materials

Selecting the appropriate patching material is essential for repairing a concrete floor effectively. The right product ensures durability, whilst considering inventory levels and local store prices can influence product choice.
Comparing Concrete Patch Products
Home Depot and similar retailers offer a range of concrete patch products designed for different types of repairs. When choosing a product, one must assess:
- Product composition: Epoxy-based compounds are suitable for small cracks, while sand or aggregate-filled compounds are better for large cracks and holes.
- Cure time and application method: Some products may cure more quickly but might require more complex application methods.
- Local store prices and inventory levels: These factors can vary, and it’s wise to check online or in-store to find the best option available.
Using a concrete patch compound that matches the specific repair needs results in a more effective and lasting fix.
Understanding Patching Compounds
Patching compounds can be categorized as:
- Epoxy-based patches: Provide a smooth finish for hairline cracks and are known for their strength.
- Polymer-modified patches: Often used for their strong adhesion and easy application for medium-sized repairs.
- Cementitious patches: These are traditional mixes, requiring water, and are best for filling large voids.
One should always follow the manufacturer’s instructions to ensure proper application and curing. It is important to note that the inventory levels of these products can fluctuate, and it may be necessary to visit a local store or check online for availability and current pricing.
Applying the Concrete Patch
To ensure durable and long-lasting repairs, proper application techniques are vital when using a concrete patch compound. The process involves careful preparation of the compound, addressing various concrete defects, and finishing the surface to integrate the patch seamlessly with the surrounding area.
Mixing the Patch Compound
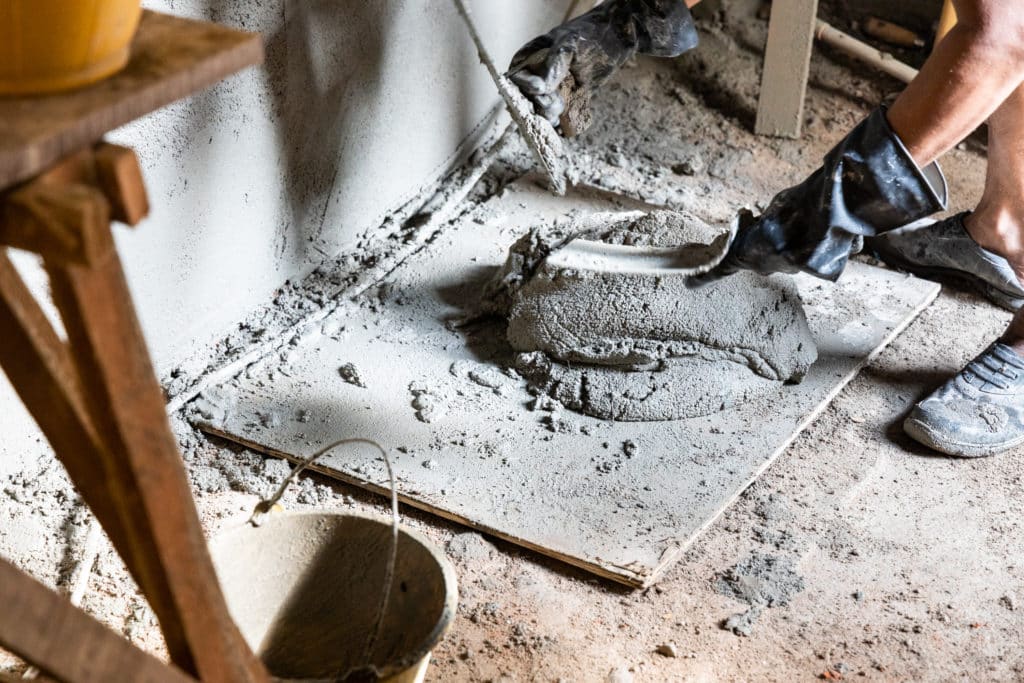
One begins by mixing the patch compound meticulously according to the manufacturer’s instructions until achieving a uniform consistency. It’s critical to follow the specified ratio of components to prevent the mix from being too wet or dry, as this affects the integrity of the repair.
Filling Cracks and Holes
Using a trowel, the mixed compound is then firmly pressed into the cracks and holes to completely fill them. It’s essential to compact the patching material to exclude any air pockets, which could compromise the patch’s durability.
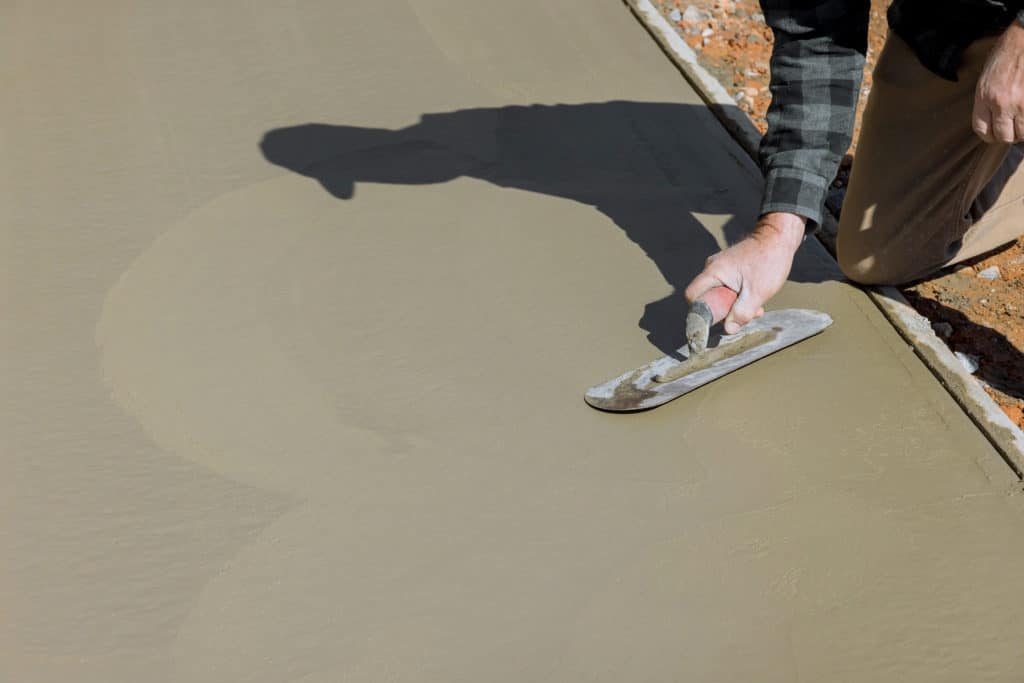
Finishing the Surface
Once the compound is applied, it should be smoothed with a trowel to flush with the surrounding concrete surface. The drying time as specified by the product must be respected before any heavy loads are introduced to the area to avoid damaging the repairs.
Sealing and Protecting the Floor
Once a concrete floor is repaired, it is crucial to seal and protect it to extend its lifespan and maintain its appearance. A properly sealed floor is resistant to moisture, stains, and wear and tear that could otherwise damage the concrete over time.
Steps for Sealing Concrete Floors
- Choose the Right Sealer: There are various types of sealers, including acrylic, epoxy, and polyurethane. The selection depends on the expected traffic and the desired finish.
- Apply Sealer Correctly:
- Ensure the floor is clean and dry.
- Apply the first coat of sealer using a roller or sprayer.
- Allow adequate drying time before applying a perpendicular second coat for even coverage.
Maintenance Tips
- Regular cleaning is essential; remove dirt and spills promptly.
- Reapply a maintenance coat of sealer as recommended by the manufacturer, typically once every few years.
Additional Considerations
- Paint: For those seeking a colored finish, apply a concrete-friendly paint before sealing.
- Ready-Mix Concrete: If working with ready-mix concrete, ensure it cures fully before sealing.
- For heavily trafficked floors or those exposed to harsh chemicals, consideration of a more robust sealer like epoxy might be warranted.
By sealing and protecting concrete floors properly, one safeguards the structural integrity and aesthetic value of the flooring investment.