CALL US NOW
Sealing cracks in concrete is a crucial maintenance task that extends the lifespan of concrete surfaces and structures. Cracks in concrete can occur due to a variety of factors including temperature fluctuations, ground movement, and the passage of time. These openings not only diminish the appearance of concrete surfaces, but they can also lead to water infiltration, which exacerbates the damage through freeze-thaw cycles and corrosion of reinforcement bars.
The process of sealing concrete cracks involves several steps to ensure a successful repair. It starts with cleaning out the crack to remove debris and loose material, often using a brush or a vacuum. The crack may then be widened to create a better surface for the sealant to adhere to. Selecting the appropriate sealant is critical as different products are designed for varying crack sizes and conditions. Polyurethane or epoxy-based products are frequently used for their durability and flexibility.
A properly sealed crack prevents further water entry, which protects the concrete from moisture-related deterioration and underlying structural issues. Although DIY solutions are available, large or complex projects may require professional assessment to determine the root cause of cracking and implement the best repair strategy. Addressing concrete cracks promptly aids in preserving the integrity of the structure, ensuring safety, and maintaining value.
Identifying Types of Cracks
Before addressing concrete repair, one must adeptly identify the types of cracks present. Correctly diagnosing cracks informs the repair method and allows one to distinguish between superficial and potentially serious structural issues.
Examining Crack Patterns
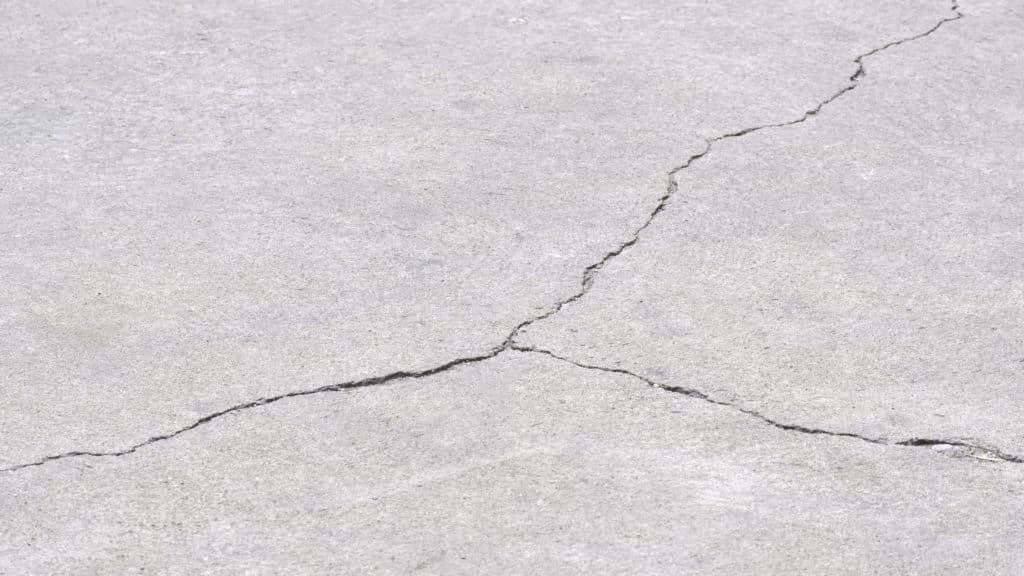
Hairline Cracks: Characteristically less than 1/16 inch wide, these cracks may develop from the concrete’s natural shrinkage as it cures. They often manifest with a meandering pattern and are usually non-structural, but they may become gateways for moisture, warranting sealing for preventive measures.
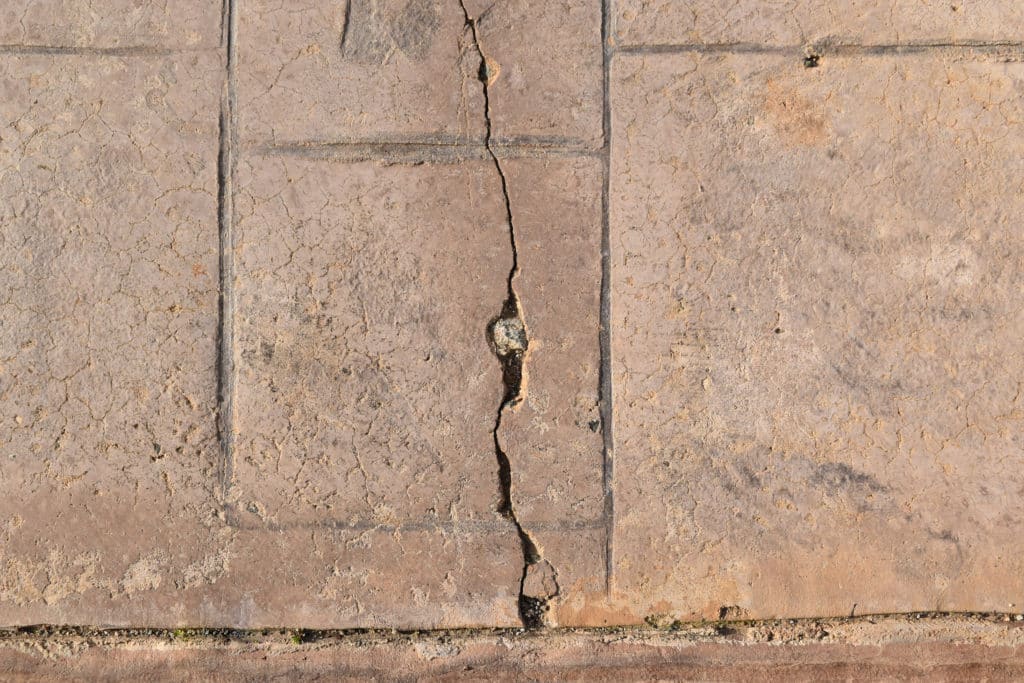
Cracks in Concrete Walls: Transverse and longitudinal crack patterns in walls can be symptomatic of deeper issues, such as underlying foundation problems or environmental influences like freeze-thaw cycles. It’s essential to meticulously inspect their width, length, and rate of change to assess severity.
Distinguishing Structural from Non-Structural
- Structural Cracks: These cracks are typically wider than 1/4 inch, occur at regular intervals, and run in straight lines. They can be due to incorrect loads on the foundation, settlement, or inadequate structural design. Immediate attention from a structural engineer is often advised.
- Non-Structural Cracks: Frequently superficial, non-structural cracks do not compromise the stability of the structure. Causes range from shrinkage and thermal movement to minor settlement. Sealant or other simple repairs might be sufficient if they do not advance or widen.
Preparing Cracked Concrete for Repair
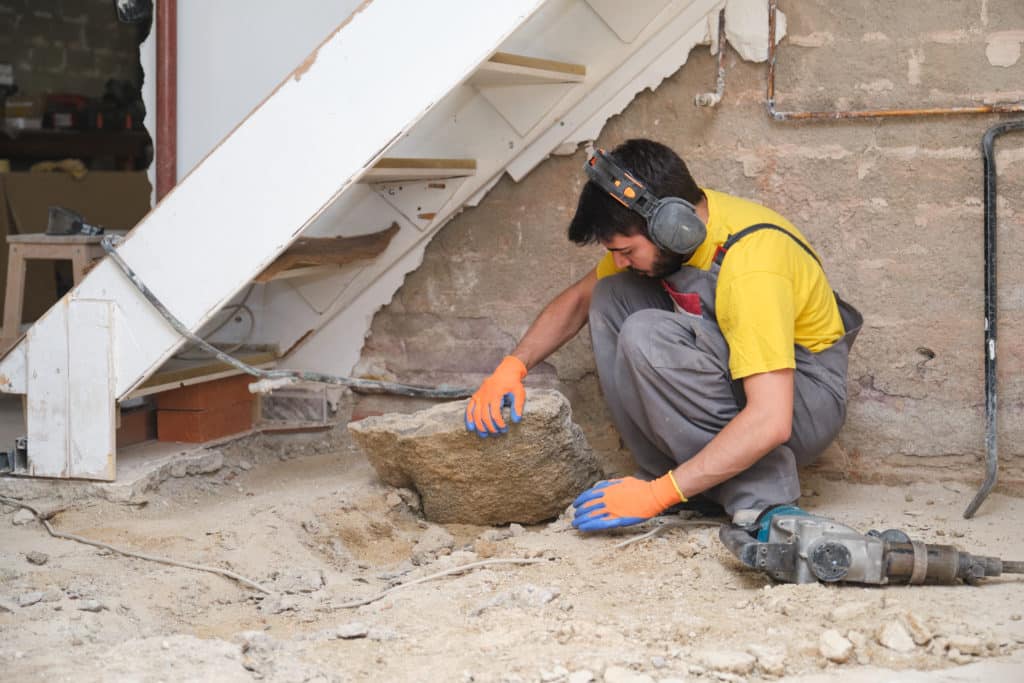
Before repairing a crack in concrete, one must ensure the area is thoroughly prepared. A clean, dry, and stable surface is crucial for the repair material to adhere properly and form a lasting bond.
Cleaning the Cracked Area
To begin, they must clean the cracked area to remove any loose material. One should use a chisel and hammer to carefully chip away pieces of concrete that are loose or have crumbled. They should aim to reach a depth of about an inch below the surface level to create a solid base for the repair materials to attach to. After chiseling, a wire brush should be utilized to eliminate smaller debris and dust. It’s important to use a stiff-bristled brush to ensure all dust and dirt are removed from the crack.
For finer cleaning, one might consider using cloths dampened with mineral spirits to wipe down the area, as they can help in removing any remaining dust or grease. The cleaning process finishes with a thorough brushing to ensure the crack is as clean as possible, as contaminants can compromise the repair’s durability.
Tools and Materials Needed
Repairing cracks in concrete requires specific tools and materials to ensure the job is done correctly. Here’s what one will need:
- Chisel: For removing loose and damaged concrete.
- Hammer: To assist the chisel in cleaning the crack.
- Wire Brush: To clean out the fine particles after chiseling.
- Cloths: For final cleaning, possibly with mineral spirits to remove oily residues.
- Mineral Spirits: May be needed to clean the crack if oil or other contaminants are present.
One should gather all tools and materials beforehand to ensure the cleaning process goes smoothly. Ensuring the environment is clean and dry before initiating the repair will significantly improve the likelihood of a successful and long-lasting concrete repair.
Selecting the Right Sealant
When it comes to sealing concrete cracks, selecting an appropriate sealant is crucial to ensure durability and effectiveness. This involves understanding the different sealant types and choosing a product based on the specific size of the crack.
Understanding Sealant Types
Concrete sealants fall into various categories, each designed for specific conditions and applications. Concrete crack fillers, often a go-to choice for narrower cracks, provide a firm but flexible seal that prevents water penetration. Concrete repair caulk, a slightly more elastic option, can seal cracks that experience minor movement. For situations requiring a watertight seal due to water pressure, hydraulic cement is an effective choice as it sets rapidly and can block water flow. Flexible sealants are ideal for cracks that may expand or contract with temperature changes, ensuring a long-lasting repair.
Choosing a Sealant Based on Crack Size
The size of the concrete crack is a determining factor in selecting an appropriate sealant. Here is a quick reference:
| Crack Width | Recommended Sealant |
|---|---|
| Small (<¼ inch) | Concrete crack filler or concrete repair caulk |
| Medium (¼ to ½ inch) | Flexible sealant or Quikrete products |
| Large (>½ inch) | Hydraulic cement or professional-grade sealant |
For fine cracks, less than a quarter-inch wide, products like DRYLOK® Masonry Crack Filler offer ease of application and a solid seal. When dealing with medium-sized cracks, a flexible sealant is necessary to accommodate movement; some of the Quikrete products are designed for this purpose with good adherence and flexibility. In contrast, larger cracks may require hydraulic cement for a robust and permanent solution capable of resisting high water pressure.
Applying the Sealant
Prior to applying sealant, one should ensure the crack is prepared for repair by cleaning and, if necessary, widening the crack to ensure the best adhesion and sealing performance.
Filling Small to Medium Cracks
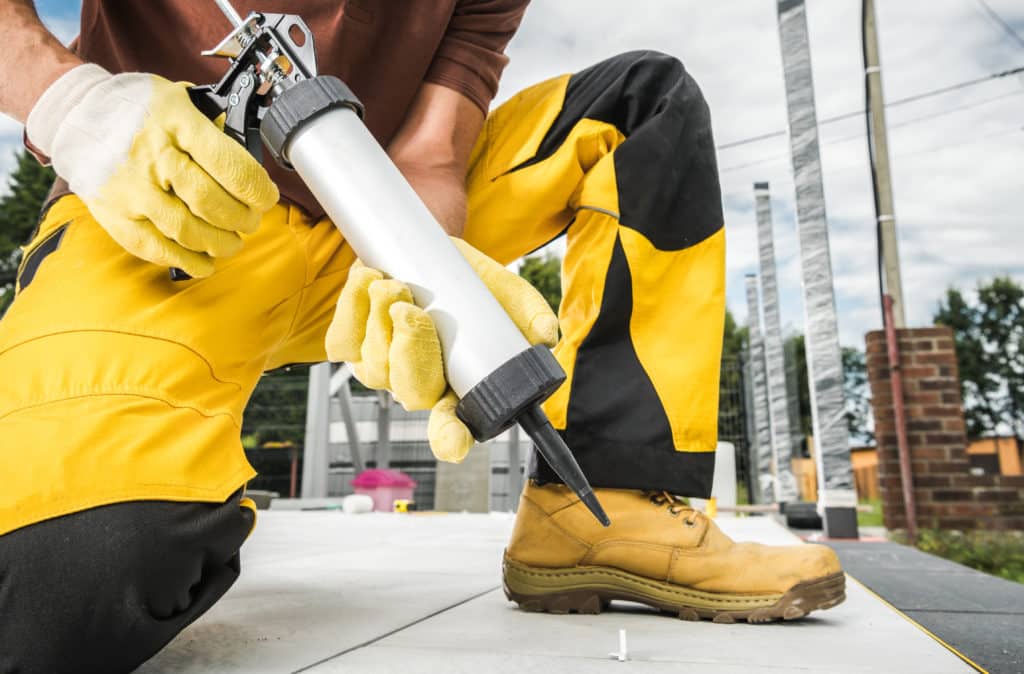
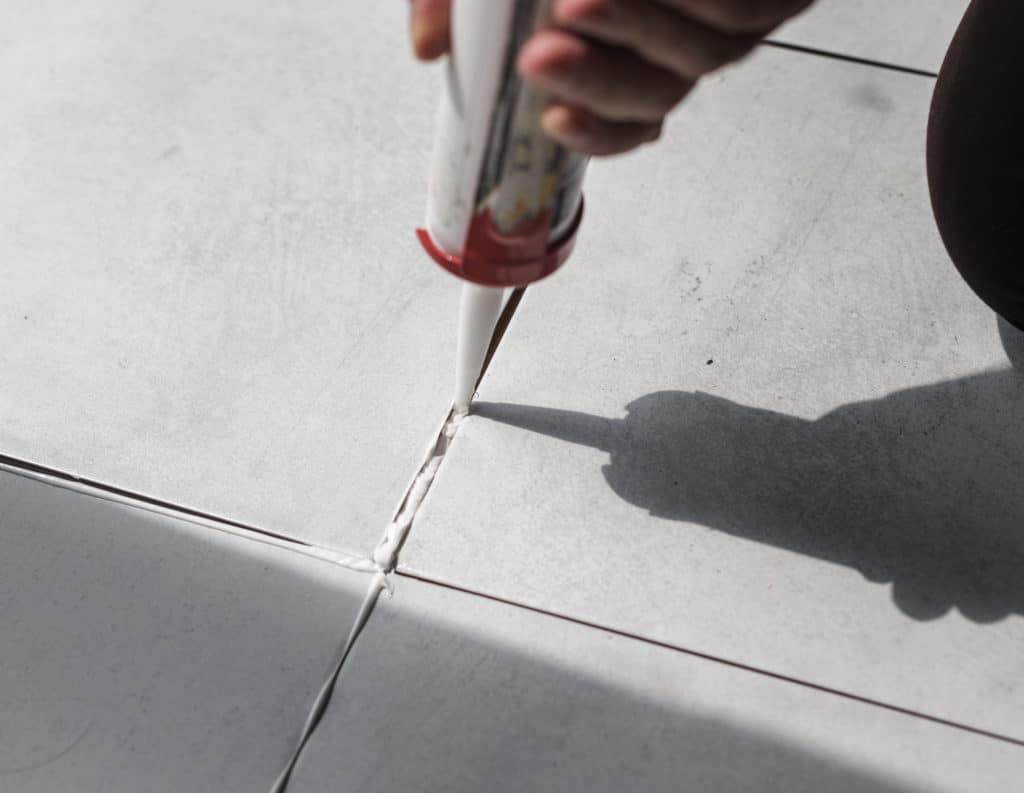
For small to medium cracks, one might start by using a putty knife or trowel to clean out any debris. After cleaning, foam backer rods can be inserted into deeper cracks to provide a solid base for the sealant. It is essential to select a sealant compatible with concrete—a polyurethane caulk is often recommended for its durability and flexibility. One should carefully cut the nozzle of the caulk tube to match the width of the crack, then use a caulk gun to apply the sealant, ensuring it penetrates thoroughly and fills the entire crack.
Addressing Large Cracks and Joints
When dealing with large cracks or expansion joints, the method is somewhat similar but often requires a more robust approach. The use of injection ports may be necessary if the crack extends deep into the concrete structure. After attaching the ports, a sealant is injected using a specialized gun designed for crack repair, filling the void from the bottom up. When sealing joints or wide cracks, a combination of backer rod material and sealant is best. The backer rod acts as a filler, which helps in using less sealant and provides the necessary support to ensure the sealant maintains its position and function. After positioning the backer rod, use a trowel or a broad nozzle on the caulk gun to distribute the sealant evenly, ensuring that it reaches into the depths and sides of the joint for a watertight seal.
Concrete Crack Repair and Prevention
Effective concrete crack repair and prevention combine immediate remediation with strategies to ensure lasting protection. This involves a comprehensive approach from the initial curing process to routine maintenance designed to preserve the integrity of concrete surfaces.
Preventative Measures for New Concrete
Curing: The curing process is crucial for the durability of new concrete. The concrete must maintain adequate moisture for at least 7 days to ensure proper strength development. Adding a concrete sealer can enhance the curing process by retaining essential moisture.
Protection: To prevent cracks in newly poured concrete, avoid exposure to extreme conditions. Gradual temperature changes and gentle drying conditions help mitigate the risk of cracking. It’s essential to prevent rapid moisture loss, as this can lead to the concrete weakening and cracking prematurely.
Long-Term Crack Maintenance
Sealing: Existing cracks require immediate attention. Choosing a concrete repair mix for sealing cracks is critical in water intrusion prevention. For a thorough fix, experts recommend widening the crack slightly before filling to improve the repair’s adhesion and longevity. Sealing is not only a repair method but also acts as a waterproofing measure by blocking out moisture.
Waterproofing: Regular application of a concrete sealer can protect surfaces from water damage and reduce further cracking. High-quality sealers provide a barrier against moisture infiltration and resist the freeze-thaw cycles that can be particularly damaging.
By adhering to these protocols, one can effectively manage and prevent the common issues that lead to the need for concrete repair.