CALL US NOW
Pitted concrete can be a nuisance, undermining the aesthetic appeal and structural integrity of any surface. Although this issue is common, especially in areas with severe weather conditions, it’s not something one has to live with indefinitely. It’s vital to understand that concrete deterioration, such as pitting, occurs due to factors such as freeze-thaw cycles and chemical exposure which can be effectively repaired with the right approach.
Repairing pitted concrete surfaces begins with a thorough cleaning to ensure that the repair materials bond correctly. The removal of any loose or deteriorating concrete is just as crucial before the application of repair products. Various methods, including using bonding agents, patching compounds, or resurfacing techniques, are viable depending on the severity of the damage. With the correct procedures, restoring the durability and appearance of a pitted concrete surface can be straightforward, ensuring longevity and functionality.
Assessing the Damage
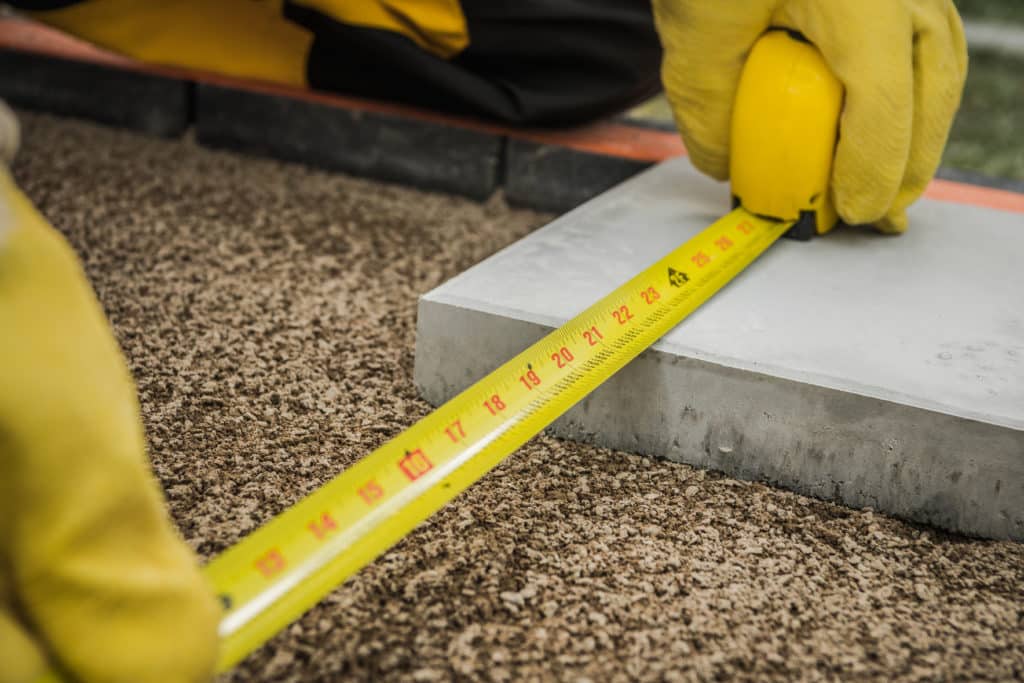
Before attempting repairs on pitted concrete, it is crucial to thoroughly assess the extent of the damage. This process will ensure that the subsequent steps taken are suitable for the condition of the concrete.
Inspection Techniques
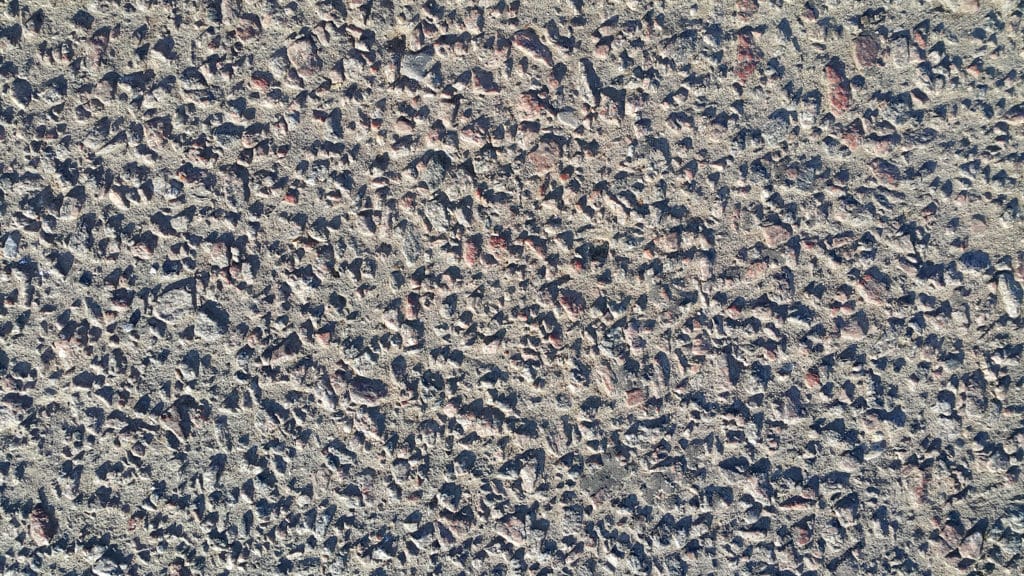
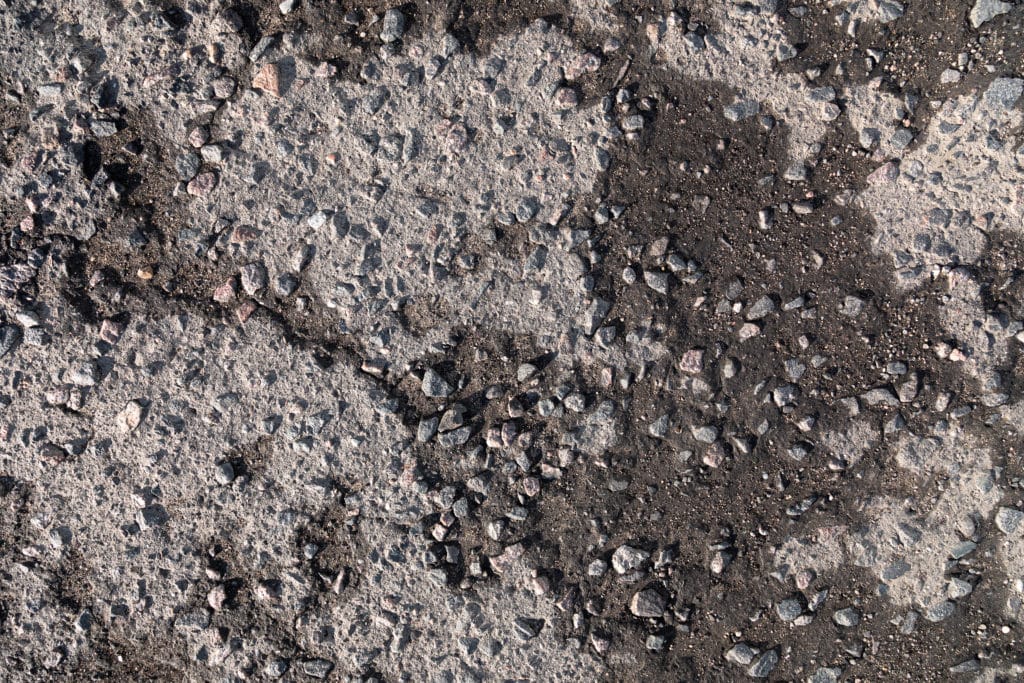
When inspecting the concrete damage, one should meticulously examine the surface for any signs of pitting or spalling. A key technique involves visually inspecting and running one’s hand over the surface to feel for irregularities. For a more detailed assessment, tools such as a magnifying glass or even a small hammer can be employed; a sound, solid surface will emit a clear ring, while damaged concrete will produce a dull thud. Photographs or scaled drawings may also be used to document the extent and help plan the repair work.
- Visual Inspection: Look for divots, holes, and cracks.
- Tactile Inspection: Feel for changes in texture which may indicate surface deterioration.
- Acoustic Testing: Tap with a hammer to identify hollows or unseen damage.
Identifying Pitting Causes
Assessing the concrete pitting involves identifying the potential causes. Over time, factors like age and exposure to weather contribute to the degradation of concrete surfaces. Notably, freeze-thaw cycles can cause water to seep into small crevices, expand when frozen, and create larger pits upon thawing. Chemical exposure and mechanical wear can also be significant contributors to pitting. It is important to discern the primary cause to ensure that the repair method will prevent further damage.
- Weather Exposure: Evaluate if freeze-thaw cycles have affected the concrete.
- Age: Determine the installation date to understand the concrete’s lifecycle.
- Contributing Factors: Look for signs of chemical damage or excessive wear.
By systematically following these techniques, one can precisely diagnose the state of the concrete and decide the appropriate course of action to restore its integrity.
Cleaning and Preparing the Area
Before repairing pitted concrete, one must ensure the area is clean and ready for repair. This preparation is critical for the longevity of the repair work.
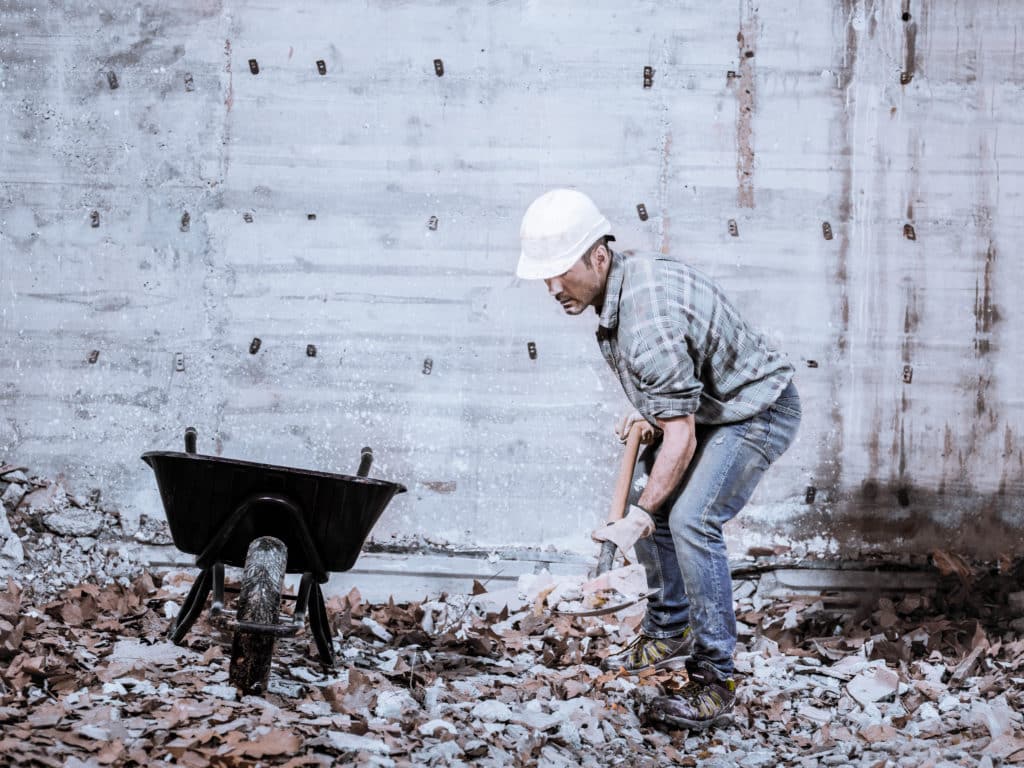
Removing Debris
To begin, removing any debris from the concrete is essential. They should clear the surface using a broom or a pressure washer to tackle more stubborn residue. This step is important to prevent any interference with the repair materials adhering to the concrete surface.
Surface Preparation
After clearing debris, the surface preparation involves applying a concrete cleaner to remove any remaining oil stains, mold, or other contaminants. Using a stiff-bristled brush helps to work the cleaner into the concrete and lift any deeply ingrained dirt. This prepares the concrete for the repair material, ensuring a clean, robust surface for the materials to bond to effectively.
Choosing the Right Repair Material
When repairing pitted concrete, the material selected must effectively bond to the existing concrete and have the durability to withstand future wear. The choice of a repair material hinges on the size of the repair and the specific conditions of the concrete surface.
Concrete Mix Types
Traditional concrete mixes often consist of a blend of Portland cement, sand, gravel, and water. For minor pits and holes, a basic concrete mix may suffice. However, for higher durability and better bonding, specialists frequently recommend polymer-modified cement mixes. These mixes contain additives that enhance the concrete’s performance, helping to prevent future pitting and cracks.
- Quick-setting concrete such as Quikrete Concrete Repair, can be particularly useful for small jobs where time is of the essence.
- For larger areas, a standard concrete mix with Portland cement can be used, provided it’s applied with proper technique to ensure a sound repair.
Specialty Patches and Resurfacers
For more tailored solutions, there are a variety of specialty patches and resurfacers designed for concrete repair:
- Epoxy-based fillers: When dealing with deep or wide pits, epoxy fillers are an excellent option as they provide a strong adhesive bond and long-term durability. They are particularly effective for areas subjected to heavy traffic or extreme conditions.
- Polymer-modified products: These materials are created to deliver a more aesthetic finish along with enhanced performance characteristics. Typically, they are easier to apply and have fast curing times.
When choosing between these options, it’s crucial to consider the specific needs of the concrete surface and the longevity of the repair. It’s important to read product labels and follow manufacturer guidelines to ensure the repair material properly addresses the concrete’s condition and exposure.
Patching and Filling Techniques
Before attempting to patch pitted concrete, it’s essential to clean the area thoroughly and remove any loose or broken concrete. Proper preparation ensures the patching compound adheres well and provides a long-lasting repair.
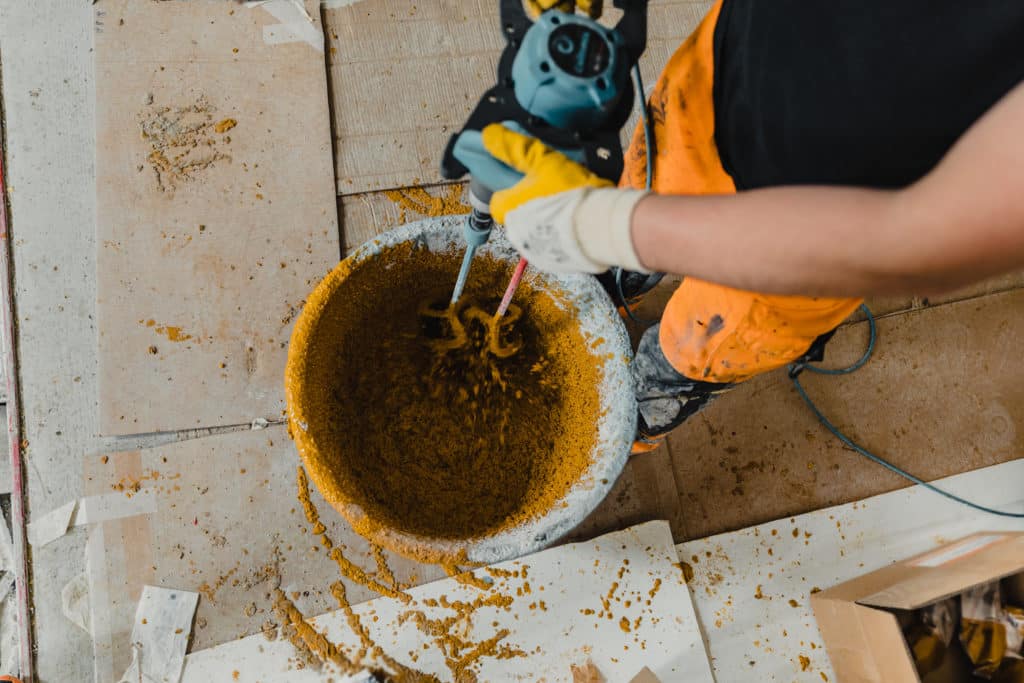
Applying Patching Compounds
For the repair of pitted concrete, select an appropriate patching compound designed for such surfaces. Begin by preparing the compound according to the manufacturer’s instructions. Using a squeegee or a finish trowel, apply the material to the pitted area. Ensure an even spread of the patching compound, pressing it firmly into the pits to eliminate air pockets. For larger or deeper pits, concrete patch products that contain gravel or other forms of aggregate may offer better strength and durability.
Finishing the Surface
Once the filling is complete, the surface requires finishing to match the existing concrete. Use a finish trowel to smooth the compound, blending the edges with the surrounding area. The final finish may need to be textured to match the original concrete surface by using a broom or a similar tool while the patch is still pliable. For optimal results, allow the patch to cure as per the instructions before subjecting it to any stress.
Sealing and Protecting Concrete
Sealers play a crucial role in extending the lifespan of concrete surfaces by offering protection from various elements. Maintenance is essential to ensure the longevity of sealers and the concrete itself.
Applying Sealers
When applying a concrete seal, it is important to choose a product that’s effective for the specific type of concrete surface, whether it’s a concrete driveway or concrete patio. The sealer helps to block moisture, resist chemical damage, and reduce fading caused by UV rays. Before application, one must clean the surface thoroughly, removing any dirt, grease, or existing coatings. After cleaning, allow the concrete to cure completely. When applying the sealer, use protective gear such as gloves and masks to avoid direct contact with harmful chemicals. Apply the sealer in a thin, even coat, and make sure to fill all expansion joints to prevent water infiltration.
- Step 1: Clean and dry the concrete surface thoroughly.
- Step 2: Allow the concrete to cure if newly poured.
- Step 3: Put on protective gear.
- Step 4: Apply the sealer evenly, covering all areas.
- Step 5: Fill expansion joints adequately.
Maintenance Tips
Regular maintenance of sealed concrete includes periodic cleaning and reapplication of sealer as needed. Inspect the surface for any signs of wear or damage, such as cracks or fading, and reapply sealer every 2-3 years to ensure protection. Avoid using harsh chemicals for cleaning; gentle, pH-neutral cleaners are recommended. In winter, minimize the use of de-icing chemicals which can harm the sealed surface. It’s also advisable to avoid heavy equipment or vehicles on the surface soon after sealing to allow adequate time for the sealer to set.
- Cleaning: Use gentle cleaners; avoid harsh chemicals.
- Inspection: Check for cracks or wear regularly.
- Reapplication: Reapply sealer every 2-3 years.
- Avoid De-icers: Limit use of de-icing agents on the surface.
- Heavy Weight: Keep off heavy equipment shortly after sealing.