CALL US NOW
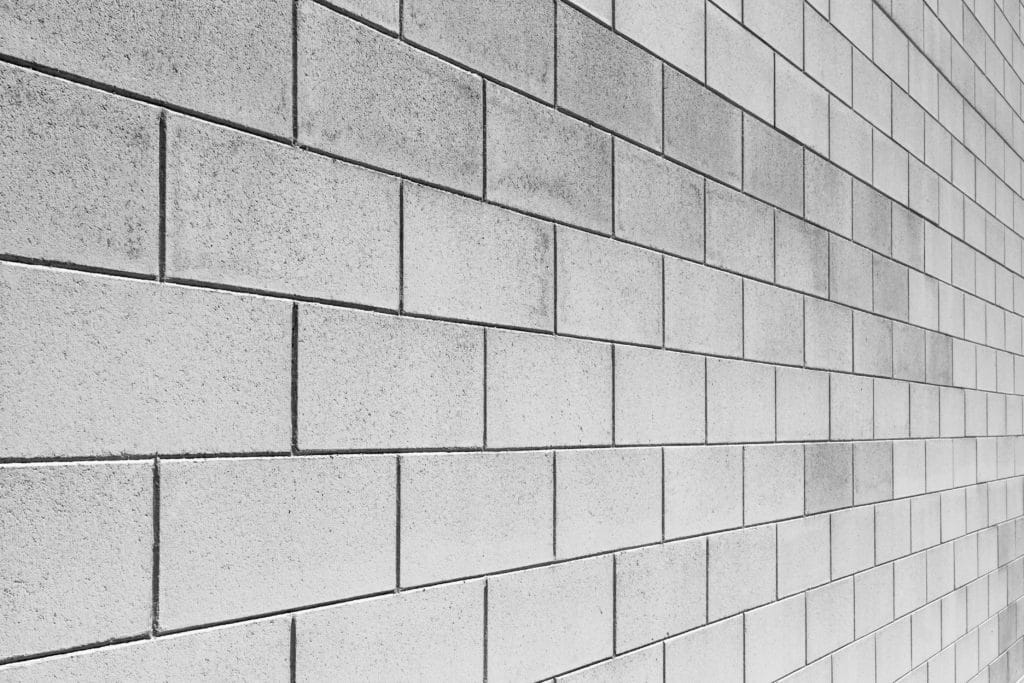
Cinder block walls are a sturdy and economical solution for residential and commercial structures. However, over time, these walls may show signs of wear, such as crumbling and cracking, which can be caused by water damage, environmental stress, or simply aging. Proper repair is essential to maintain the structural integrity and longevity of the wall.
When addressing a deteriorating cinder block wall, it is important to identify the source of the damage. Water infiltration, for example, can exacerbate the issue leading to more significant structural problems if not rectified. A clear understanding of the repair process and the careful application of the right materials can restore the stability of a cinder block wall, providing peace of mind and preventing further damage.
The repair process generally involves cleaning the affected area, removing any loose or damaged material, and filling cracks or holes with the appropriate mortar or concrete blend. For significant damage, it might be necessary to replace entire blocks to ensure the wall’s stability. Properly executed repairs can significantly extend the wall’s life, provided ongoing maintenance and monitoring are performed to prevent future deterioration.
Identifying Wall Damage and Causes

Before initiating repairs on a cinder block wall, it’s crucial to understand the extent of the damage and the potential causes behind it. This will ensure that repairs are both effective and lasting.
Assessing Cracks and Crumbling
Cracks in cinder block walls can range from hairline fractures to larger, more noticeable fissures. It is important to closely inspect the wall and determine the type of cracks present. Hairline cracks might be related to minor settlement or changes in temperature, while larger cracks could indicate more significant structural issues. Crumbling, on the other hand, often refers to the deterioration of the concrete blocks themselves or the mortar that holds them together. This can result from prolonged exposure to moisture or freeze-thaw cycles.
- Small cracks: Often less than 1/4 inch wide; may be superficial.
- Large cracks: Wider than 1/4 inch; could be a sign of serious damage.
Determining Structural Risks
When assessing a wall for structural problems, it is essential to consider the wall’s role within the building’s framework. A non-load-bearing partition wall may only require simple cosmetic fixes for cracks and holes. However, if the crumbling block wall is part of the foundation, this could signify a deep-seated structural problem that may compromise the entire building’s integrity. It is advisable to seek the expertise of a structural engineer if substantial damage is observed or if the stability of the wall is questionable.
- Load-bearing walls: Require thorough evaluation for structural integrity.
- Foundation walls: Cracks and damage may pose serious risks.
Identifying the presence, types, and causes of damage in cinder block walls is the first step in crafting an appropriate repair strategy. Repairs should not only address cosmetic issues but also the underlying problems to maintain the safety and durability of the structure.
Gathering Necessary Tools and Materials

Before initiating the repair of a crumbling cinder block wall, it is essential to gather all necessary tools and materials. The proper selection and usage of these items will greatly influence the effectiveness and longevity of the repairs.
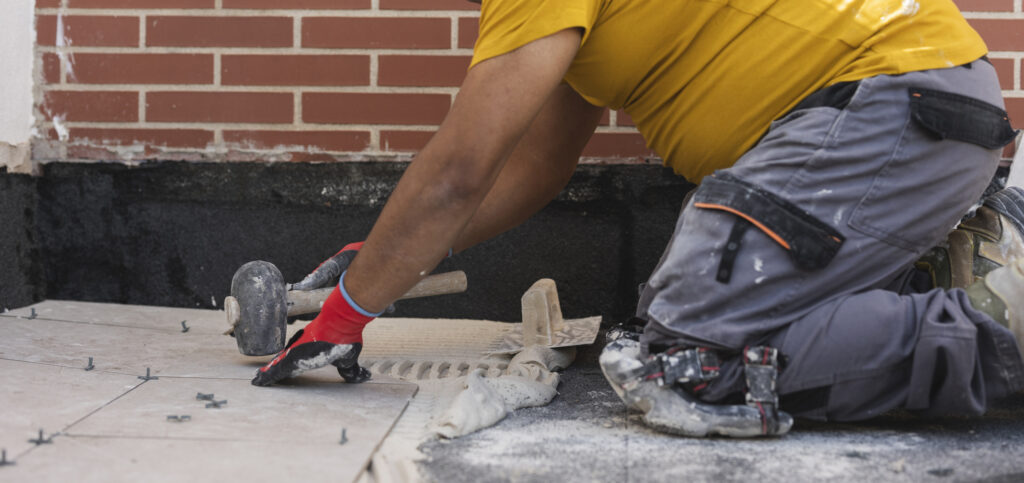
Tools for Demolition and Repair
For the demolition and repair process, certain tools are indispensable:
- Demolition Tools:
- Hammer: For striking chisels and removing loose or damaged blocks.
- Chisel: To meticulously chip away and shape the areas needing repair.
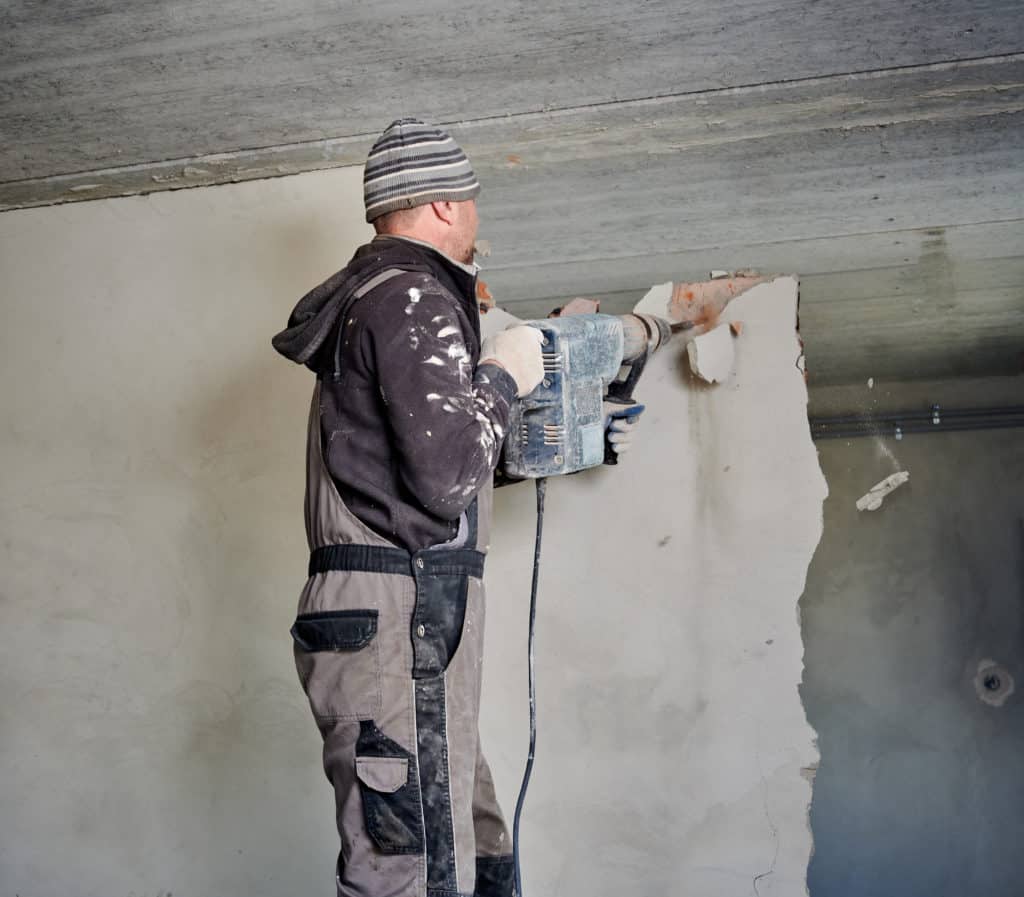
- Grinder: A powerful tool used for cutting through cinder blocks or removing old mortar.
- Repair Tools:
- Trowel: For applying and smoothing mortar or concrete mix.
- Mixing Tools: To prepare the repair material to a consistent blend.
Selecting the Right Repair Material
Selecting the appropriate repair material is key to ensuring a secure and lasting repair:
- Concrete Mix: Ideal for filling larger gaps or rebuilding sections of a cinder block wall. It should have a proper aggregate size for the job at hand.
- Mortar Mix: Best for smaller cracks or for repointing joints between blocks. Its bonding properties are crucial for the stability of the wall.
It is vital to choose quality products that are appropriate for the specific conditions and types of damage being addressed in the cinder block wall repair.
Preparing the Wall for Repair

Before commencing repairs on a crumbling cinder block wall, it is essential to prepare the surface to ensure the longevity of the repair. The preparation involves meticulous cleaning and removal of all loose materials, which provides a sound base for the new mortar and cement.
Cleaning and Removing Loose Material
One begins by scrubbing the wall with a wire brush to remove loose particles, dirt, and debris. For areas heavily soiled or where algae and mold have taken hold, application of a power washer may be necessary to ensure a clean surface. Water is pivotal to this process, as it not only aids in cleaning but also saturates the wall, which prevents premature drying of the repair materials.
Setting Up for Efficient Workflow
To facilitate a smooth repair process, it is advisable to set up all necessary tools and materials in advance. This setup includes having mortar, cement, mixing equipment, and safety gear within easy reach. Having buckets of water available will also streamline workflow, assisting with both cleaning and preparation of mortar mixes. All tools should be arranged in a manner that prevents cross-contamination with dirt or debris, securing a pristine working environment.
Executing the Repair Process
When undertaking the repair of a crumbling cinder block wall, it’s essential to address both structural integrity and aesthetic concerns. The process must be done meticulously to ensure that the repairs are durable and the wall remains stable.
Patching Small and Large Cracks
Cracks in cinder block walls, whether small or large, must be repaired to prevent further deterioration. For small cracks, one can use a caulk gun loaded with masonry crack filler, ensuring that it penetrates deeply and bonds to the existing materials. Larger cracks require the application of mortar, and it’s critical that the old mortar is carefully removed to create a clean space for the new material to adhere properly. The new mortar should match the original in composition to maintain uniformity and strength.
Filling Holes and Replacing Blocks
When confronted with holes or severely damaged blocks, a patch may not suffice. In such cases, full repairs might involve removing the compromised block and replacing it with a new one. This requires one to remove the old mortar around the damaged block and set the new block in place, followed by applying mortar joints neatly around it. Rebar may be added for additional stabilization, ensuring that holes are fully covered and reinforced.
Ensuring Strong Bonds and Curing
A crucial step in the repair process is allowing the mortar to cure properly. This creates a strong bond essential for the structural integrity of the wall. It’s advisable to keep the repaired areas moist for several days, aiding the cure process and preventing premature drying, which can weaken the repairs. During patching, it’s equally important that the mortar adheres well to the existing blocks to prevent future crumbling.
Incorporating these methods will contribute to the successful repair of a crumbling cinder block wall, ensuring long-lasting results and mitigating the potential for recurring damage.
Finishing and Protecting the Wall
After repairing a crumbling cinder block wall, the finishing and protecting steps are crucial for ensuring the longevity and integrity of the structure. These measures offer additional strength, shield against weather elements, and prevent future damage.
Smoothing and Sealing for Durability
Once repairs are made, the wall’s surface should be smooth and even. Any patching compound used should be sanded down to match the wall’s texture. Applying a waterproof sealant is the next step—this acts as a barrier against moisture which is vital since water intrusion is a major cause of deterioration. It’s essential to use a high-quality sealant for areas that have been filled or patched to enhance durability.
Preventive Measures against Further Damage
To protect the wall from future damage, consider applying a coat of paint that is designed for masonry and concrete. Choose a paint product that includes a waterproofing agent to provide an additional layer of protection. Regular inspections of the wall for cracks or damage and prompt repairs are also key to preventing further issues. Emphasize preventive maintenance to save on costly repairs down the line.