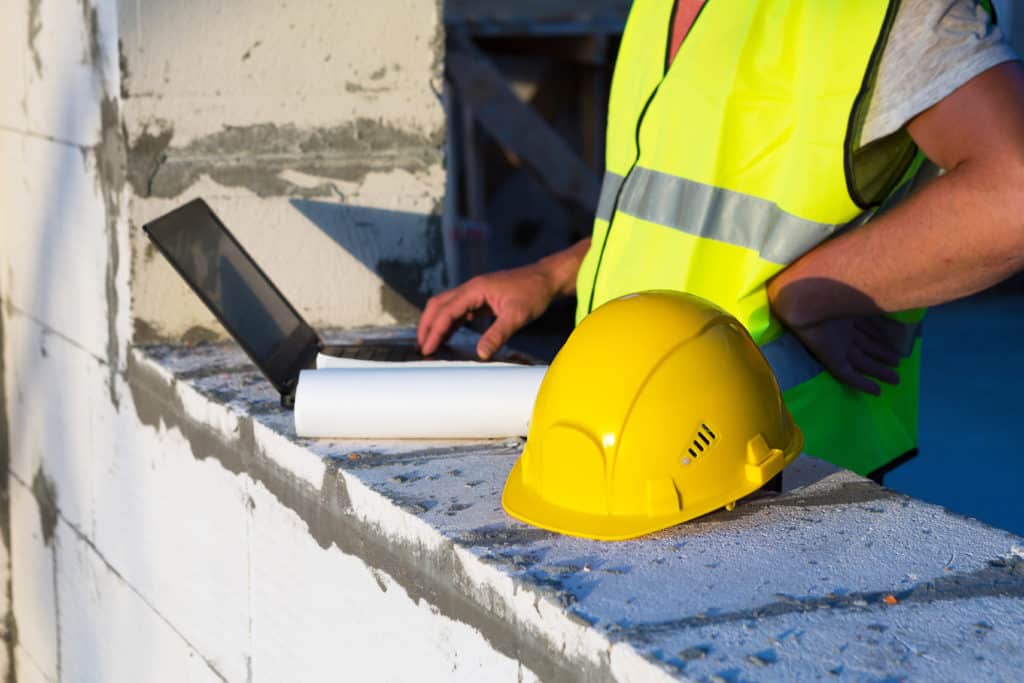
CALL US NOW
Patching a concrete floor is a practical skill for both homeowners and professionals alike, providing a cost-effective way to maintain the quality and longevity of concrete surfaces. Over time, concrete floors can develop cracks or holes due to wear and tear, environmental conditions, or structural issues. Addressing these defects promptly prevents further damage and restores the floor’s integrity. The repair process involves cleaning the damaged area, applying a suitable patching compound, and smoothing it to blend seamlessly with the surrounding surface.
Concrete is a robust and durable material, but even the sturdiest concrete floors are susceptible to damage. Whether in a residential garage, a commercial warehouse, or outdoor patio, maintaining a smooth and intact concrete surface is important for safety and aesthetics. Patching is a straightforward solution that can address a range of issues, from small cracks to larger potholes, ensuring that concrete floors continue to provide a stable and reliable foundation.
Assessing Concrete Floor Damage
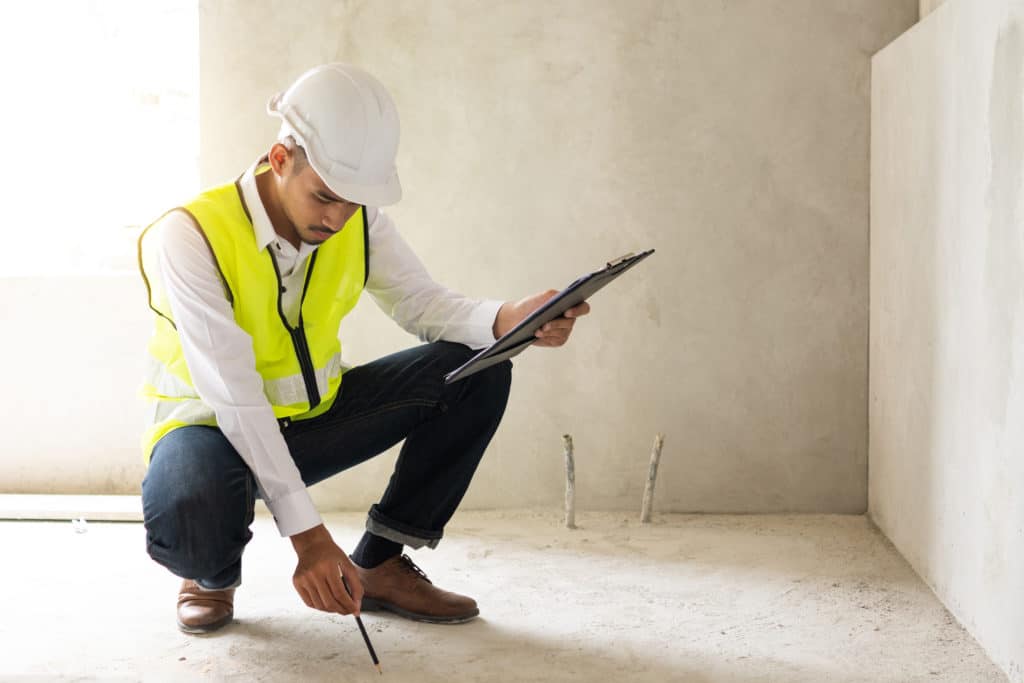
Before attempting any repair, one must thoroughly assess the concrete floor’s condition. This crucial first step prevents unnecessary work and ensures that the repair approach appropriately addresses the damage.
Identifying Types of Damage
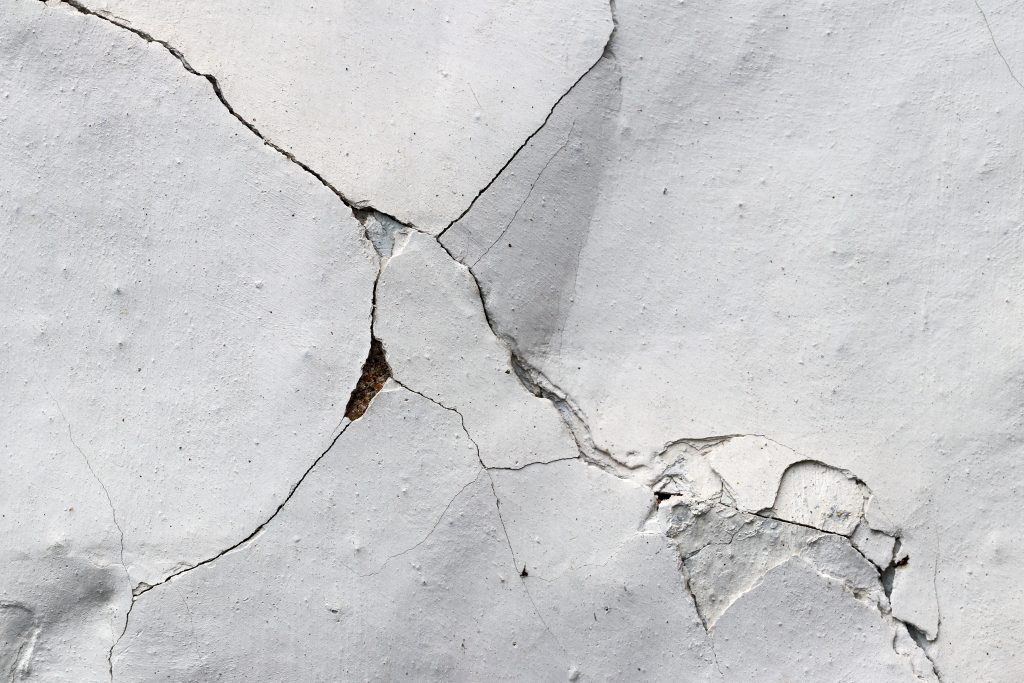
Concrete floor damage can present itself in various forms, each requiring a specific method for repair. Some floors might display hairline cracks, usually affecting only the surface. Concrete cracks of this nature are often non-structural and more of a cosmetic concern. However, other damages could include more significant cracks, which may indicate an underlying issue that can compromise the structural integrity of the concrete. In addition to cracks, floors can also suffer from spalling, pitting, and surface erosion, each owing to different causes such as corrosion, freeze-thaw cycles, or chemical exposure.
Evaluating the Extent of Concrete Cracks
Upon identifying the types of damage, it is vital to evaluate the extent of concrete cracks. If the cracks are less than 0.3 millimeters in width, they are considered hairline and typically don’t affect the structural integrity. On the other hand, cracks wider than 2 inches could be signs of serious structural problems requiring immediate professional attention. For an accurate assessment, it is suggested to measure the width and depth of the cracks and note any visible signs of subsurface movement or heaving.
| Crack Measurement | Implication |
|---|---|
| < 0.3mm | Hairline, possibly cosmetic |
| 0.3mm – 2 inches | May require sealing or filling |
| > 2 inches | Potential structural concern |
When evaluating concrete cracks, one should also consider if there’s water seepage, which could lead to further deterioration. For comprehensive insight on repairing a concrete floor, including assessing the damage, visit Storables.com.
It should be noted that thorough assessments often require a professional who can identify not just the presence of damages but their underlying causes. Such expertise ensures that any repairs made are effective and lasting.
Preparing for Concrete Patching
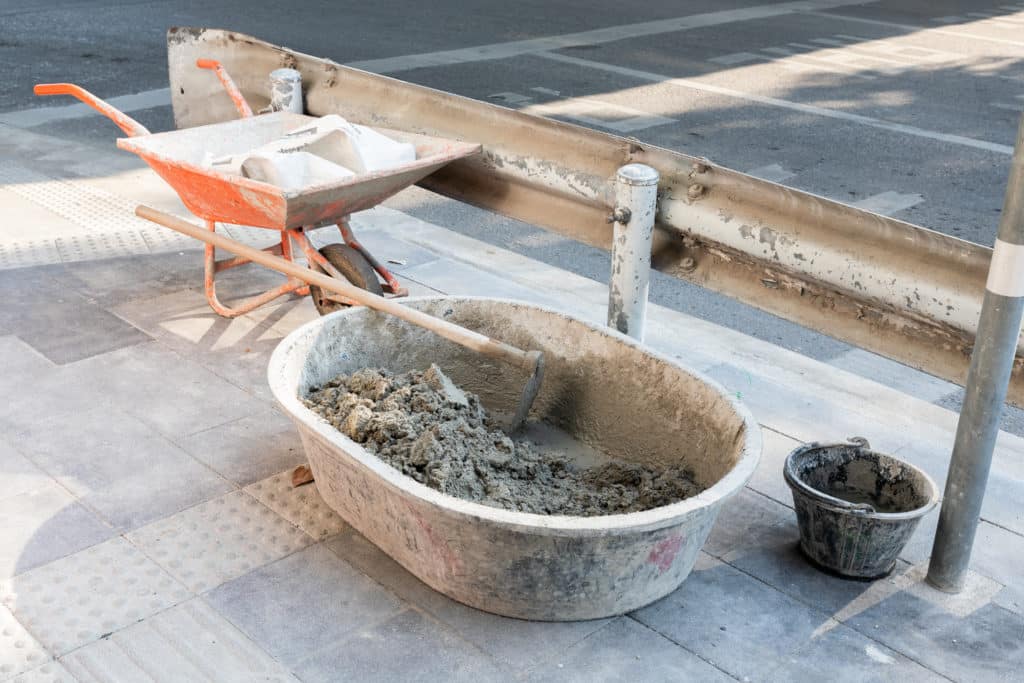
Before initiating the concrete patching process, one must gather the correct tools and materials, and ensure that the area to be repaired is clean and ready for the patching compound. This thorough preparation will contribute to the success and longevity of the concrete repair.
Tools and Materials Required
Essential for the repair process are specific tools and materials. One will require:
- Trowel: For applying the concrete patch compound.
- Hammer and Chisel: To remove loose concrete.
- Wire Brush: To clean out the damaged area.
- Shop Vac or Broom: To ensure all debris is removed.
- Concrete Patch Compound: The material used to repair the floor.
- Protective Gear: Including safety glasses and work gloves.
It’s paramount to select a concrete patch that is appropriate for the extent and type of damage. One must also be cognizant of the curing process recommended for the chosen patch material, as it affects the overall effectiveness of the repair.
Cleaning the Damaged Area
The longevity of a patch hinges on meticulous preparation of the damaged region. This involves several key steps:
- Utilize the chisel and hammer to chip away at the defective concrete until only solid material remains.
- Sweep or vacuum the area to remove all debris.
- The wire brush can then be employed to scrub the surface, ensuring it is free from loose particles.
- A dampened broom or large sponge may be used to remove any remaining dust.
It is crucial to conduct these steps diligently. The cleaner the area, the better the concrete patch compound will adhere, which is essential for a lasting repair. Proper protective gear should be worn throughout to prevent injury from flying debris or dust.
Selecting the Right Patching Materials
When addressing concrete damage, it’s essential to choose the right patching material to ensure durability and proper adherence to the existing surface. The selection will depend on the type of damage, location, and specific requirements of the repair.
Options for Concrete Repair Products
There is a diverse range of concrete repair products suitable for different types of concrete floor issues. They can be broadly categorized into:
- Epoxy-Based Fillers: Ideal for repairing cracks in floors that need to withstand heavy loads. They create a strong bond and are resistant to chemicals.
- Polymer-Modified Cement: These patching materials are enhanced with polymers for improved performance and can be used on both floors and walls.
- Mortar Mixes: A blend of cement, sand, and other additives that are suited for larger holes or uneven surface areas.
- Premixed Concrete: Comes ready to use and is a convenient option for small, DIY repairs.
- Vinyl-Patching Compounds: Known for their quick setting times and flexibility in thin applications.
These materials can be combined with concrete bonding adhesives to ensure maximum adhesion to the existing concrete surface.
Understanding Polymer-Modified Cement
Polymer-modified cement mixtures are a significant step up from traditional materials due to the addition of polymers, which are either latex, vinyl, or acrylic based. They offer:
- Enhanced Durability: Improved resistance to water, chemicals, and abrasion.
- Better Adhesion: They bond to the old concrete more effectively, reducing the risk of future delamination.
- Increased Flexibility: Some flexibility to accommodate minor concrete movement.
When selecting a polymer-modified cement, consider:
- The Extent of Damage: Minor cracks may require different polymer concentrations compared to larger patches.
- Cure Time: Different products have varying cure times, which may impact the usage of the repaired area.
- Application Method: Some products are designed for trowel application, while others might be pourable.
In summary, identifying the correct materials for concrete patching requires understanding the product’s properties and matching them to the damage type and repair needs. Epoxy-based fillers, premixed concrete, mortar mixes, and polymer-modified cement are all reliable choices depending on the specific situation.
Concrete Patching Techniques
When patching a concrete floor, it is crucial to select the appropriate techniques and materials tailored to the size of the damage. Proper preparation and application ensure a long-lasting repair.
Filling Small Cracks and Holes
Materials Required:
- Concrete patch compound
- Trowel or putty knife
- Gloves
- Sandpaper or sanding block
For small cracks and holes, a concrete patch compound is essential. The consistency should resemble pancake batter for ease of application. They should first clean the damaged area, removing any debris with a heavy-duty brush. Wearing gloves, they can then apply the compound using a trowel or putty knife to ensure the material penetrates deeply into the crack, eliminating air pockets. Once applied, they should smooth the surface and allow it to cure. The curing time will depend on the product used, typically ranging from a few hours to an overnight setting period.
Repairing Larger Areas
Tools and Materials Required:
- Cold chisel
- Heavy-duty hammer
- Concrete repair mixture
- Mixing container
- Trowel
For larger areas, the repair process begins with a cold chisel and hammer to remove loose or damaged concrete chips, ensuring a strong foundation for the concrete material. Once prepared, they mix the concrete repair material in a container until it reaches the right consistency. It’s often best to add water gradually to the powder until the desired consistency is achieved. The repair material is then applied to the area using a trowel. The material should be applied in layers, allowing each layer to cure before applying the next, if necessary, to fill deep repairs. The focus should be to maintain a level surface with the surrounding area to prevent future cracking and ensure a seamless repair.
Finishing and Curing
Proper finishing and curing are critical to the longevity and durability of concrete repairs. Smoothing ensures a level surface that matches the surrounding area, while curing is crucial for the concrete to reach its optimal strength.
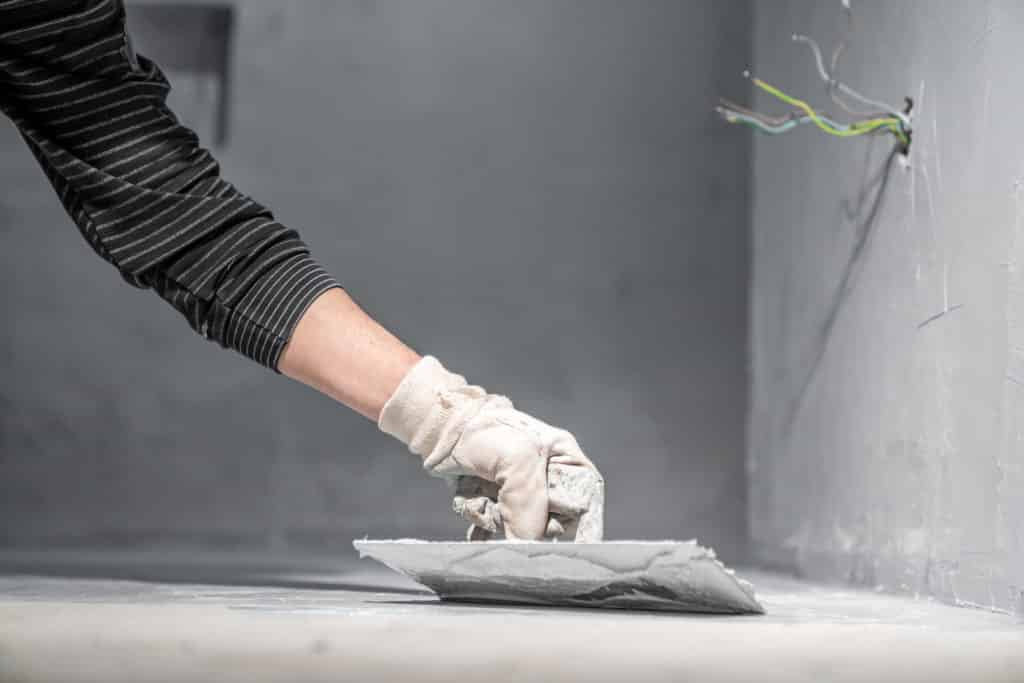
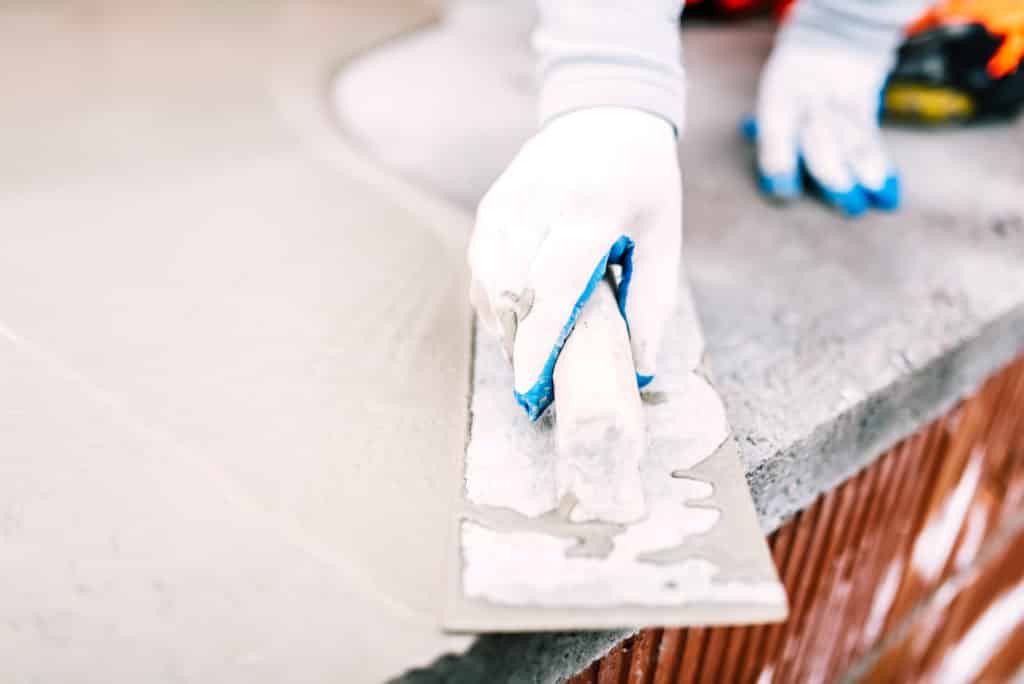
Smoothing and Levelling
After applying the dry mix, one uses a trowel to smooth the concrete. Ease of application is key, so the trowel moves in sweeping arcs until the fill is flush with the surrounding floor. The aim is to create a seamless transition between the patched area and the existing concrete slabs.
Curing and Sealing the Repaired Area
Curing time should not be underestimated. The repaired concrete area must remain undisturbed for at least 24 to 48 hours before it can endure foot traffic, or as the Concrete Network states, people can walk on the surface. Vehicle and equipment use should await the completion of a 7-day cure time. A full cure time extends to 28 days, at which point the concrete will have reached its full strength. During this time, consistent moisture is essential, thus the application of a concrete sealer may follow to protect the surface.
Maintenance Tips and Preventive Measures
Maintaining and preserving a concrete floor involves routine cleaning and inspection, coupled with effective moisture control. These steps are fundamental in extending the lifespan of concrete surfaces, whether in a garage, basement, or industrial setting.
Regular Cleaning and Inspection
To keep a concrete garage or basement floor in top condition, regular cleaning is essential. One should:
- Remove surface-level dirt and debris using a soft-bristle broom or vacuum.
- Inspect the floor for cracks or damage and carry out concrete patching as needed, using a screwdriver to check for any widening gaps.
- Apply a suitable concrete sealant every few years to protect the surface against wear and tear.
For garage floors, where vehicles can drop oils and fluids, it’s important to:
- Clean spills promptly to avoid penetration into the concrete.
- Apply specialized cleaning agents designed for concrete surfaces to handle tougher stains.
Improving Drainage and Moisture Control
A key aspect of concrete floor maintenance is managing water and moisture, which can lead to significant damage if not properly controlled. Effective strategies include:
- Installing proper drainage solutions around the concrete surface to prevent standing water, especially in areas prone to heavy rain or snow.
- Using sealers and waterproofing compounds to prevent moisture intrusion, which is particularly critical for basement floors.
When signs of moisture are observed:
- Investigate the cause and resolve any external water issues such as leaks or poor drainage.
- For ongoing moisture management, consider resurfacing with materials designed to mitigate dampness.
By adhering to these maintenance tips and preventive measures, the integrity of concrete floors can be safeguarded, reducing the need for extensive repairs and ensuring longevity and durability.