Repairing concrete steps is essential for maintaining both the safety and aesthetic appeal of a home’s exterior. Over time, factors such as weather, wear, and even the occasional accidental damage can cause concrete to crack and chip, compromising the integrity of the stairs. These imperfections not only diminish the look of the property but can also present dangerous tripping hazards. Consequently, it’s important for homeowners to address these issues promptly to prevent accidents and further deterioration of their concrete steps.

The repair process typically begins with a thorough cleaning of the damaged area to remove any loose material and debris. This is a critical step to ensure that the repair materials adhere properly to the existing concrete. Suitable methods include sweeping, power washing, and using a stiff brush to eliminate dirt and any unstable concrete pieces. Once cleaned, the area must be prepped and sometimes shaped or structured to accept the repair compound, which will fill the voids and restore the appearance and functionality of the steps.
Homeowners can opt to undertake this repair work themselves or call in professionals. For those who choose the DIY route, a variety of products and tutorials are available. These resources explain how to mix and apply repair compounds, how to re-establish the original shape of the steps, and how to finish the surface for durability and a matching appearance. It’s imperative that individuals use the correct tools and follow instructions meticulously to achieve a repair that is both durable and visually seamless with the existing concrete structure.
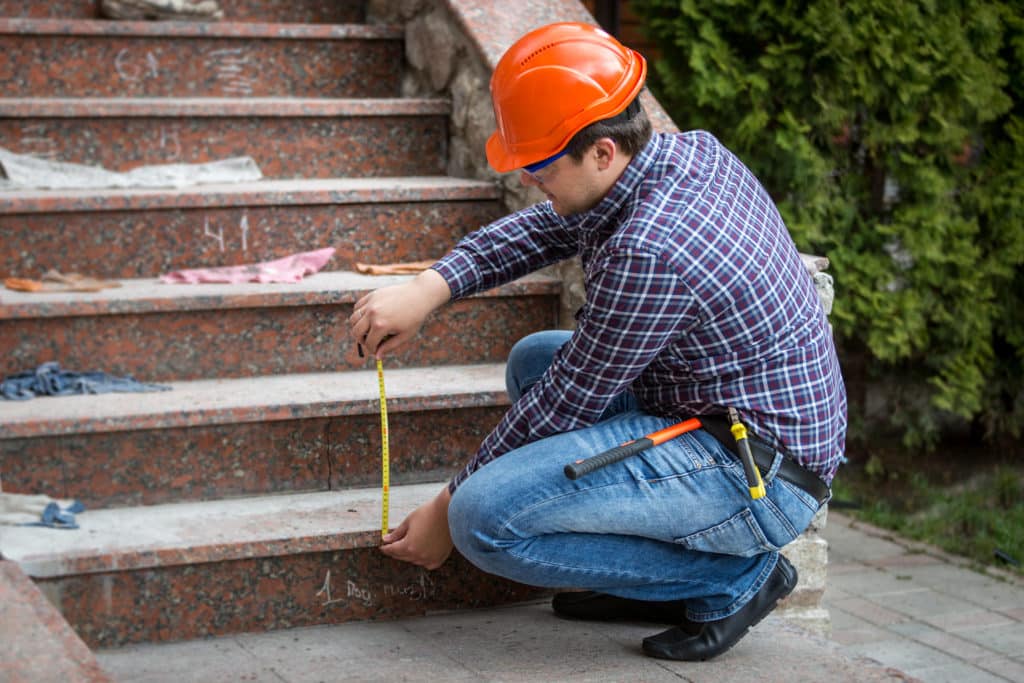
Assessing the Damage

Before any repairs are initiated, a thorough inspection is critical to ascertain the severity and type of damage to concrete steps. This ensures the right approach and materials are used for enduring results.
Identifying Structural Damage
Structural damage in concrete steps may manifest as cracks, which can range from hairline to substantial, or full sections might be destabilized. Observing any displacement or rotation in the steps can indicate underlying issues. It is essential to evaluate whether the damage compromises the steps’ integrity, as this determines if specialized structural repairs are necessary. Typical signs of structural damage include:
- Large cracks: Wide, deep breaches extending through the step
- Bulging or warping: Outward expansion or deformity in the shape
- Loose components: Handrails or parts of the steps that move when weight is applied
Determining the Extent of Repairs Needed
Once structural damage is assessed, one can determine the extent of the repairs. This can range from simple patching to complete step replacement. For non-structural damage, such as flaking (also known as spalling), the repair technique involves removing loose material and applying a patching compound. Moisture is often a culprit of damage, so assessing for signs of water infiltration or poor drainage around the concrete steps is fundamental. Points to consider include:
- Size and density of the damaged areas: Small, isolated spots or widespread deterioration
- Depth of damage: Superficial flaking or deep corrosion of reinforcement bars
Ensuring the concrete steps are properly evaluated for both structural integrity and the extent of the damage is imperative for safe and sustainable stairs.
Preparation for Repair

Repairing concrete steps requires meticulous preparation. The success of the fix heavily relies on how well the area is prepped prior to the application of the concrete patch.
Cleaning the Damaged Area
Before any repair work can begin, one must thoroughly clean the damage on the concrete steps. Firstly, a wire brush should be used to scour the surface, removing loose debris, dirt, and flaking concrete. It’s crucial to remove all chipped and unstable material as well as any dust that could impair the adhesion of new concrete. After brushing, use a shop vac to ensure all fine particles are cleared. If mold or mildew is present, use a cleaning solution to eliminate these growths, enhancing the bond between old and new concrete.
Setting Up a Wooden Form
Once the area is clean, constructing a wood form is the next phase in the preparation process. Begin by screwing together two pieces of wood, such as 1- x 2-inch boards, into an L shape to fit the contour of the steps. Securing the form is crucial—you can use duct tape to hold the form steady against the chipped corner, flush with the top of the step. Moreover, it’s wise to apply a coating of cooking oil on the interior of the wood form to prevent it from sticking to the fresh patch. If necessary, one can brace the form with pavers or bricks for additional stability.
Materials and Tools

In repairing concrete steps, it’s essential to both choose the correct repair materials that will endure the test of time and to use the right tools that will make the job more efficient and effective.
Selecting the Correct Repair Materials
The selection of repair materials largely depends on the type and extent of damage to the concrete steps. For minor cracks and chipping, concrete patching compounds are quite effective. These are premixed materials that only require the addition of water or an acrylic fortifier to enhance bonding and cure time. For larger repairs, quick-setting cement provides a sturdy solution that minimizes downtime, as it sets and hardens quickly.
Tools Required for Repair
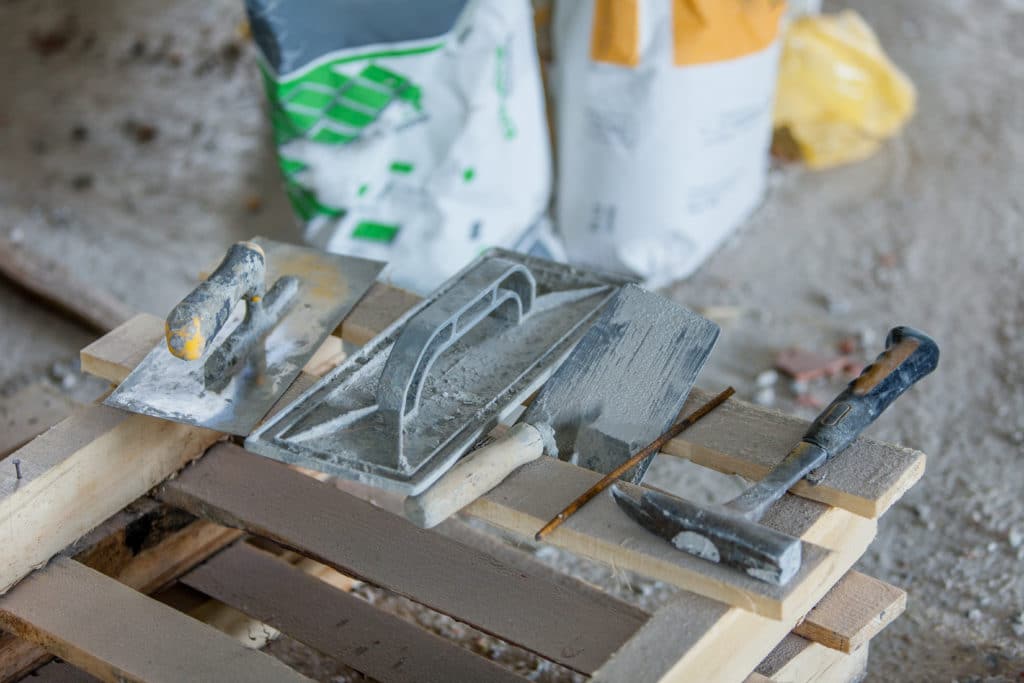
A proper repair job cannot be done without the right set of tools. Here is a list of essential tools needed for repairing concrete steps:
- Chisel: A heavy-duty chisel is necessary to remove any loose or damaged concrete.
- Hammer: In conjunction with the chisel, a hammer helps to precisely break away damaged areas.
- Trowel: A trowel is used to smooth and level the repair material once it is applied to the steps.
- Bucket: Needed to mix repair materials, ensuring a consistent texture.
- Concrete bonding adhesive: This is applied to the old concrete surface before adding new material to ensure a strong bond between old and new concrete.
- Masonry brush: Ideal for applying bonding adhesive and also for cleaning out debris with water prior to repair.
- Acrylic fortifier: May be mixed with the repair material to increase the adhesion and longevity of the repair.
Repair Process

The repair of concrete steps involves a careful mix and application of a concrete patch followed by meticulous finishing to ensure a long-lasting result. Used correctly, these methods restore integrity and improve the appearance of the concrete steps.
Mixing and Applying Concrete Patch
To begin the repair, one must mix the concrete patch compound, ensuring it reaches a consistent texture. The mixing process often requires a margin trowel for smaller batches or a drill-mounted paddle for larger quantities. The aim is to achieve a paste-like consistency without any lumps, which could compromise the repair.
Once mixed, the patch should be applied promptly. Using a steel trowel, workers should press the mixture firmly into the damaged area of the steps, making sure to fill all voids. To avoid air pockets, which can weaken the repair, one must level the patch with the surrounding concrete surface. A concrete float helps to smooth and even out the patch.
Finishing Touches
After the patch is leveled, finishing touches are crucial. The concrete should be worked until it blends seamlessly with the existing step. A steel trowel can give a smooth finish, while a concrete edger can help maintain the original contours and edges of the step. If necessary, a texture can be added to match the existing concrete, using tools like a broom or sponge. This not only improves safety by providing traction but also ensures visual consistency.
Curing and Sealing
After repairing concrete steps, it is crucial to properly cure the concrete to ensure maximum strength and adhesion. Once curing is complete, applying a high-quality sealer can protect the concrete from weather and wear.
Curing the Patched Concrete
Curing is an essential step that aids the newly patched concrete in reaching the desired hardness and durability. Proper curing should begin as soon as the repair material has set, typically within the first few hours post-application. During this period, maintaining adequate moisture is key. They can employ methods such as covering the area with damp burlap or a plastic sheet to retain moisture, thereby preventing the patch from drying too quickly, reducing crack formation and promoting strength in the bond.
Applying Sealant for Protection
Once the concrete has cured, the application of a sealer is an important protective measure. Sealers form a barrier against moisture and deicing salts, which can both penetrate and deteriorate concrete over time. They should select a sealer compatible with both the existing concrete and the resurfacer used. It should promote strong adhesion. It is typically applied using a roller or sprayer in a thin, even coat, ensuring that the repaired area is fully covered for optimal protection.
Maintenance and Prevention
Maintaining concrete steps effectively prolongs their lifespan and mitigates the need for extensive repairs. Prevention strategies focus on reducing the risk of damage, potentially saving homeowners from costly interventions.
Regular Maintenance Tips
Regular Inspections: One should inspect their concrete steps periodically for any cracks, chips, or signs of wear. In the event of minor damage, immediate action can curtail the problem from escalating.
- Cleaning: Keep the steps clean by sweeping away debris. For stains, one can use a concrete cleaner to remove substances like oil or tree sap.
- Resealing: Applying a high-quality sealant every two to three years can prevent water penetration and staining.
Preventing Future Damage
Choice of Materials:
Using durable resurfacing materials suited to the local climate can prevent degradation. A
professional can offer guidance based on the specific conditions of the area.
- DIY vs. Professional Help: For complicated repairs and preventative measures, one might consider consulting a guide or hiring a professional for a precise job.
- Environmental Considerations: Applying moss and mildew inhibitors can keep steps safe from organic growth, which may cause long-term damage.

 CALL US NOW


