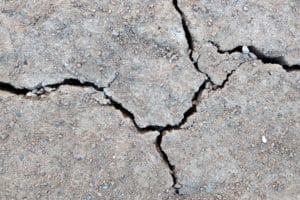
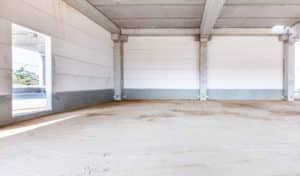
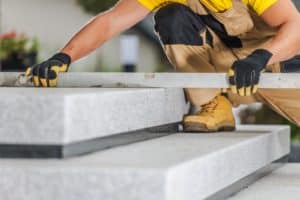
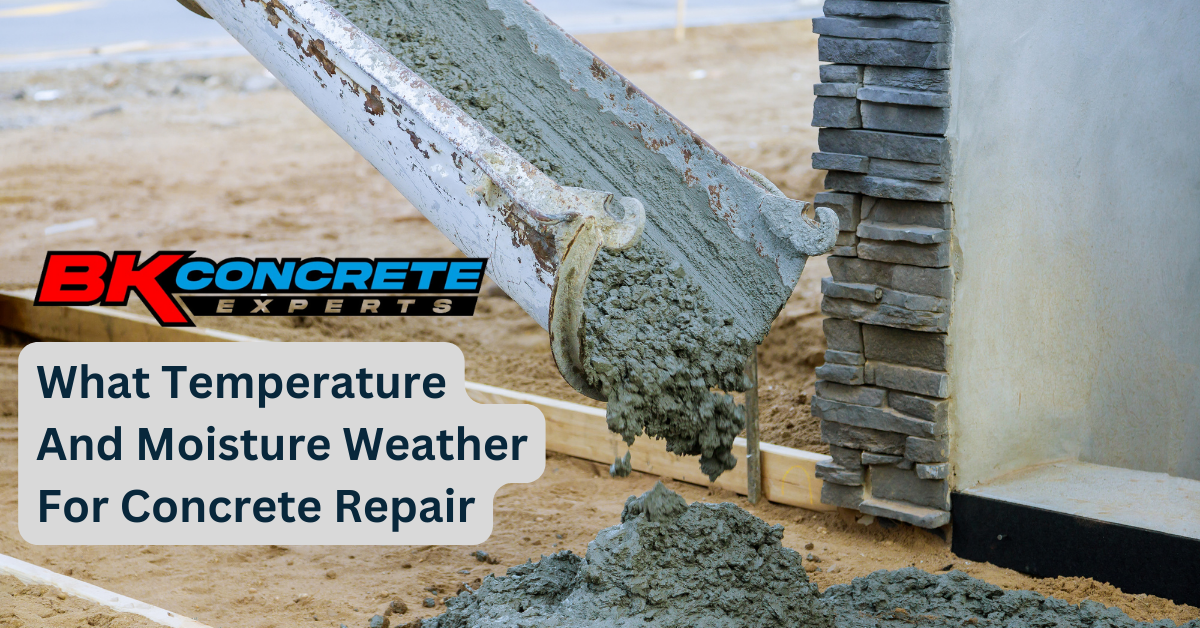
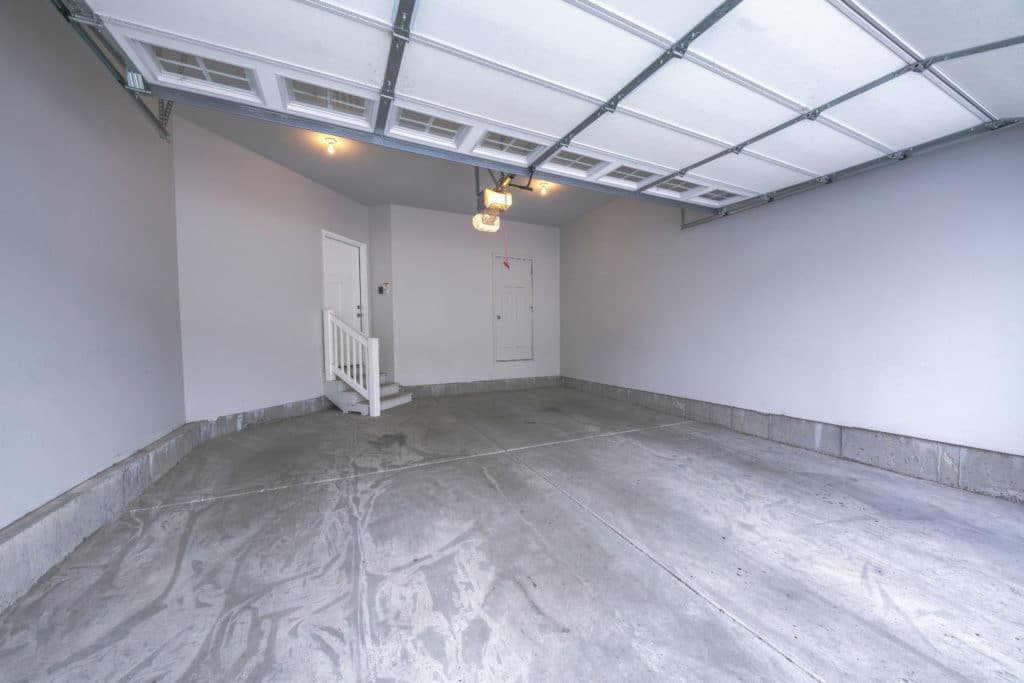
Garage floor crack repair is a common issue faced by many homeowners. Concrete garage floors can develop cracks over time due to a variety of factors including settling, temperature changes, and the weight of vehicles. These cracks can range from mere cosmetic concerns to more serious structural problems. Addressing them promptly can prevent further damage to the garage floor and potentially save on costly repairs in the future.
For those considering tackling this problem themselves, it’s encouraging to know that this repair is a feasible project for a DIY enthusiast with the right tools and materials. Most repairs can be completed using simple methods such as epoxy fillers or concrete patches, which are designed to both seal the cracks and blend with the existing floor for a seamless repair.
However, not all cracks are suitable for a DIY approach. Larger or more complex cracking might require professional assessment and intervention. Understanding the extent of the damage and the suitable repair method is crucial before beginning any work on a concrete garage floor. This knowledge ensures that the repairs are not only aesthetically pleasing but also long-lasting and effective.
Understanding Garage Floor Cracks
Garage floor cracks can arise from various reasons and understanding the type and underlying cause is essential for proper repair and maintenance.
Types of Cracks
Cracks in garage floors broadly fall into two categories:
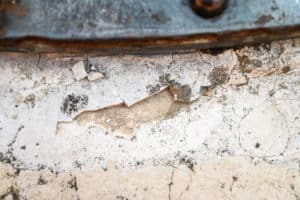
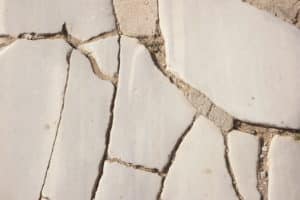
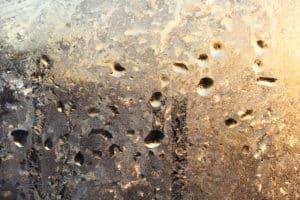
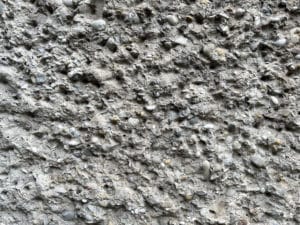
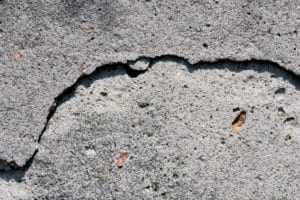
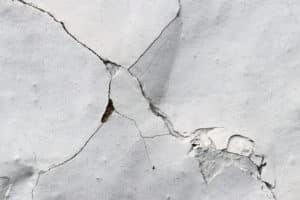
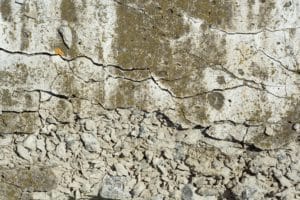
- Hairline Cracks: These are thin superficial lines that do not necessarily indicate structural issues. They are often a result of the natural settling of concrete.
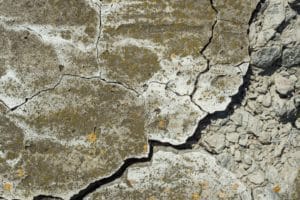
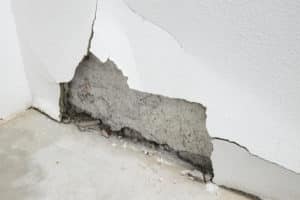
- Structural Cracks: Larger and wider than hairline cracks, these could signal foundation troubles or significant settling. It’s important to monitor these over time to assess any changes in width or length.
Causes of Cracks
Several factors contribute to garage floor cracks:
- Expansion and Contraction: Without proper expansion joints or contraction joints, the natural expansion and contraction of concrete due to temperature changes can lead to cracking.
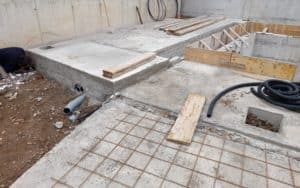
- Subsurface Movement: Settling of soil beneath the garage can cause cracks as the foundation shifts. This can be exacerbated by poor drainage around the garage’s perimeter.
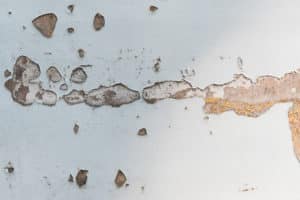
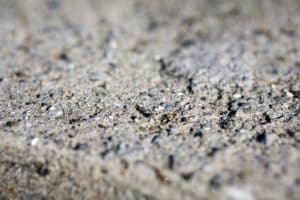
- Substandard Materials or Application: The use of low-quality concrete or improper application techniques can weaken the floor, leading to concrete cracks.
- Shrinkage: As concrete cures, it can shrink slightly. If this process occurs too quickly, it increases the likelihood of cracking.
Identifying the types of cracks and their causes is crucial in determining the appropriate response, whether it be a quick DIY repair or calling a professional for a more serious underlying issue.
Preparation for Repair
Before starting the repair process, it’s critical that the garage floor is prepared properly. This preparation ensures that any repair compound adheres well and that the work can be carried out safely and effectively.
Cleaning and Clearing the Area
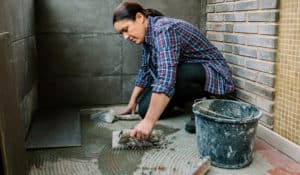
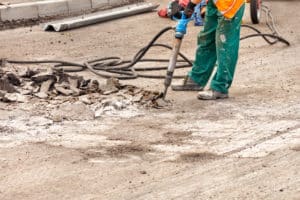
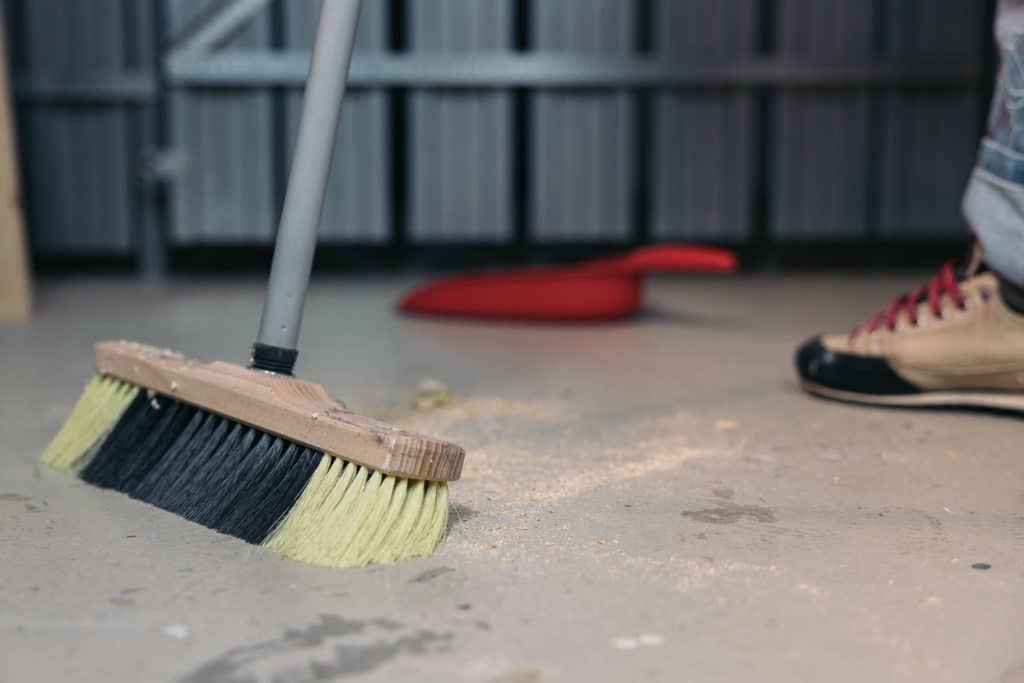
The initial step in preparation is to clean and clear the area where the repair will take place. One must remove all objects and debris from the garage floor to allow for unobstructed access. Cleaning involves sweeping away loose particles and then using a vacuum to eliminate finer dust. For oil stains, it’s essential to use a degreaser or a suitable cleaning solution to ensure the floor is free of contaminants. Once the surface is clean, a wire brush or similar tool should be employed to scrub the area around the cracks to remove any loose concrete and to provide a rough surface for better adhesion.
Tools and Materials
Gather all necessary tools and materials before beginning the repair. This includes:
- Personal protective equipment (PPE) such as eye protection and a respirator to safeguard against dust and chemical exposure.
- A stiff brush or wire brush to clean the crack and surrounding area.
- Concrete repair material, which may vary depending on the type of repair being done.
The following table lists the required materials along with their usage:
| Material | Usage |
|---|---|
| Concrete filler | To fill cracks and holes |
| Trowel | For applying and smoothing the concrete filler |
| Chisel | To dislodge any unstable concrete within the crack |
| Wire brush | For cleaning out debris and preparing the crack surface |
| Degreaser | To remove oil and grease from the concrete |
| PPE (gloves, goggles) | For personal safety during the repair |
Having the right tools at hand and ensuring the area is clean and ready for repair are instrumental in achieving a successful, long-lasting fix to garage floor cracks.
Repair Methods for Garage Floor Cracks
Repairing garage floor cracks is essential to maintaining the structural integrity and appearance of the space. There are targeted methods such as using an epoxy or polyurethane injection system for deep cracks, or applying a concrete resurfacer for a smooth finish over the entire area.
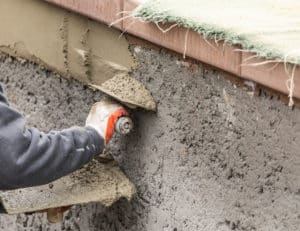
Epoxy and Polyurethane Injection
Epoxy and polyurethane injections are preferred for repairing deep cracks in garage floors. Both materials are effective at sealing cracks and preventing further damage.
- Epoxy: The epoxy concrete crack filler is injected into the crack, where it hardens to bond the concrete and restore the floor’s strength. It is especially suitable for wide cracks needing a strong repair solution.
- Polyurethane: Slightly more flexible than epoxy, polyurethane can be used when there is a risk of the crack moving or expanding. This material expands upon injection, filling all voids within the crack.
Applying these materials requires precision and careful preparation of the crack, including cleaning and potentially widening the crack for better material adhesion.
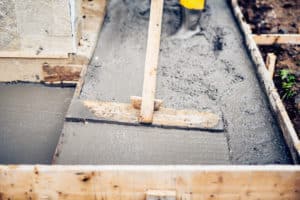
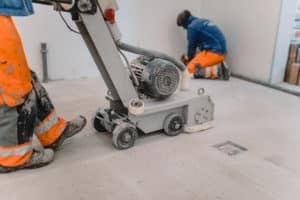
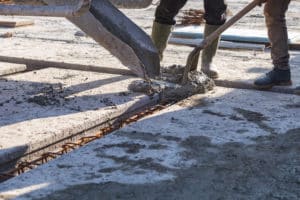
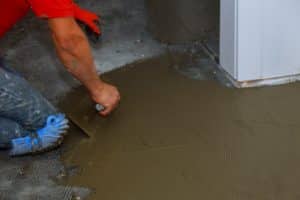
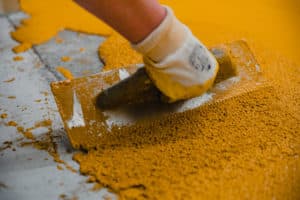
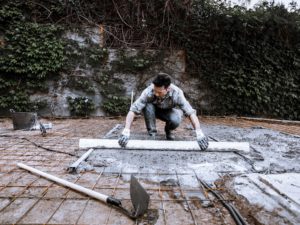
Concrete Resurfacer Application
Application of a concrete resurfacer, such as Quikrete Concrete Resurfacer, is ideal for dealing with surface imperfections and preventing the need for complete slab replacement.
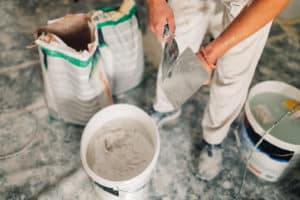
- Preparation: The area must be clean and free from any loose material, dust, or debris. The garage floor should be dampened prior to application.
- Mixing: Quikrete or equivalent concrete resurfacers should be mixed with water according to manufacturer specifications to achieve the correct consistency.
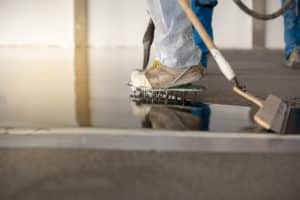
- Application: Use a squeegee or trowel to apply the mixed resurfacer thinly across the entire floor or just on affected areas, depending on the extent of the damage.
This process can effectively conceal smaller cracks and create a fresh, new surface. It is a practical solution for those looking to refresh their garage floor without extensive and expensive repairs.
Step-by-Step Repair Process
Repairing cracks in a garage floor can be a manageable task if approached with the right tools and techniques. It’s essential to first accurately assess the damage and then apply repair materials using proper methods for a durable fix.
Assessing the Extent of Damage
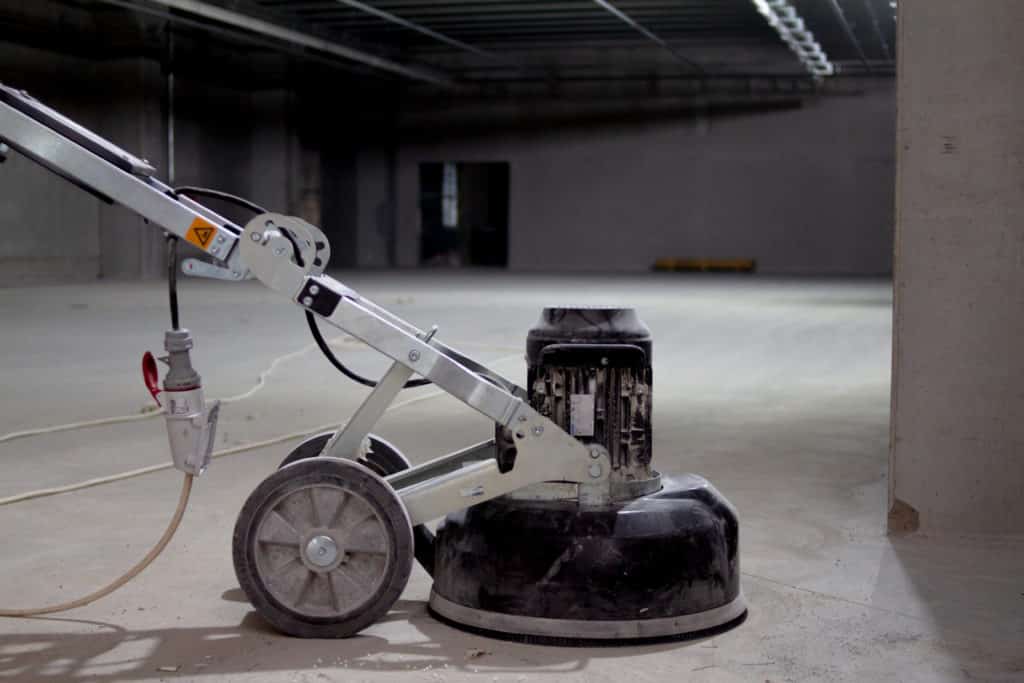
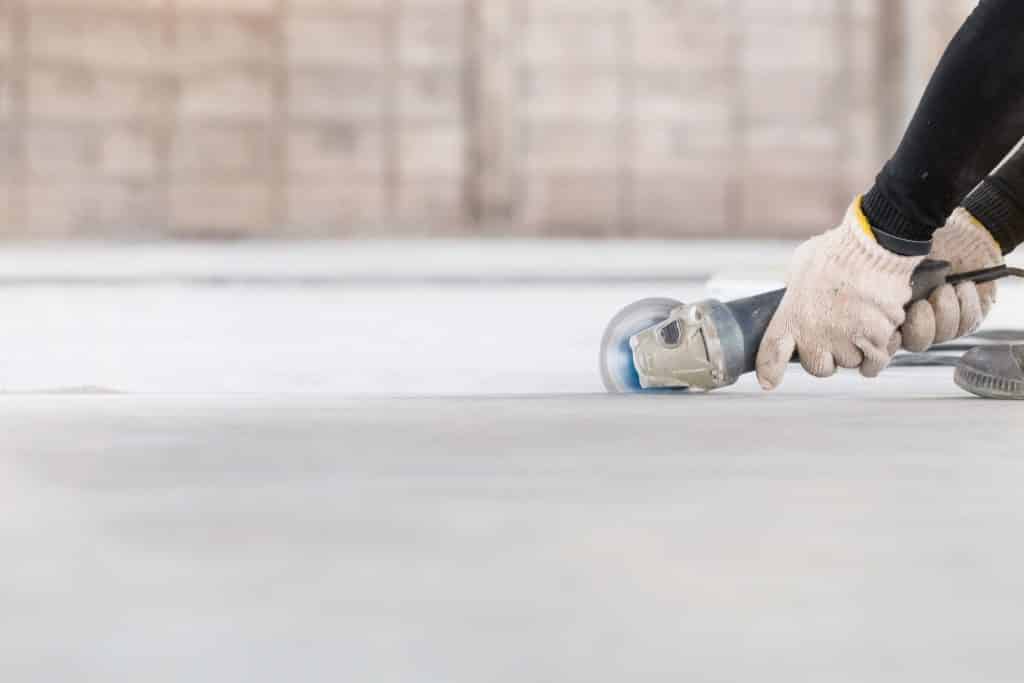
Before beginning any repair work, one needs to thoroughly examine the garage floor cracks to determine their severity. Small hairline cracks might require just a simple filling, while larger breaches could necessitate the use of a squeegee, grinder, or even a circular saw with a diamond blade to create a clean, receptive channel for the repair material.
- Small Cracks: If the cracks are fine, they might be reparable with a basic epoxy or resin.
- Large Cracks: For larger fissures, one must prepare the area with a cold chisel or grinding equipment to ensure that the filler material adheres properly.
Application Techniques
Once the damage is properly assessed, the following step-by-step guide outlines the best application techniques to properly repair garage floor cracks.
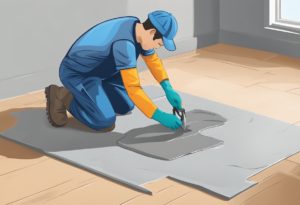
- Preparation: Remove any debris and dust from the cracks using a broom or a vacuum. A properly cleaned and prepped surface aids in the adhesion of the repair material.
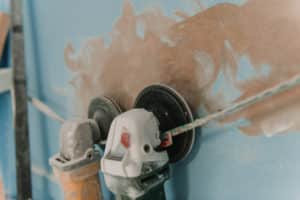
- Creating the Correct Channel: For substantial cracks, use a grinder or circular saw equipped with a diamond blade to widen the crack into a uniform channel. This allows the repair material to fill in effectively, ensuring a level surface.
- Filling the Crack:
- For smaller cracks, use a caulking gun to apply filler material.
- For larger channels, a squeegee may be used to spread a resin or epoxy evenly.
- Curing: Allow the repair material to dry and cure fully, following the manufacturer’s recommendations for drying time.
Each step ensures the repair is as seamless and enduring as possible, restoring the garage floor’s integrity and appearance.
Preventive Measures and Maintenance
Proper maintenance and preventive strategies are crucial for ensuring the longevity of a garage floor. Homeowners should adhere to a regular inspection and care routine to avoid major floor damage.
Initial Steps:
- Maintaining the original height of the concrete is essential. Regularly check for any signs of sinking or heaving.
- Inspect for visible damage, paying close attention to the control joints, which are particularly vulnerable to cracking due to shrinking.
Prevention Tips:
- Avoid using deicing salts, which can cause concrete to deteriorate prematurely.
- Seal the concrete to prevent moisture penetration, which can cause expansion and contraction.
- Place mats at entrances to reduce the amount of water and debris that comes into contact with the floor.
- Keep the floor clean of chemicals, oils, and abrasive materials.
- Conduct a yearly resealing with a quality concrete sealant to maintain protection.
For Basements:
- In basements, use a dehumidifier to control moisture levels and prevent shrinking and subsequent cracking.
- Evaluate the basement floor for any moisture issues that could affect the integrity of the concrete.
Resurfacing Considerations:
- When cracks are extensive, resurfacing may be necessary.
- For resurfacing projects, ensure that the chosen materials adhere well to the existing concrete to restore the surface effectively.
By following these measures, homeowners can significantly reduce the risk of cracks and other damages, allowing their garage floors to remain in good condition for an extended period.