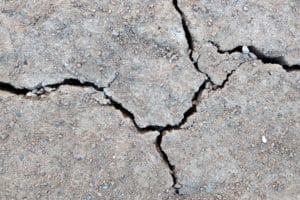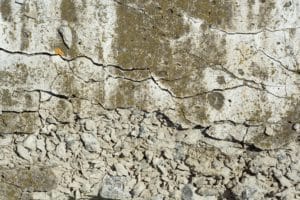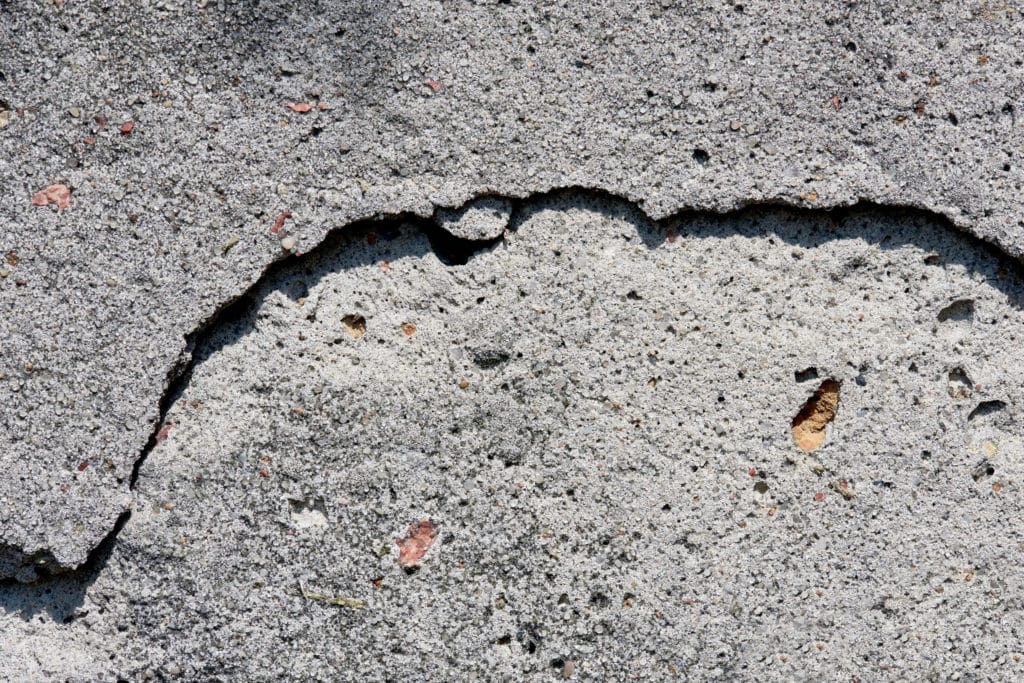
Large cracks in concrete are more than just an eyesore; they can lead to further damage and deterioration of the structure if not addressed properly. Repairing these fissures is a vital step in maintaining the integrity and longevity of concrete surfaces, whether they be in driveways, patios, or walkways. Concrete repair is not as daunting as it may seem and can often be tackled with the right materials and techniques.
Choosing the correct concrete repair product is crucial for a lasting fix. Concrete itself is not suitable for filling cracks as it cannot bond properly with the existing surface. Instead, specialized concrete repair mixes are designed to adhere firmly and withstand the contraction and expansion that concrete naturally undergoes. For those with a DIY spirit and the right guidance, repairing large cracks in concrete can be a manageable project.
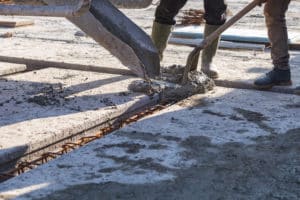
To commence the repair process, it is important to prepare the crack by cleaning out any debris and, if necessary, undercutting the crack to ensure the repair material locks into place. Different repair materials and methods are best suited to different sizes of cracks and types of damage, so understanding the specific situation is key. Armed with this knowledge, homeowners and professionals alike can tackle the issue with confidence and restore their concrete surfaces to their former glory.
Assessing Concrete Crack Types and Causes
Before attempting any repairs, it’s critical to understand the types of concrete cracks and their underlying causes. Accurate assessment helps tailor the repair strategy to the crack’s specific nature and origination.
Differentiating Crack Types
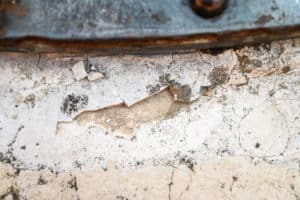
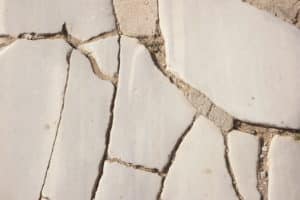
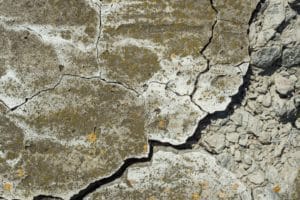
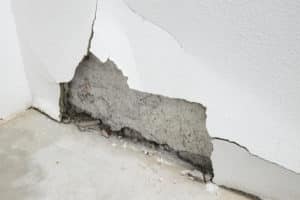
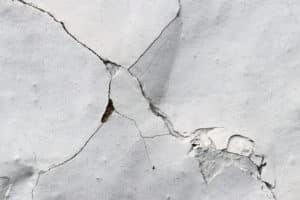
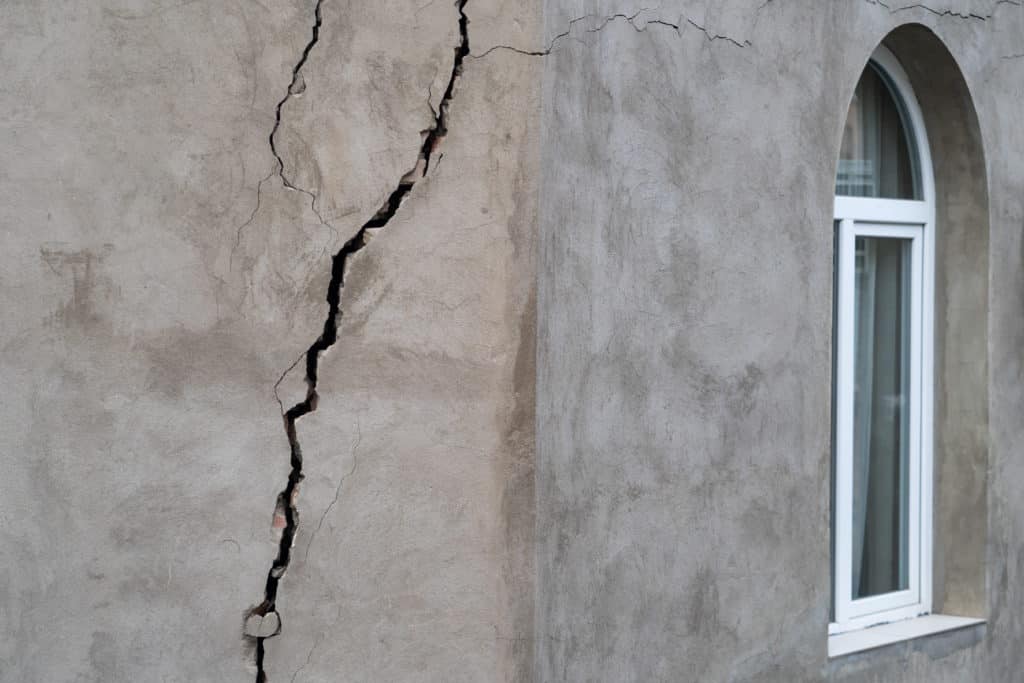
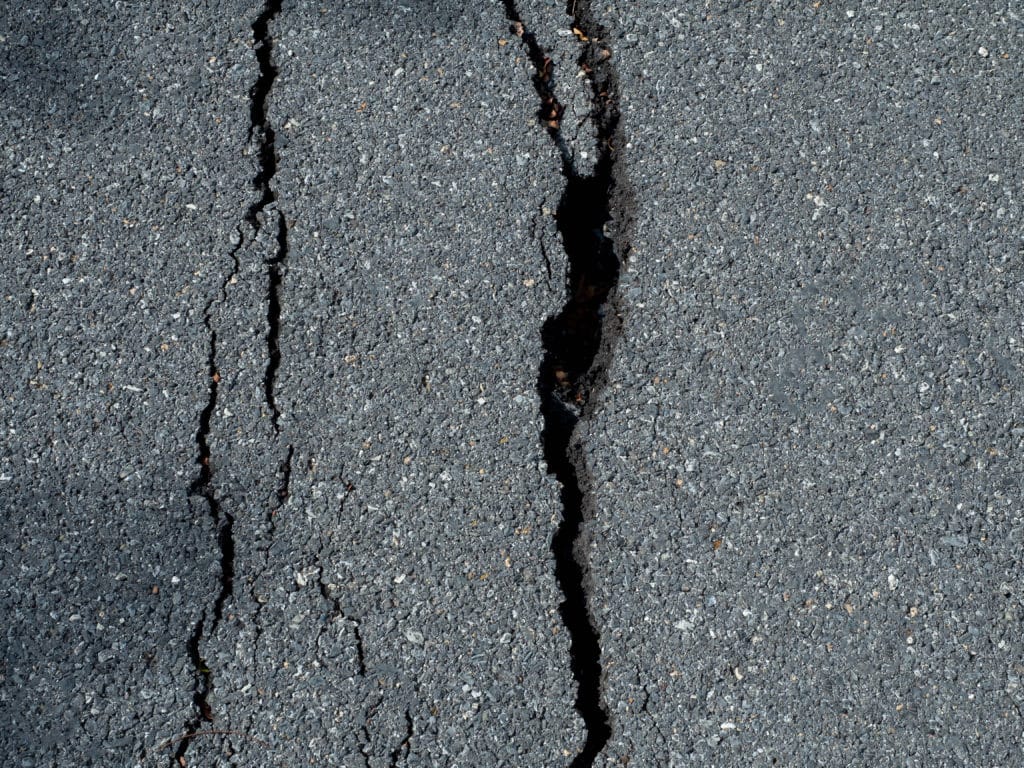
Hairline Cracks: These are fine, superficial cracks that may not require immediate repair, but monitoring for changes in width or length is advisable. Small Cracks: Typically narrower than a quarter-inch, these may be sealed using a flexible concrete caulking or a concrete-specific sealant. Large Cracks: Wider than a quarter-inch, these often signify more significant issues and may necessitate a structural assessment. Narrow, Deep Cracks: These can be indicative of subsidence or heavy loads and often require a more invasive repair strategy.
- Hairline cracks are often cosmetic.
- Small cracks often handled with simple sealants.
- Large cracks might need professional evaluation.
- Narrow, deep cracks suggest deeper structural issues.
Understanding Crack Causes
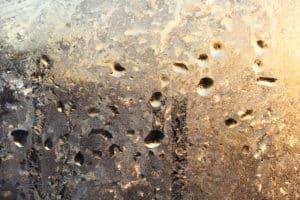
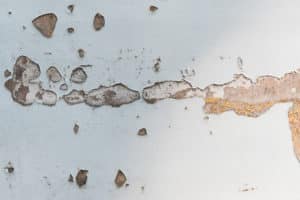
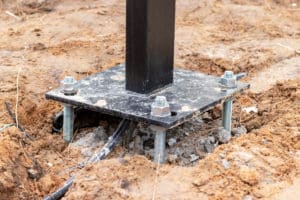
The causes of concrete cracks are often tied to the conditions during placement or the environment thereafter. Settlement can result from an inadequate foundation or changes in the earth beneath the slab. Pressure Washer: Incorrect use can exacerbate pre-existing cracks. Drainage: Poor drainage can lead to water accumulation that weakens concrete. Trees: Roots can disrupt concrete by creating pressure from below. Climate: Extreme weather changes cause expansion and contraction in concrete, which may lead to cracking.
- Settlement: Results from shifts or the compaction of the ground.
- Pressure Washer: Can worsen small cracks.
- Drainage: Water can erode foundations, expanding cracks.
- Trees: Root growth can impose significant pressure.
- Climate: Thermal stresses due to temperature changes.
By understanding these specific types and causes, one can better evaluate the appropriate actions for repairing cracks in concrete.
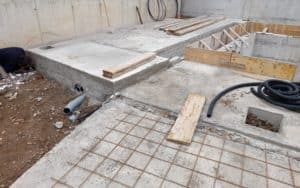
Preparation of the Crack and Area
Before addressing the repair of large concrete cracks, the area must be properly prepared to ensure a lasting fix. The preparation involves thorough cleaning and removal of any loose materials within the crack.
Cleaning the Cracked Area
To effectively repair concrete cracks, one must first ensure the area is clean. Use a broom or a pressure washer to remove all surface dust and debris from the crack vicinity. For the best results, a wire brush can be used to clean off finer particles adhered to the concrete surfaces. If available, a power wash can facilitate a more effective cleansing, displacing any hidden debris within the crack itself.
Removing Loose Debris
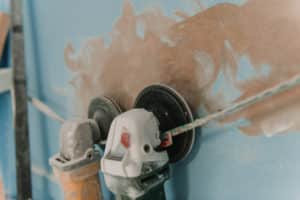
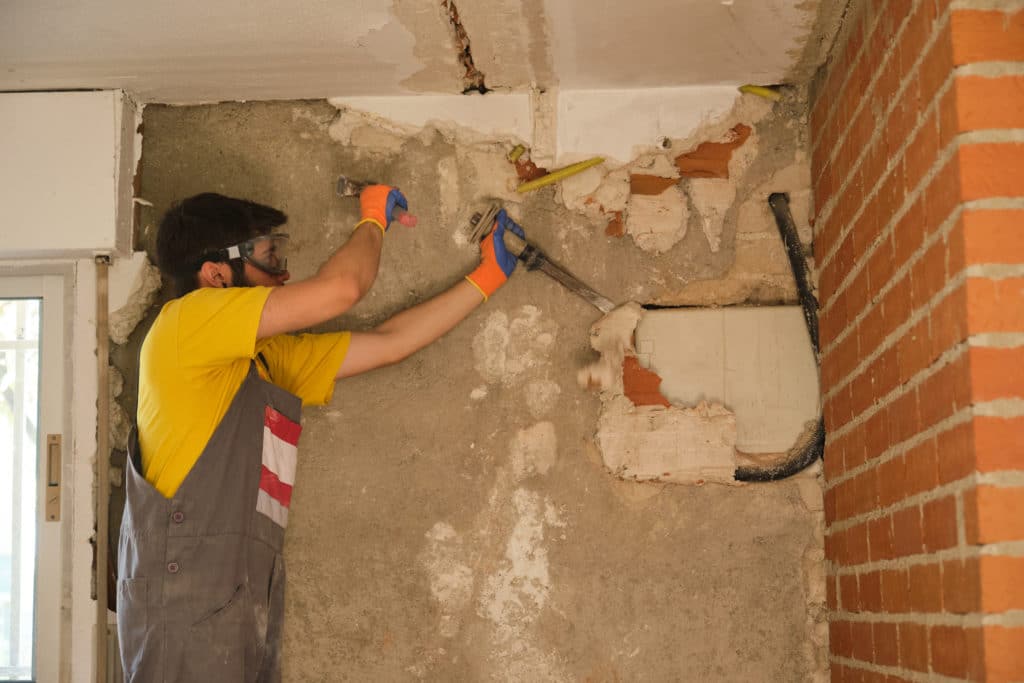
Once the surface is cleaned, further preparation requires the elimination of loose interior debris. This can be accomplished using a masonry chisel and a hammer to carefully chisel the sides of the crack. The objective is to dislodge unstable concrete pieces and create a sound base for the repair material to adhere to. A wire brush or a brush can then sweep away these remnants, ensuring that the crack is ready for the repair. Use of a pressurized water stream, such as from a pressure washer, can be an effective final step to flush out any remaining fine particles before the repair process begins.
Essential Tools and Materials
For effective crack repair in concrete, precise tools and materials are paramount. Below is a detailed guide of what one would require.
Tools for Proper Crack Repair
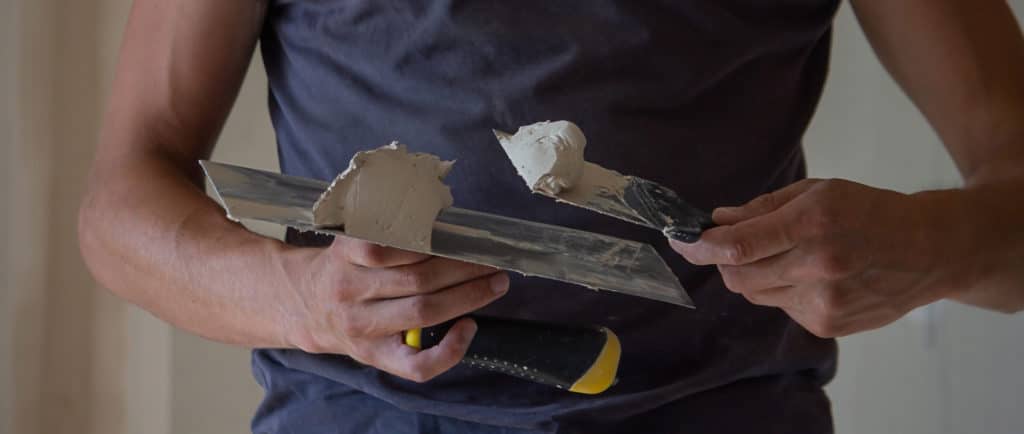
Trowel: A sturdy trowel is indispensable for applying and smoothing patching compounds.
Putty Knife: A putty knife can assist in the application of epoxy and other filler materials.
Bucket: To mix concrete patch compounds, one needs a clean bucket.
Screwdriver: Occasionally, a screwdriver may be used to clear debris from cracks before repair.
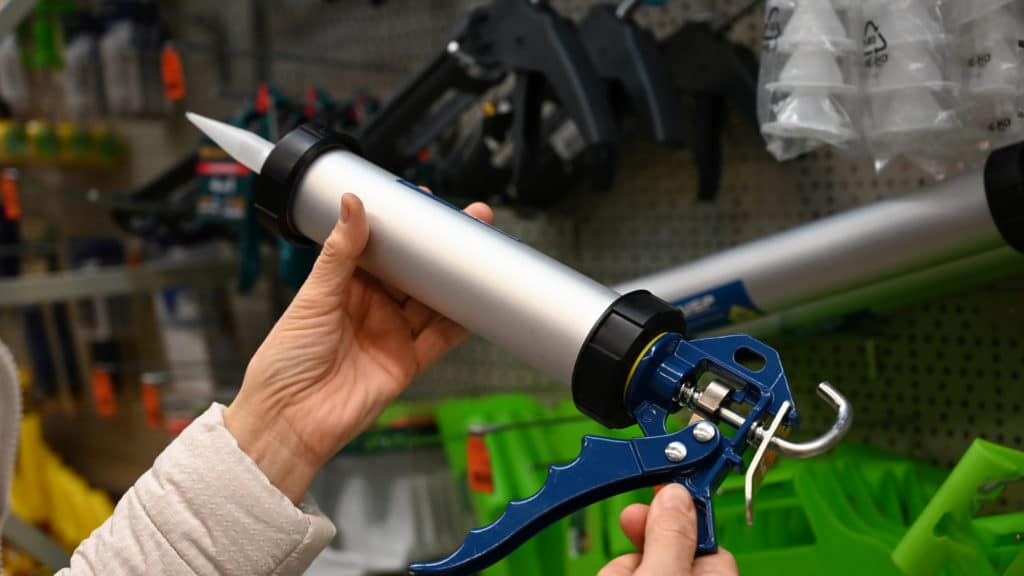
Caulk Gun: For precise application of crack filler or caulk, a caulk gun is essential.
Selecting the Right Materials
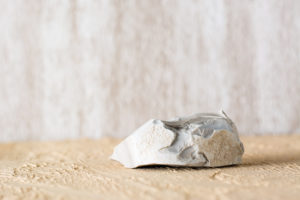
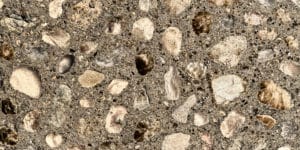
Concrete Patch: Choose a quality concrete patch or patching compound that complements the existing concrete’s strength.
Backer Rod: For deeper cracks, inserting a foam backer rod under the concrete patch helps prevent sagging.
Epoxy: If the crack requires a strong bond, epoxy serves as a highly adhesive solution.
Crack Filler: Select a weather-resistant crack filler for longevity, and ensure compatibility with your concrete patch.
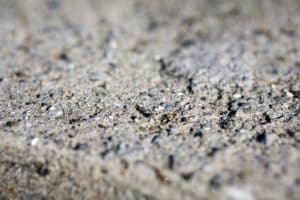
Note: Always remember to check the granularity of the sand; different levels of grit are suited for diverse patching tasks.
Crack Filling Methods and Techniques
When repairing cracks in concrete, it is essential to choose the correct method and materials for the size and scope of the project to ensure durability and prevent further damage.
Small to Medium Crack Repair
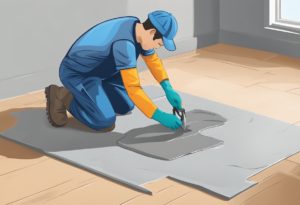
For repairing small to medium cracks, typically less than 1/4 inch wide, one can use a concrete caulk or liquid concrete crack fillers that are readily available in the market. The process generally involves cleaning out the crack to remove any loose debris and then applying the filler material into the crack. For a smoother finish, a tool such as a trowel can be used to firmly press the filler into the crack and scrape the surface level with the surrounding concrete. In some cases, a concrete fortifier can be added to the filler to enhance the bonding strength.
- Materials Required:
- Concrete caulk or liquid filler
- Concrete fortifier (optional)
- Tools Needed:
- Trowel or putty knife
- Wire brush
Addressing Large Crack Challenges
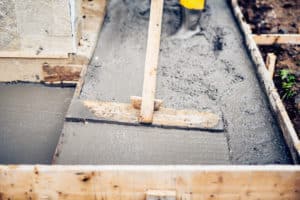
Large cracks in concrete, wider than 1/4 inch, present a different set of challenges and typically require the use of a patching material combined with a backer rod. A concrete backer rod is placed into the crack to provide support and limit the amount of patching material needed. The chosen patching compound, usually a mixture of aggregate and a bonding agent, is then applied. It is important to ensure that the patch is firmly packed into the crack and that the surface is leveled out to blend with the surrounding concrete. For enhanced stability and to prevent shrinkage, applying a concrete fortifier is also recommended when mixing the patching compound.
- Instructions for Large Crack Repair:
- Insert backer rod to support patching material and reduce the amount needed.
- Mix patching compound with concrete fortifier if required.
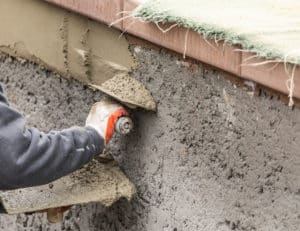
- Firmly pack the repair material into the crack with a trowel.
- Level the patch with the surrounding surface.
- Materials and Tools:
- Patching material (e.g., grout or mortar)
- Concrete backer rod
- Concrete fortifier
- Trowel
Curing and Sealing for Longevity
Curing and sealing are critical final steps in concrete crack repair, ensuring the repair’s durability and the concrete’s integrity over time. Properly executed, these steps will result in a waterproof seal and maintain the concrete’s texture and appearance.
Finalizing Crack Repairs
Once the repairs on large concrete cracks are complete, it’s imperative for them to undergo a curing process. Curing concrete helps to maintain its moisture content, which is essential for the development of strength and durability. For crack repairs to be effective, they should cure for a minimum period, typically at least 24 to 48 hours, depending on the repair compound used. During this time, the concrete should not be exposed to freezing temperatures or excessive moisture.
Best Practices for Sealing
After curing, applying a high-quality sealer serves as an added defense against further damage. Sealing concrete has several benefits:
- Waterproofing: it prevents water and other substances from penetrating the repaired crack and surrounding concrete.
- Protection: a sealer safeguards against wear, offering UV resistance and protection from chemicals and stains.
- Aesthetics: it keeps the texture consistent and can enhance the appearance of the concrete surface.
For DIY enthusiasts, it’s important to choose the right type of sealer. There are various sealers available, each designed for different conditions and concrete types. These can range from acrylic, polyurethane, to epoxy-based sealers. The chosen sealer should be applied in accordance with the manufacturer’s instructions to ensure optimal performance. For large cracks or high-traffic areas, a stronger, more durable sealer may be necessary to provide long-lasting protection.
Remember, sealing is not a one-time application; it needs to be reapplied periodically. Regular maintenance, including cleaning and resealing of concrete surfaces, will extend the life of both the seal and the concrete itself.